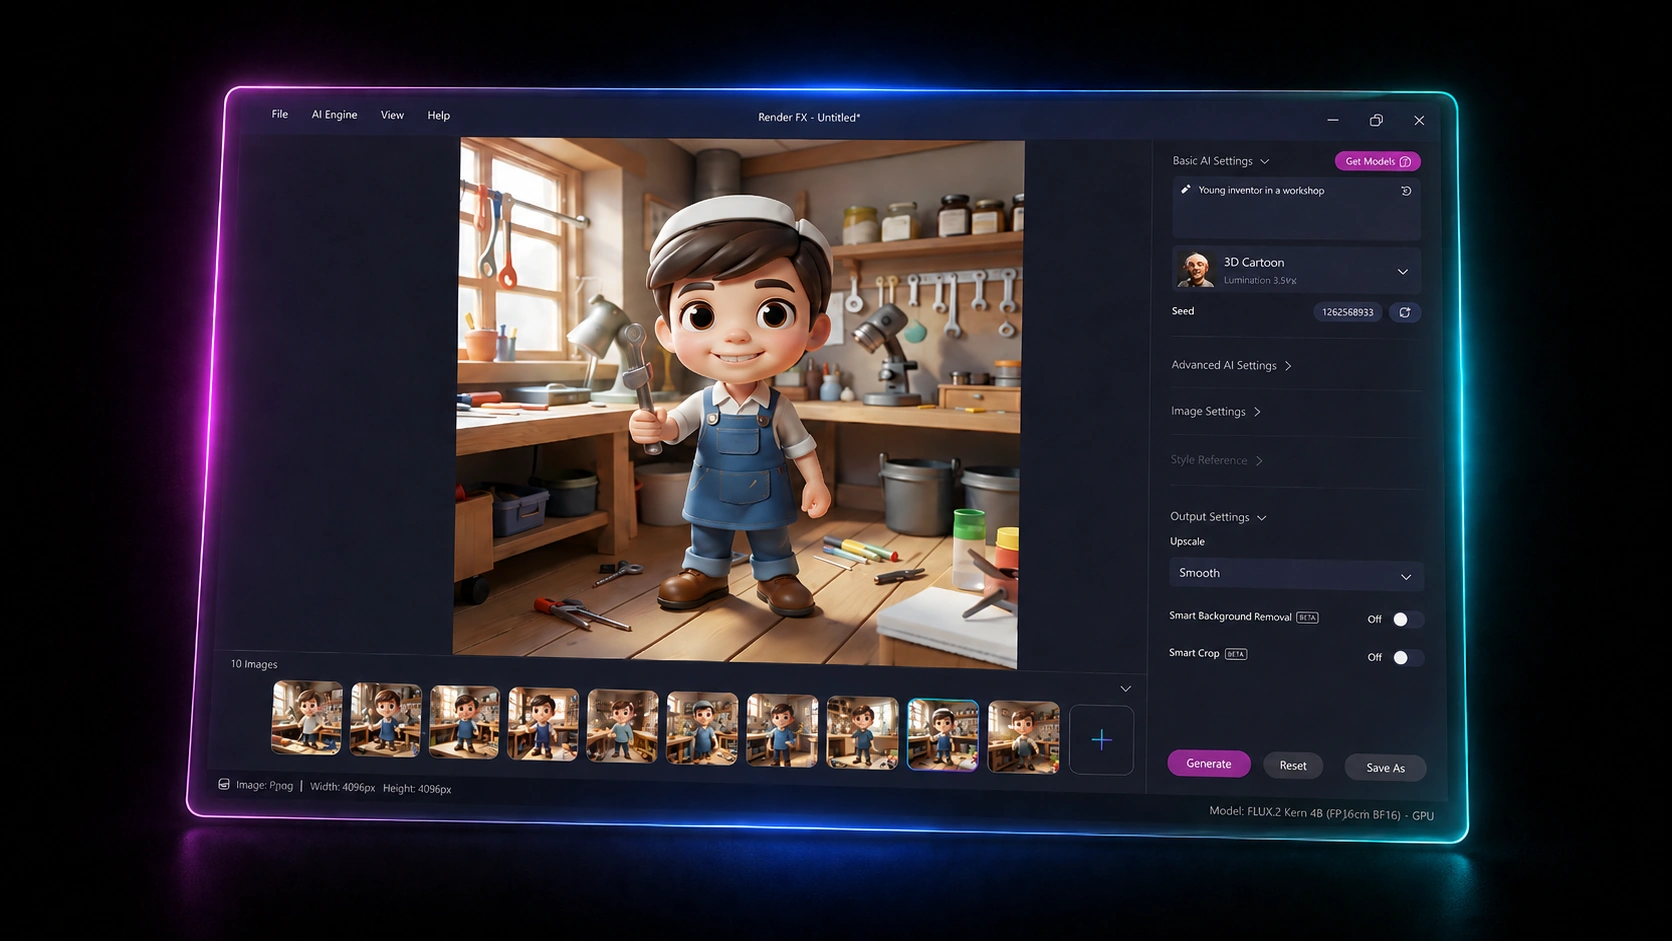
With cloud-based AI image generation, your prompts and images are sent to remote servers to be processed. You spend credits each time you generate, wait for the result, and rely on systems running in some unknown, distant, far-off land to keep creating and keep your IP protected.
Distinct AI is built around a deep belief in creative freedom. And local AI is the answer.
Local AI gives creative people more privacy, control, and freedom. Distinct AI brings those advantages into a simple desktop experience built for uninterrupted experimentation.
Vision FX is Distinct AI's local, desktop image-to-image editor. No node graphs, no cloud processing, no subscription pipeline sending your files anywhere. You load an image, describe what you want changed, and Vision FX generates it, either as a targeted edit or a full reimagining into a new style. That makes it a genuinely useful tool for anyone building a visual identity for a brand, a business, or a personal project, from real estate agents staging listing photos to marketers producing product shots at scale. This walkthrough covers both core workflows: editing an image while keeping its structure intact, and reimagining an image into an entirely different style.
Step 1: Getting Started — Download Your First Model
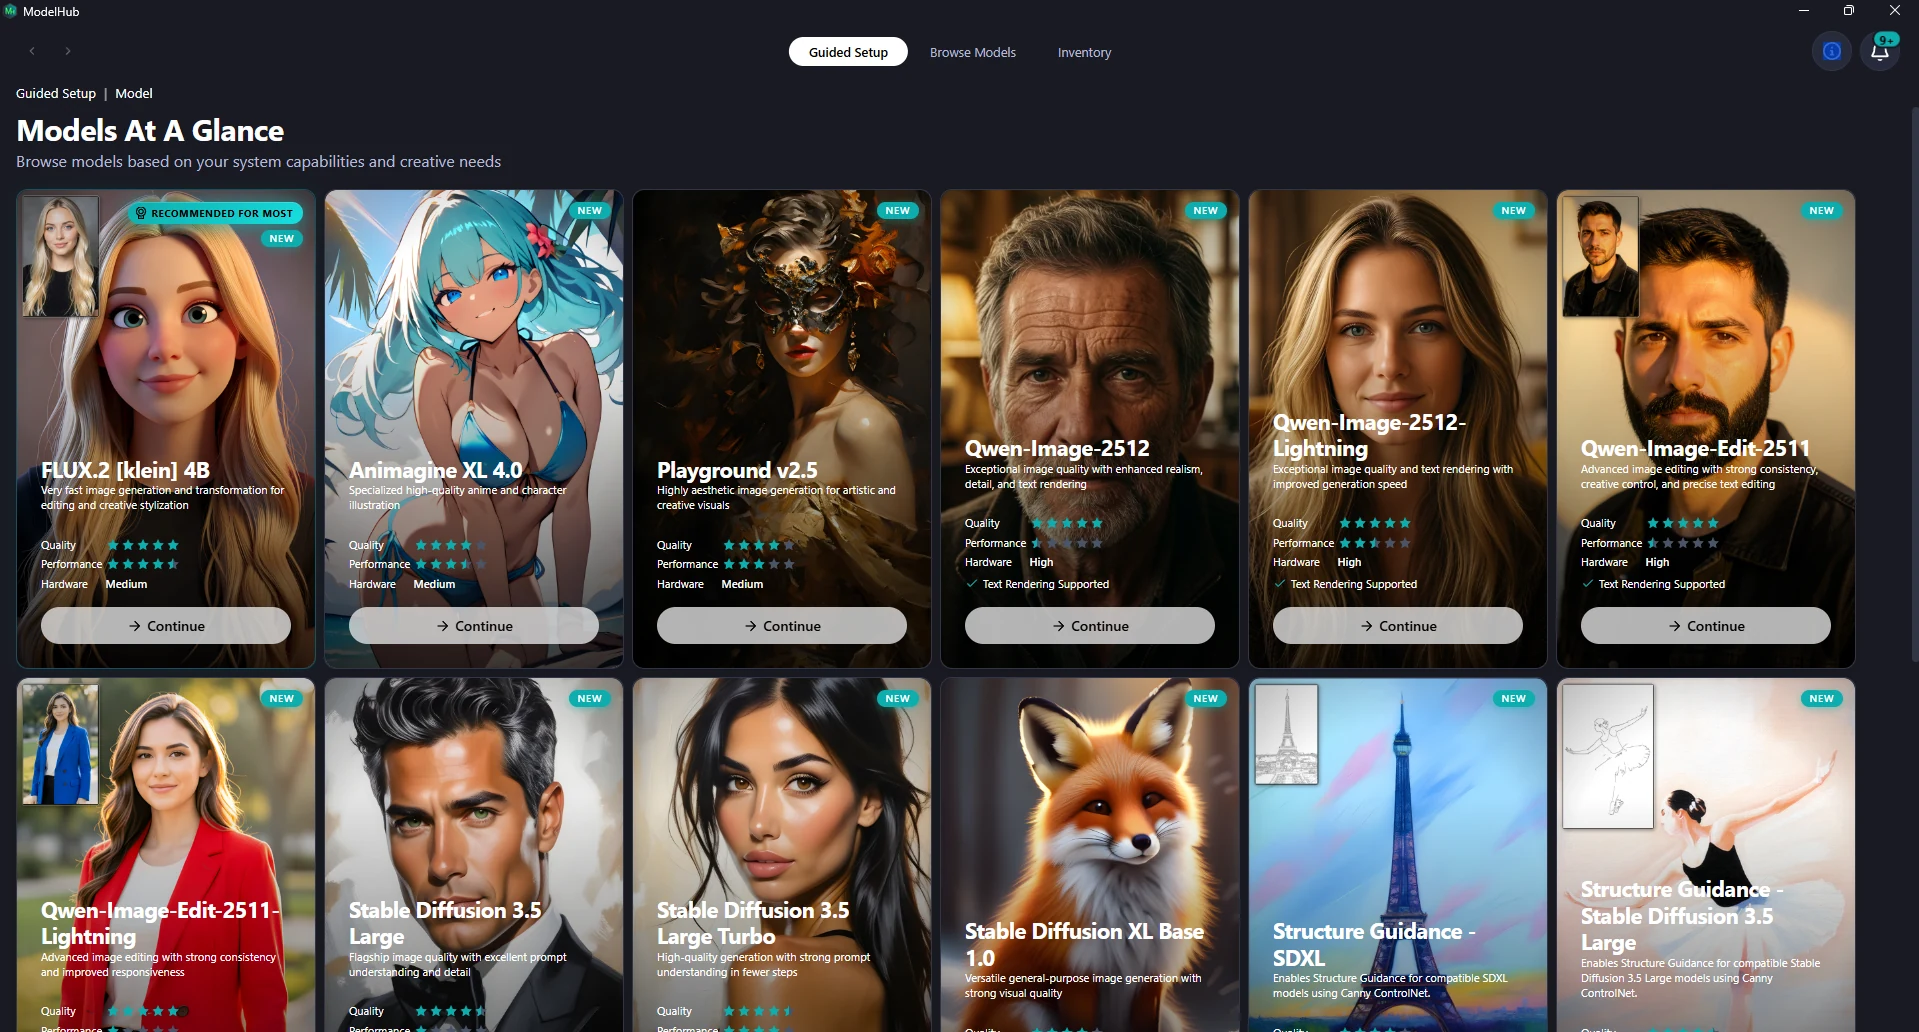
Because Vision FX runs locally and privately, it doesn't ship with a model pre-installed. You choose and download your own. Click Get Models in the top right to open the Model Hub, then use Guided Setup, which reads your hardware specs and recommends models suited to your machine.
Every recommended model can reimagine images; some can also edit them directly.
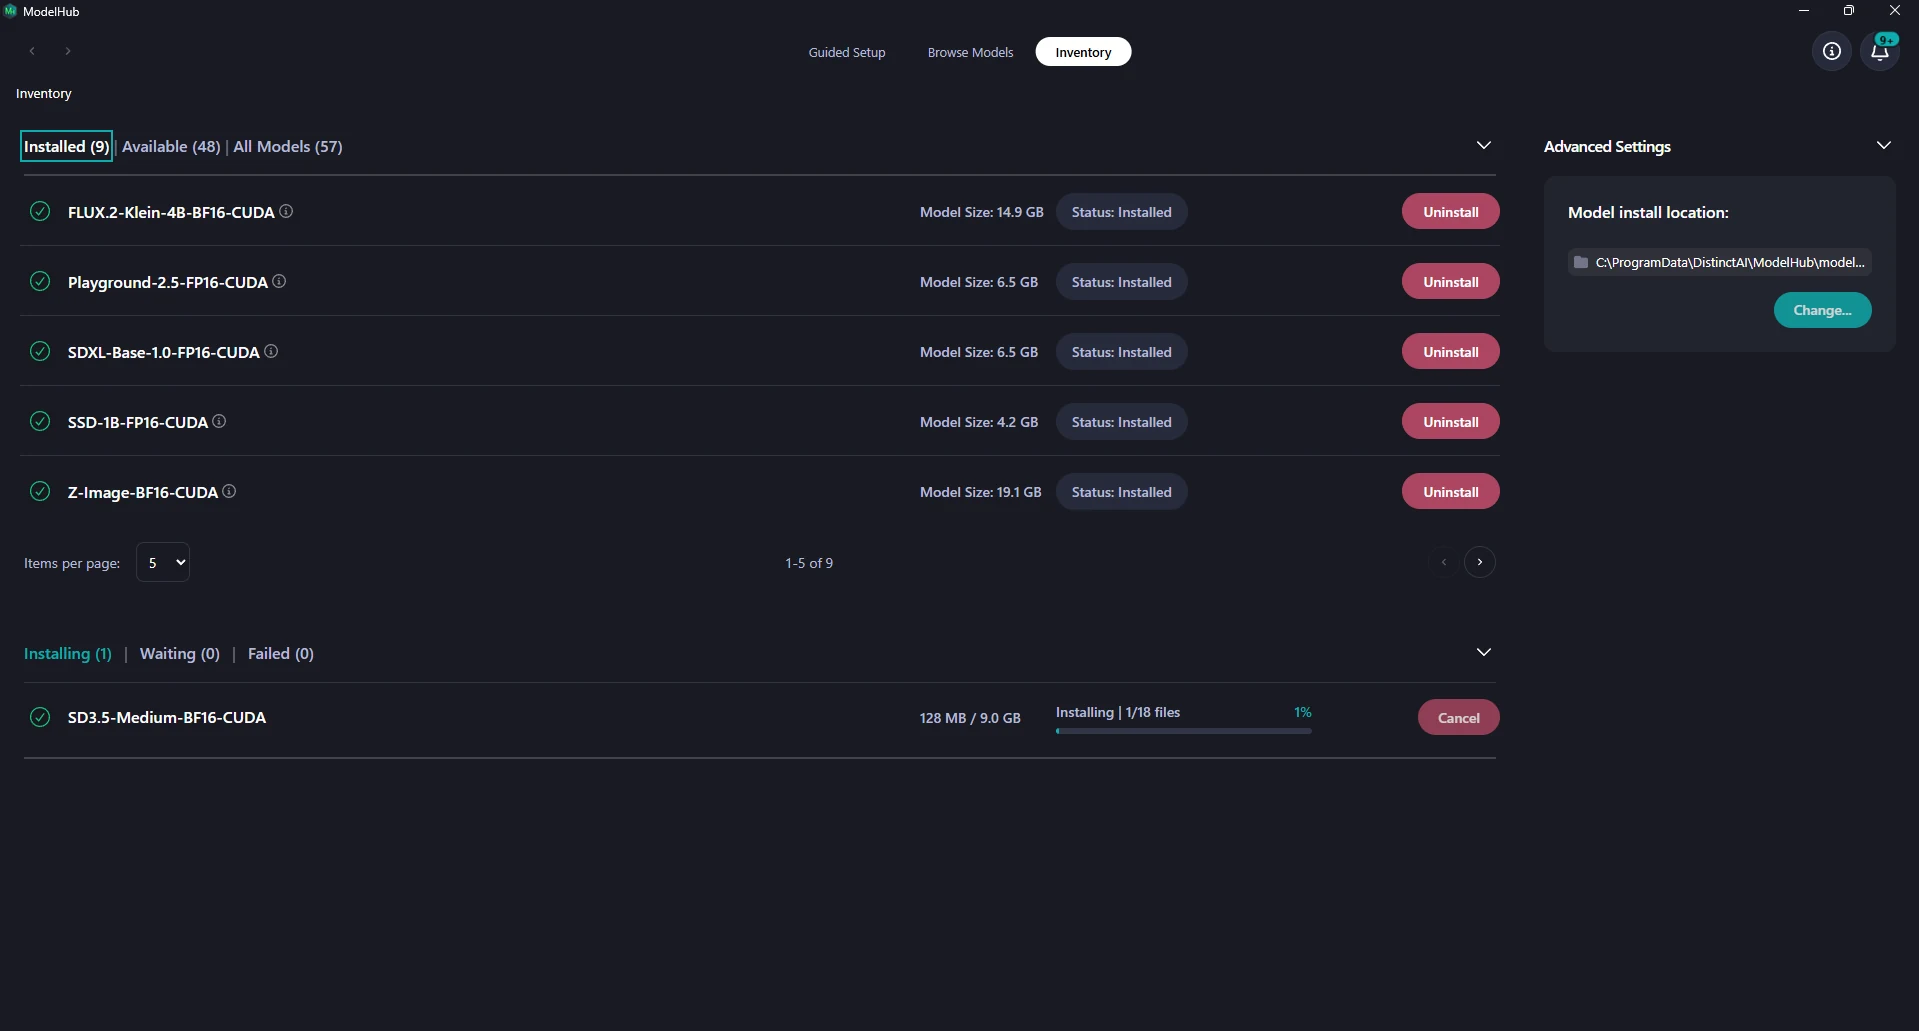
Flux.2 Klein is currently the strongest all-rounder for both. Click through the hardware prompts (GPU or CPU), and use More Info on any model to check its file size and minimum RAM/VRAM requirements before downloading. Once a model starts downloading, switch to the Inventory tab to watch its progress. You can minimize it and keep working while it finishes.
Step 2: Loading and Configuring a Model
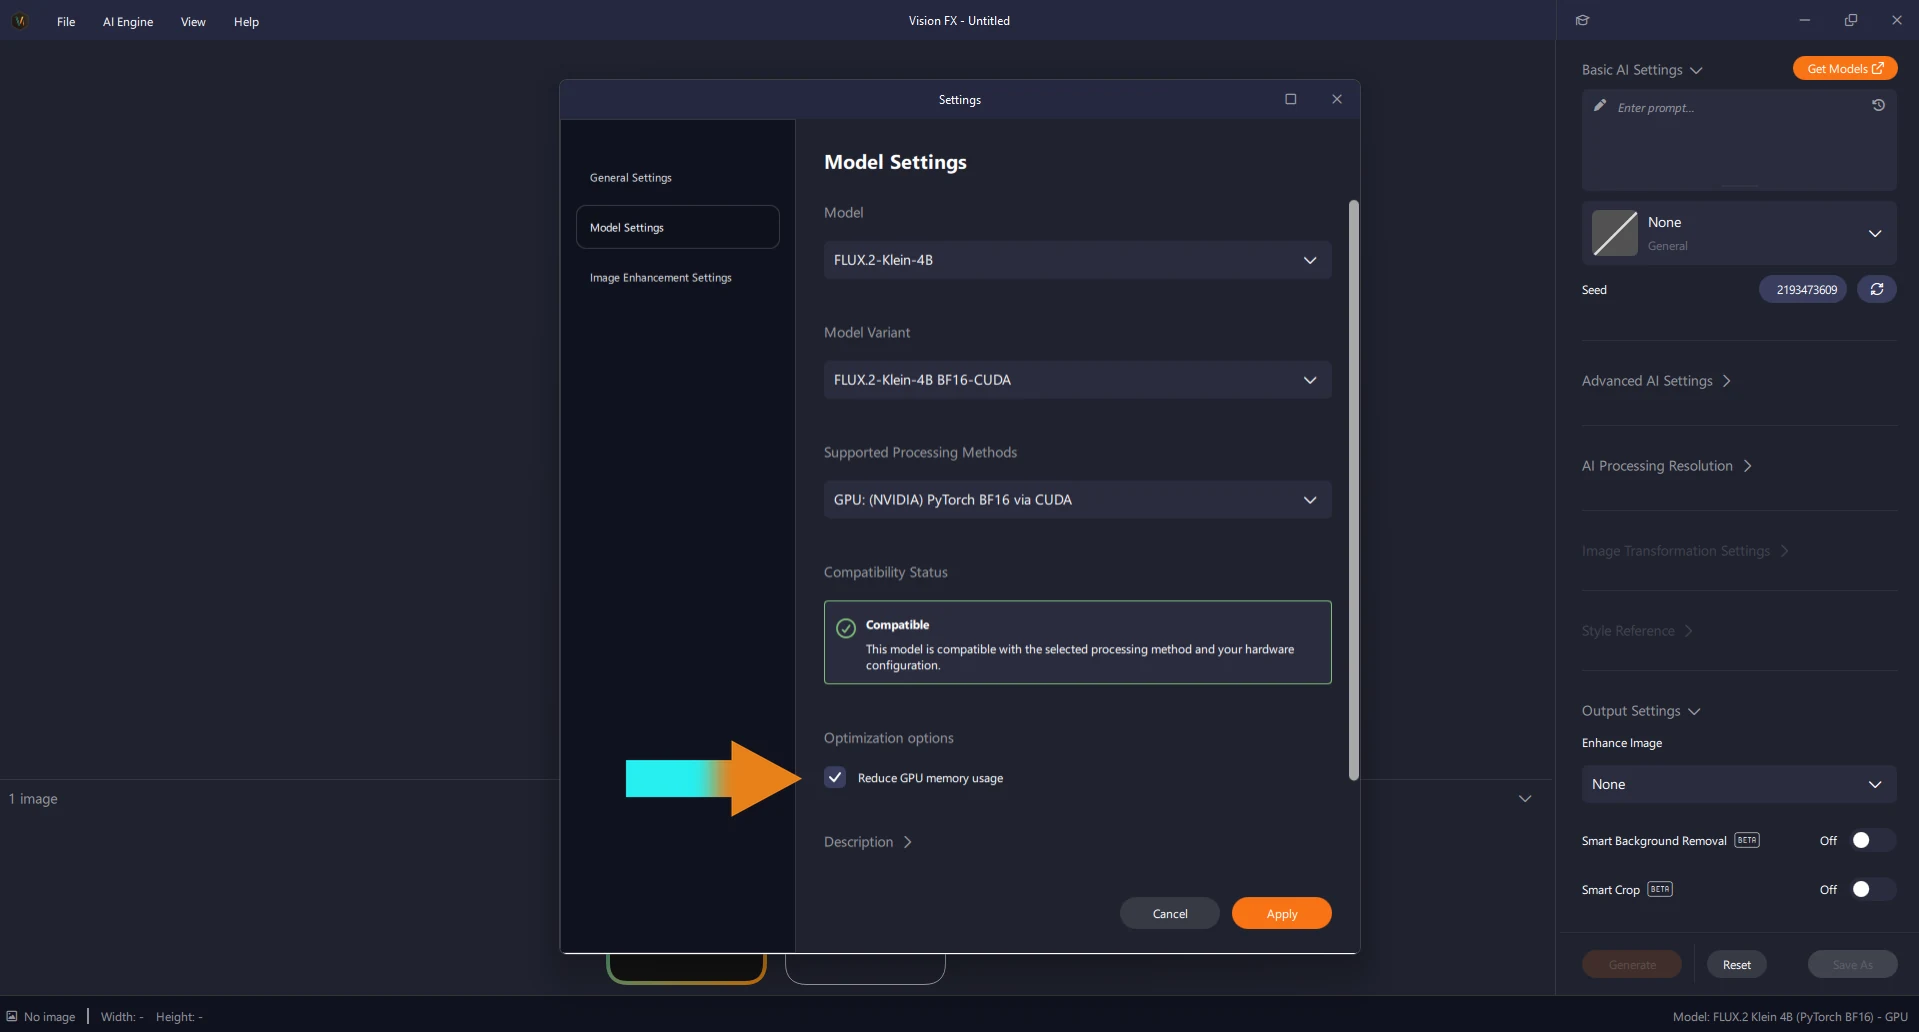
Once a model is downloaded, open AI Engine Settings → Model Settings (or click Open Model Settings if prompted) to select which installed model is active.
Reduced GPU Memory Usage is worth turning on: if a model is demanding more VRAM than your GPU has available, this setting shifts some of that load onto your system RAM to keep things running smoothly. You can also set Vision FX to remember your model selection and load it automatically on launch, so you're not reselecting it every session.
Step 3: Editing an Image: A Real Estate Staging Example
Editing in Vision FX means giving the AI a specific instruction while it holds the rest of the image steady, the same walls, windows, and layout- with only what you asked for changed.
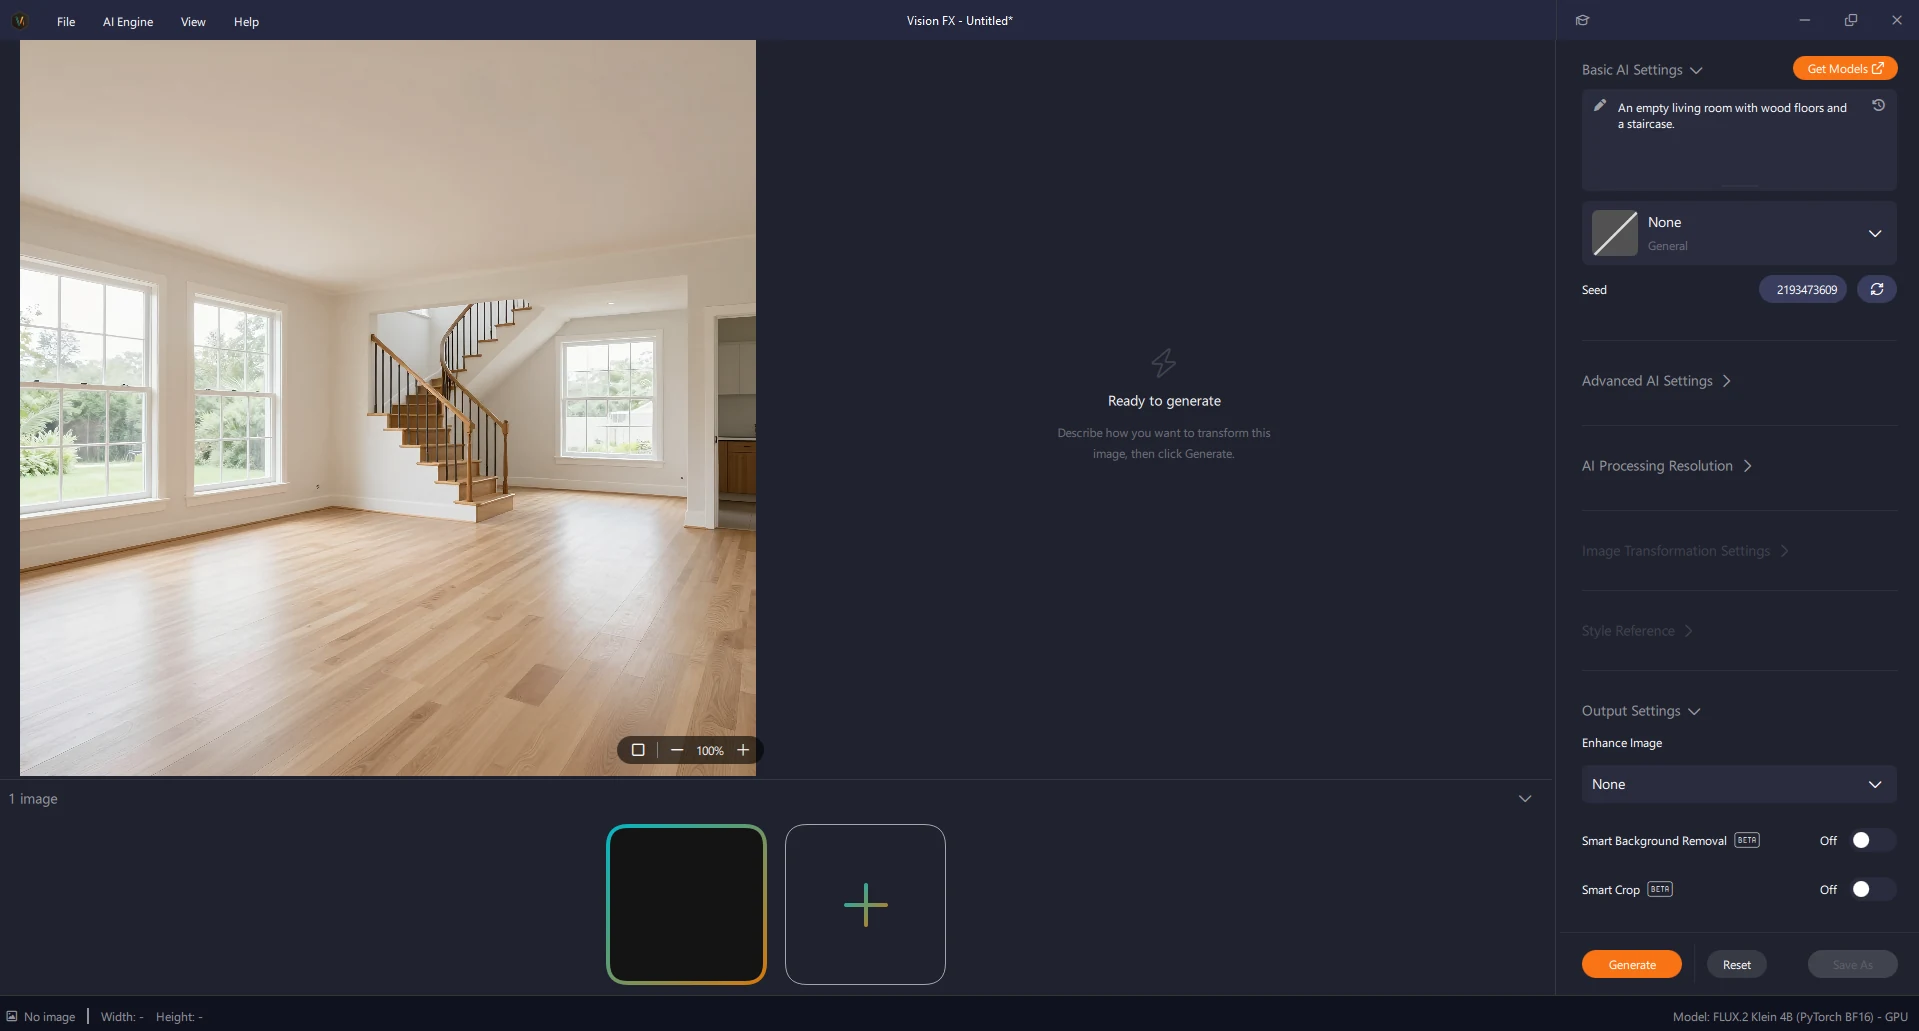
Here's a practical example: a home-staged interior shot, the kind of product photography real estate agents rely on constantly. Starting from an empty room image, a simple prompt:
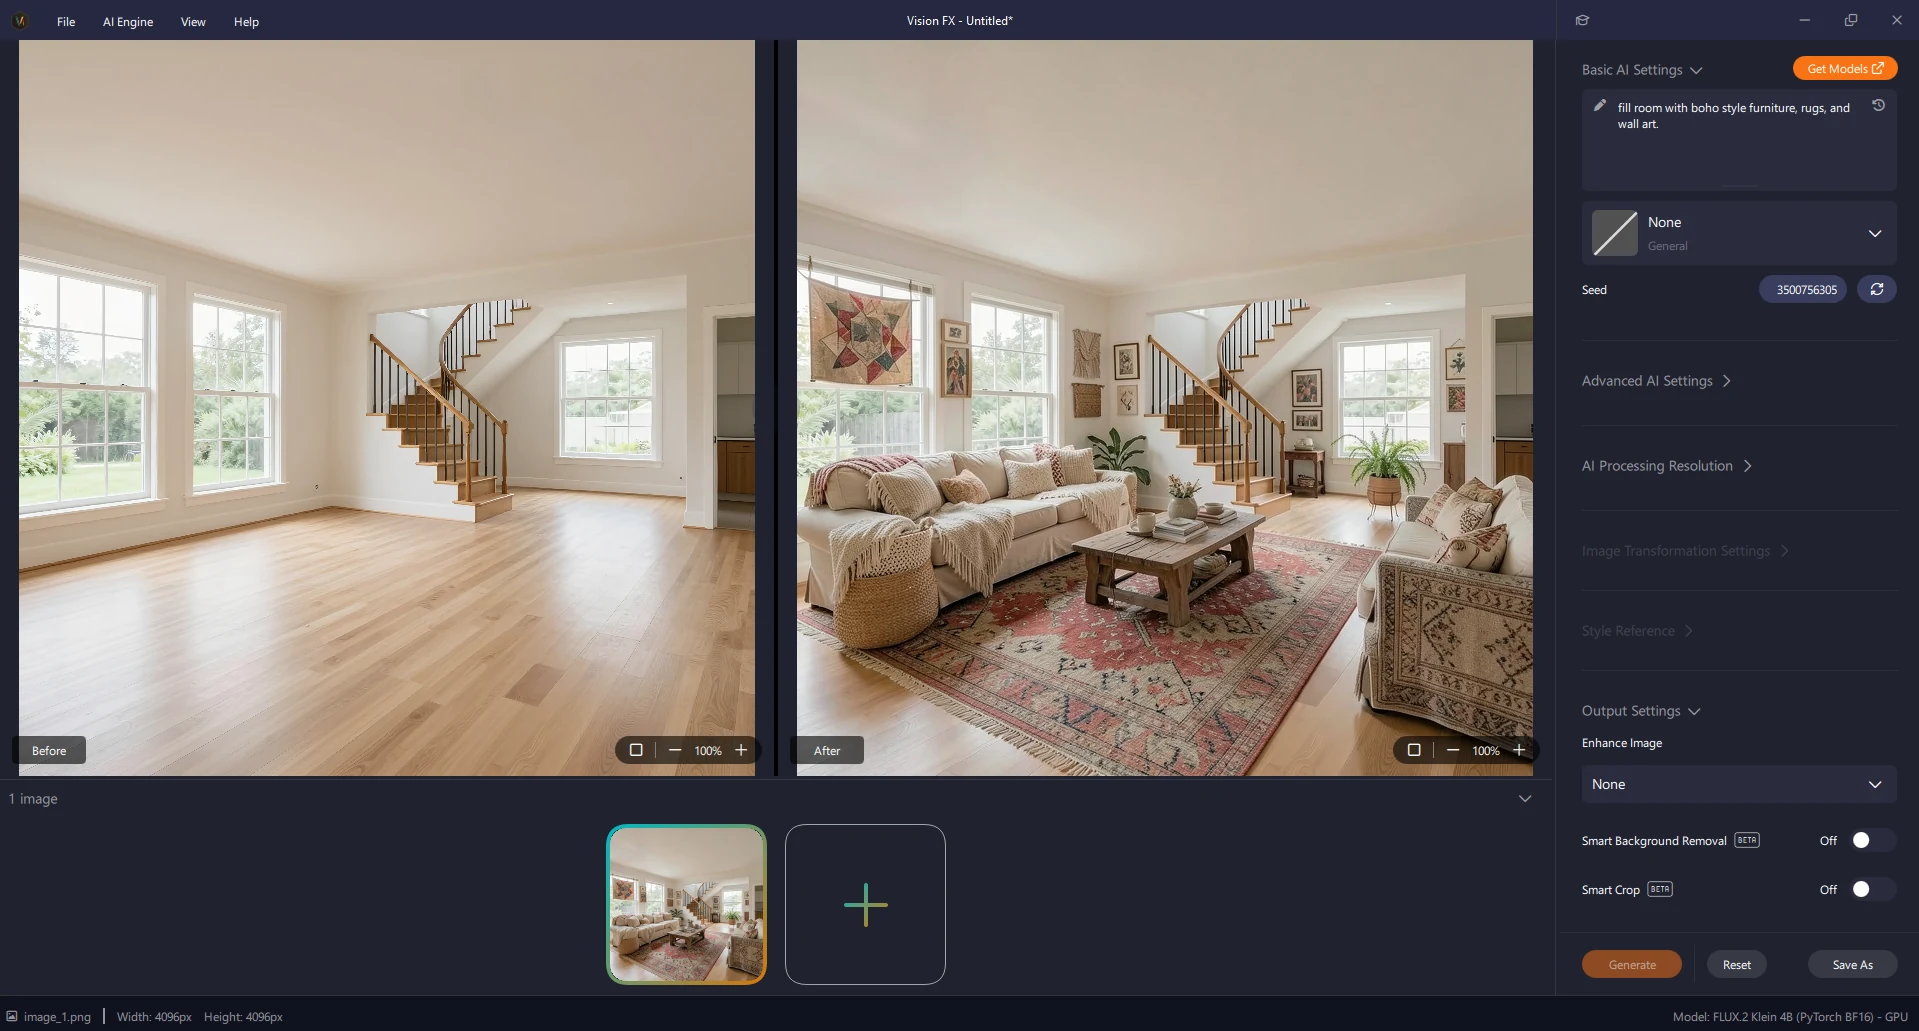
Fill the room with boho-style furniture, rugs, and wall art.
No lengthy prompt engineering required, though Vision FX handles longer, more detailed prompts (the kind you'd draft with an LLM) just as well if you want finer control.
The result holds the room's actual architecture exactly, same staircase, same windows, while filling in only the furnishings described in the prompt. Vision FX's View Mode toggle switches between a side-by-side comparison and a before/after slider, so you can check exactly what changed against the original without leaving the app.
Regenerating with a New Seed
Regenerating an image with the same prompt will return the same result by default, useful for consistency but less useful when you want variety. The seed reset button forces a fresh generation from the same prompt, which is the fastest way to try a different take on a direction you already like without rewriting the prompt itself.
The seed reset button is just under the prompt box to the right.
.webp)
Step 4: Batch Mode: Generate Multiple Variations at Once
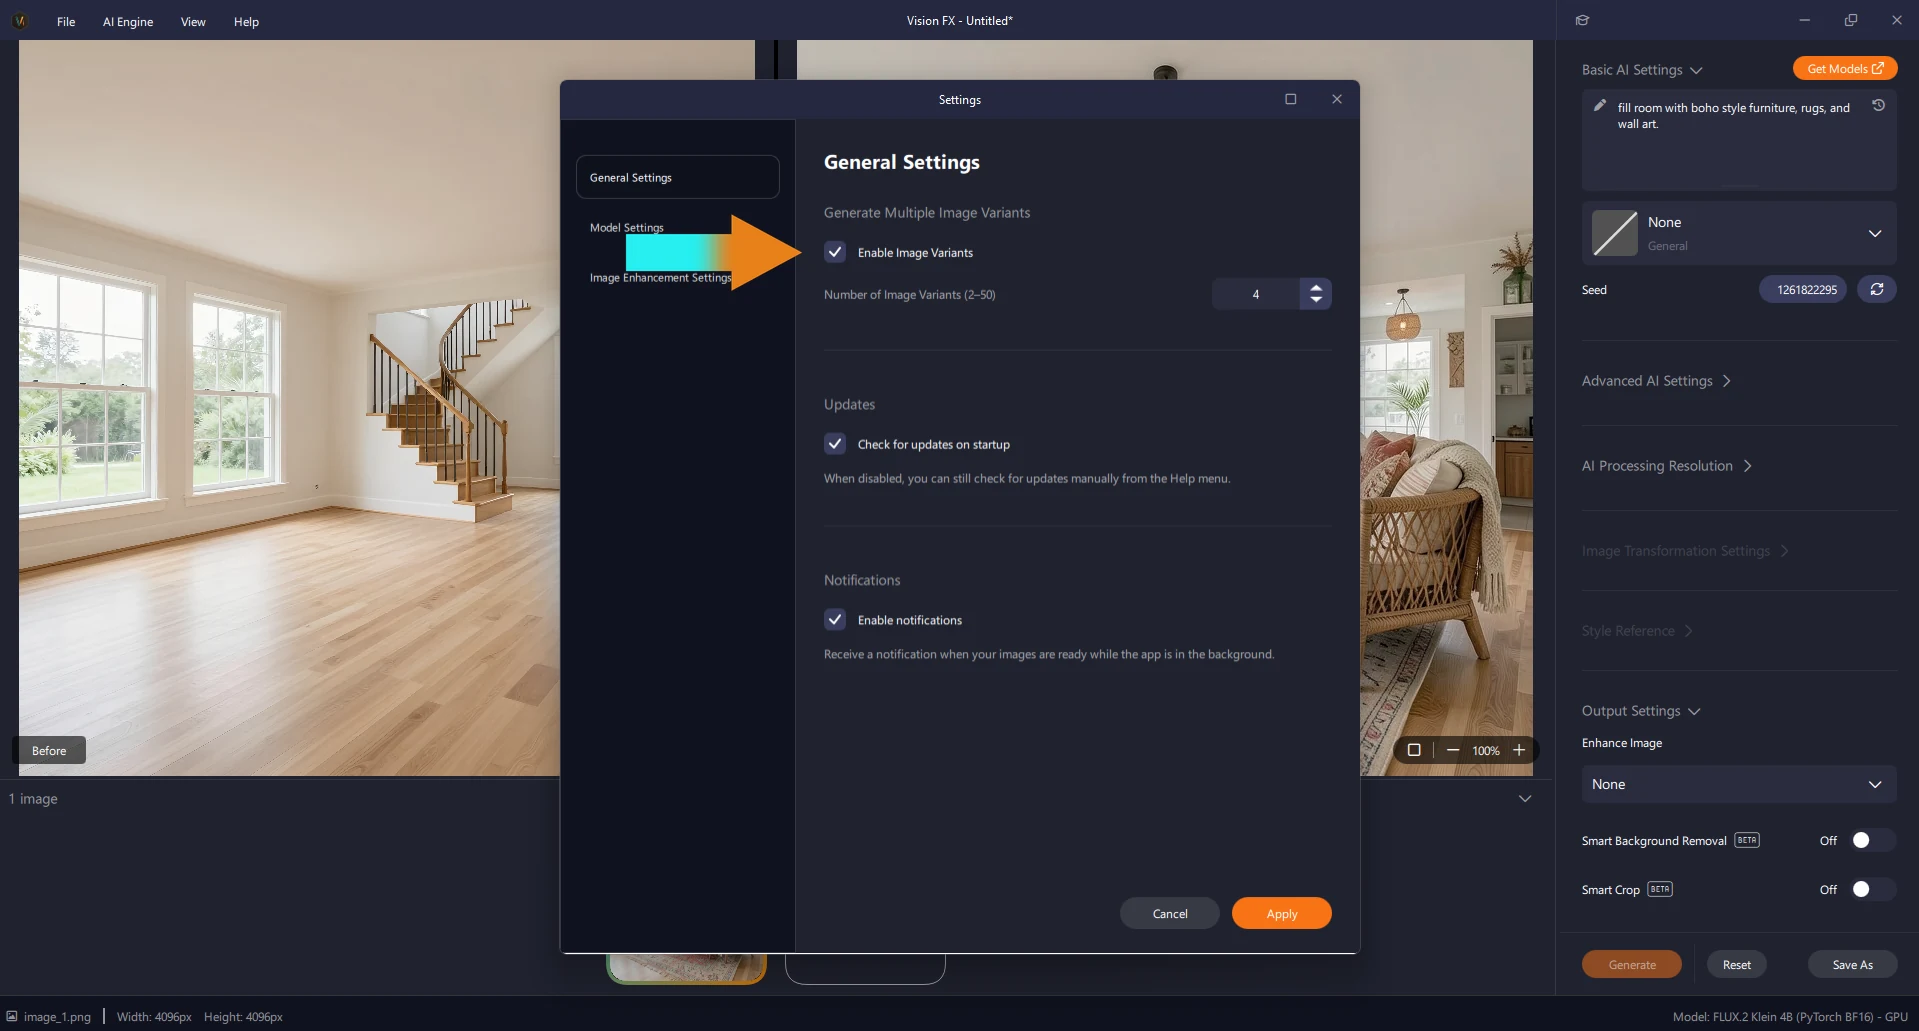
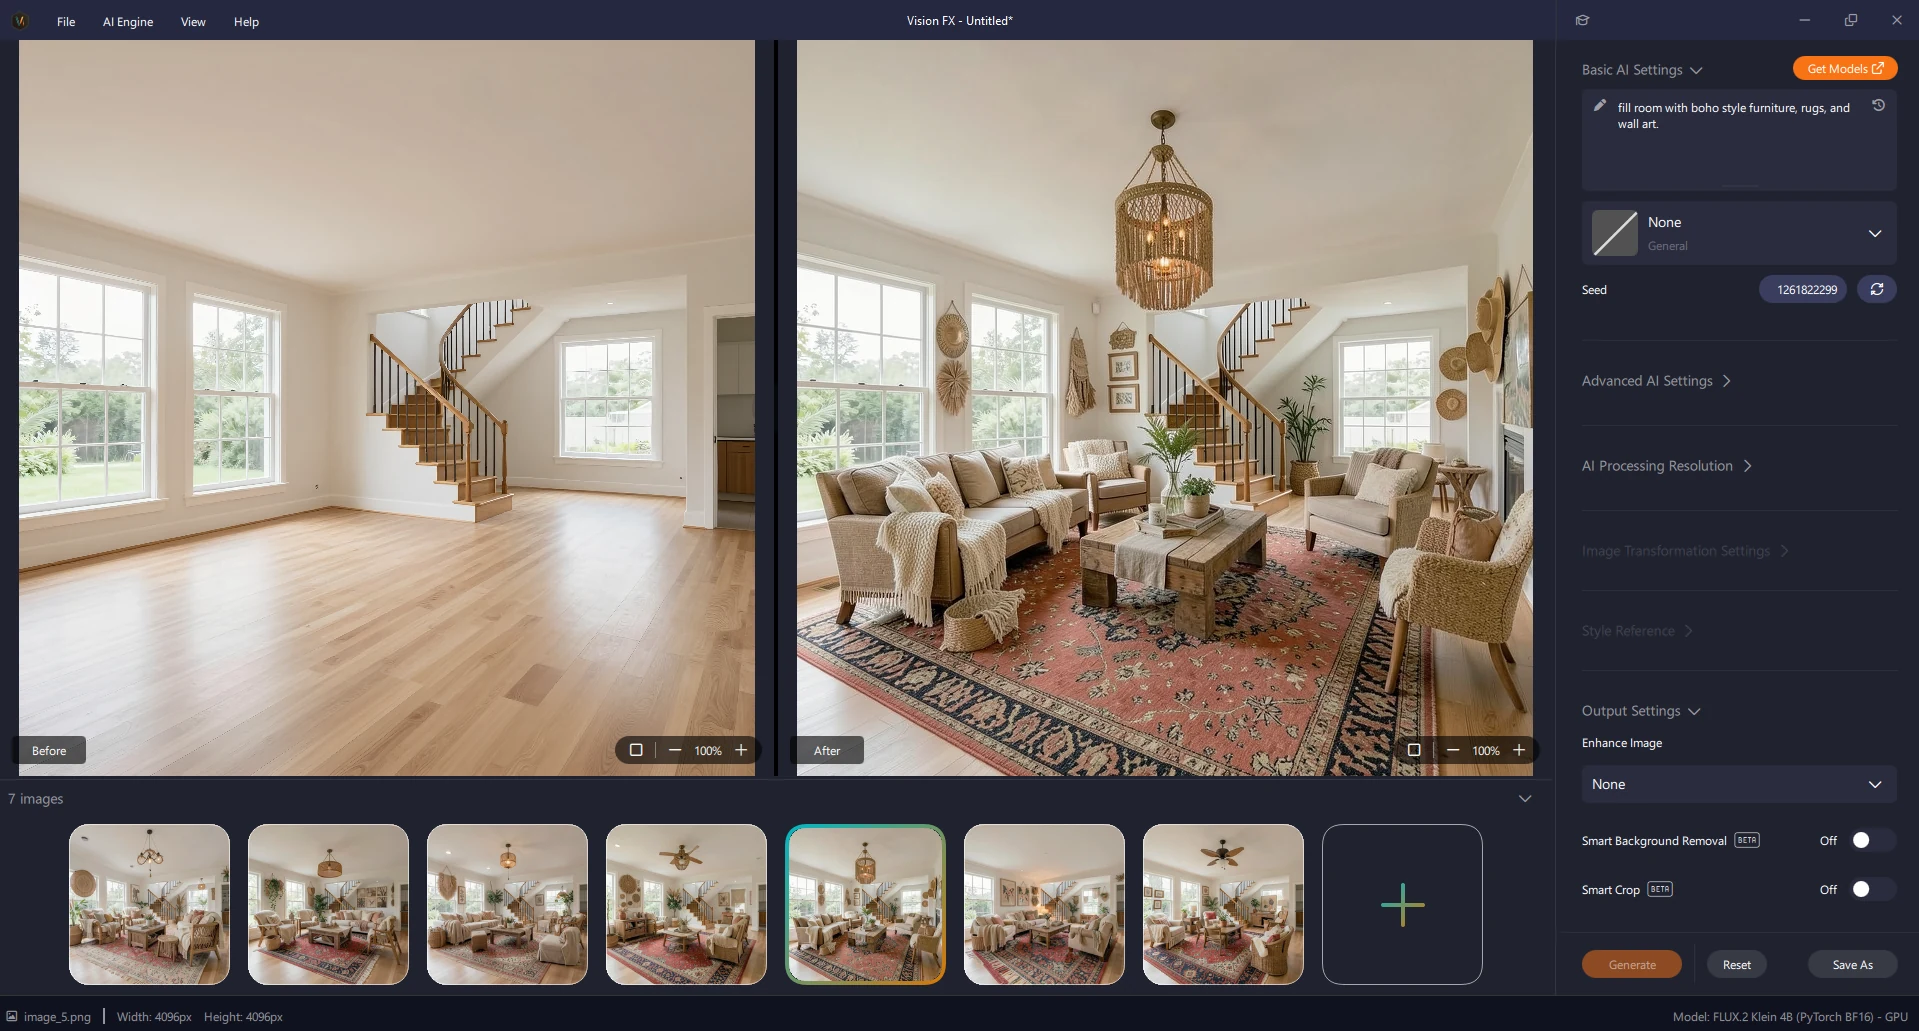
Under AI Engine Settings → General Settings, enabling Image Variants turns on batch mode: up to 50 images generated from a single click of Generate. This is especially useful when you want options to choose from rather than a single result, staging the same room several different ways, or producing a run of product shots in one pass.
If you're generating a large batch, it's worth leaving notifications enabled so Vision FX can alert you when the run finishes while you work on something else.
Step 5: Continuing to Edit a Saved Result
A saved result doesn't have to be the final one. Right-click an image (in the gallery or the main canvas) and choose Save As, then open a new document and drag that saved image back in to keep refining it with additional prompts.
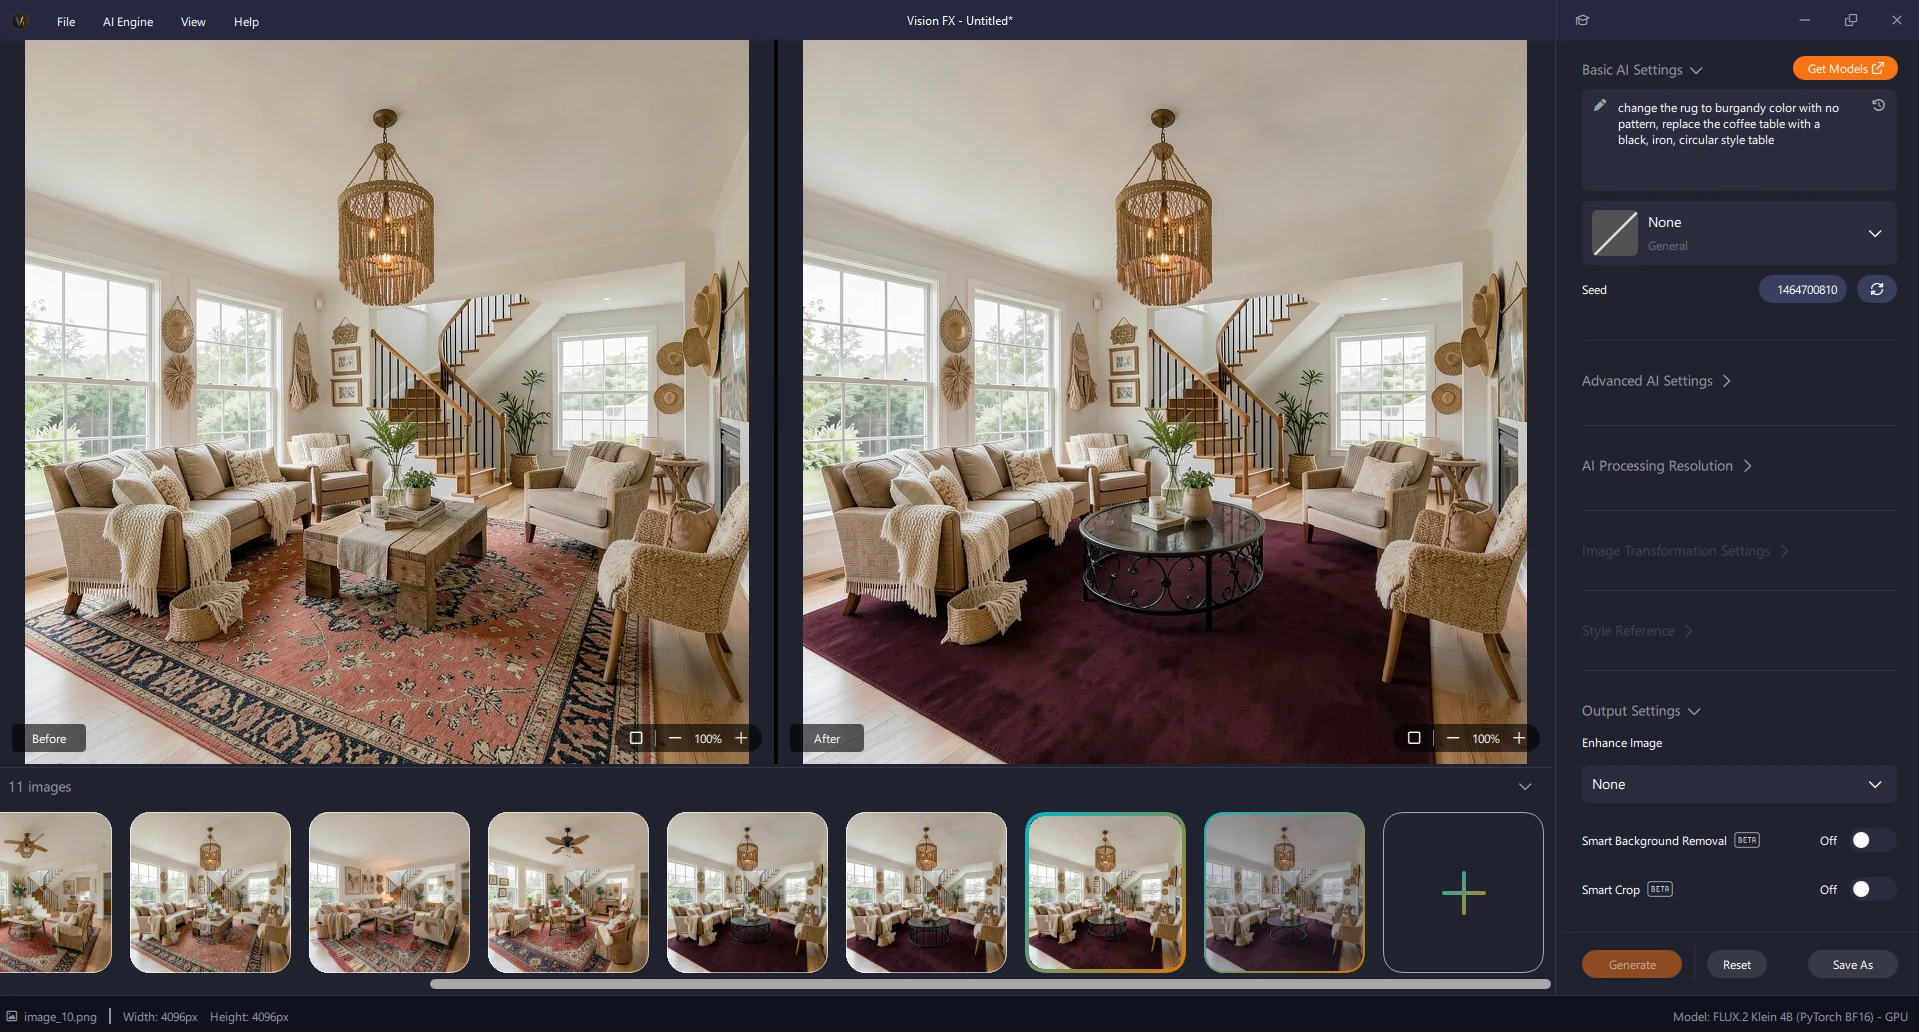
Continuing the staging example: a follow-up prompt swapping the rug for a solid burgundy and replacing the coffee table with a circular black iron table changes only those elements. The room's structure holds exactly as before.
Step 6: Reimagining an Image into a New Style
Editing keeps an image's structure intact. Reimagining is different: it transforms the entire image into a new visual style rather than making a targeted change.
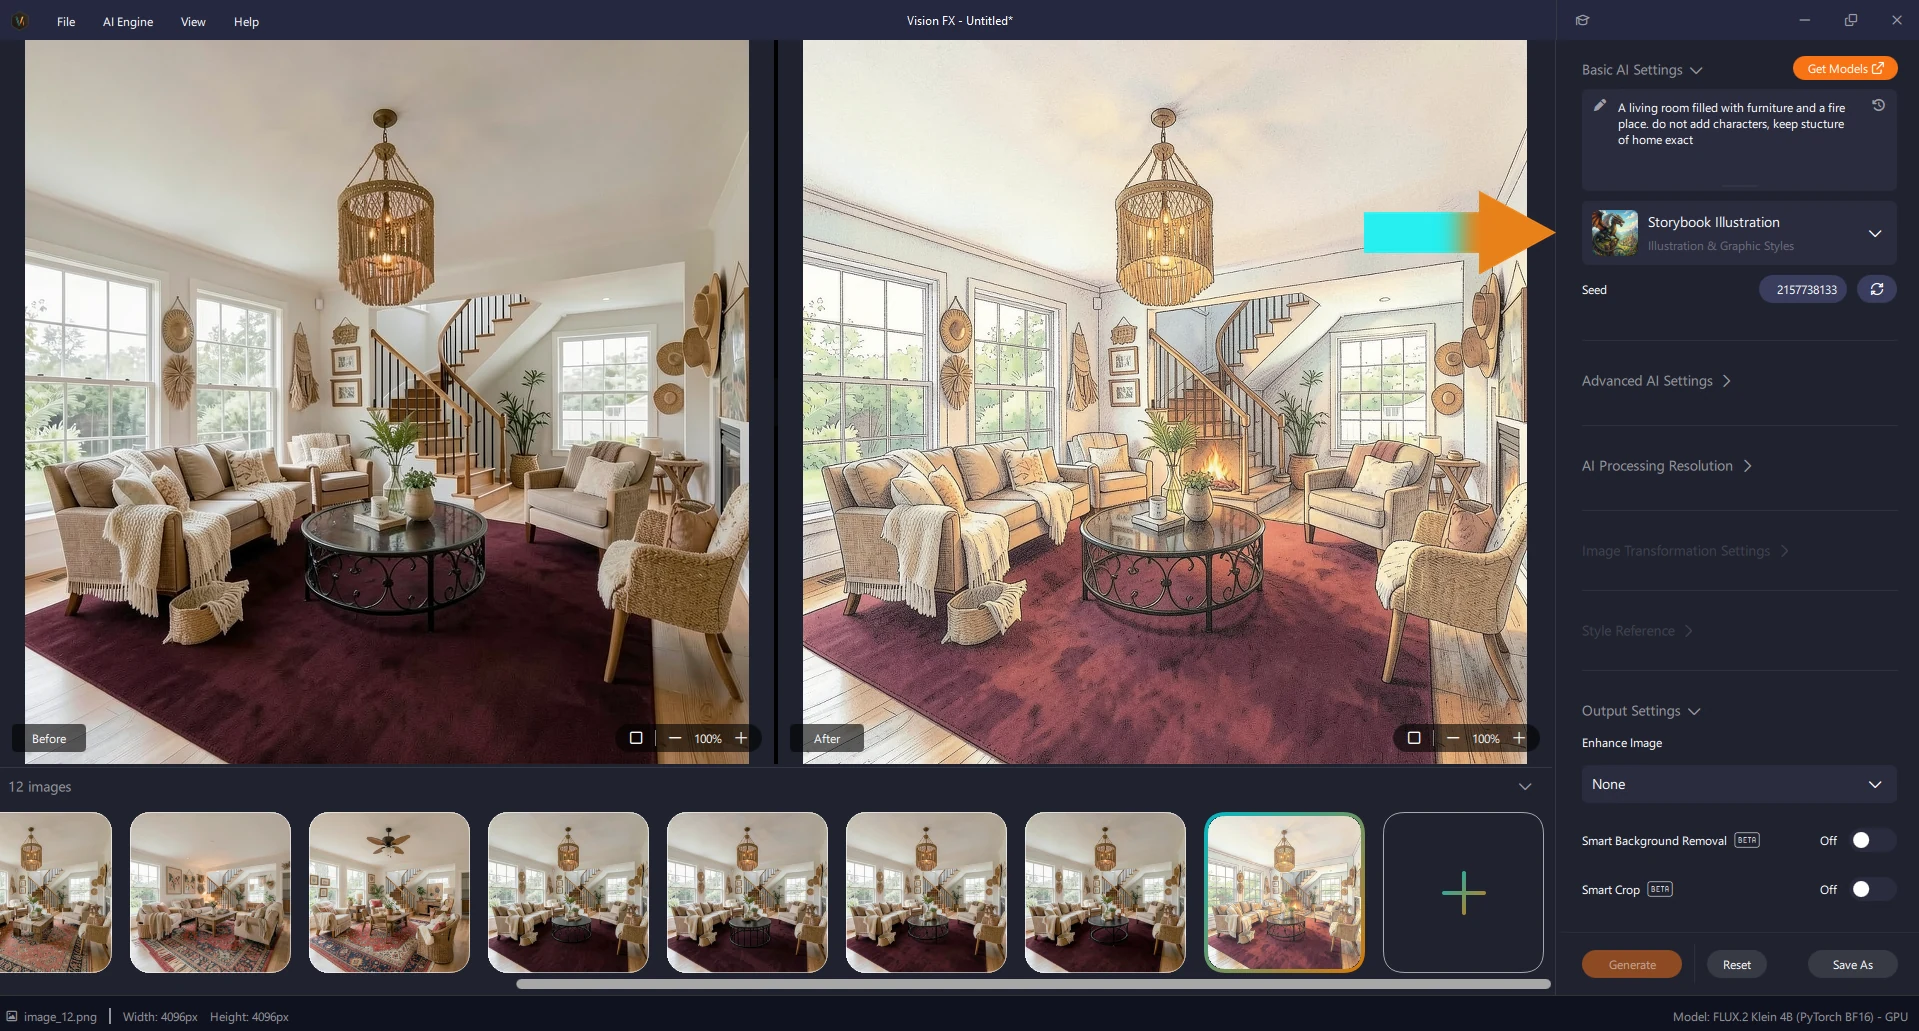
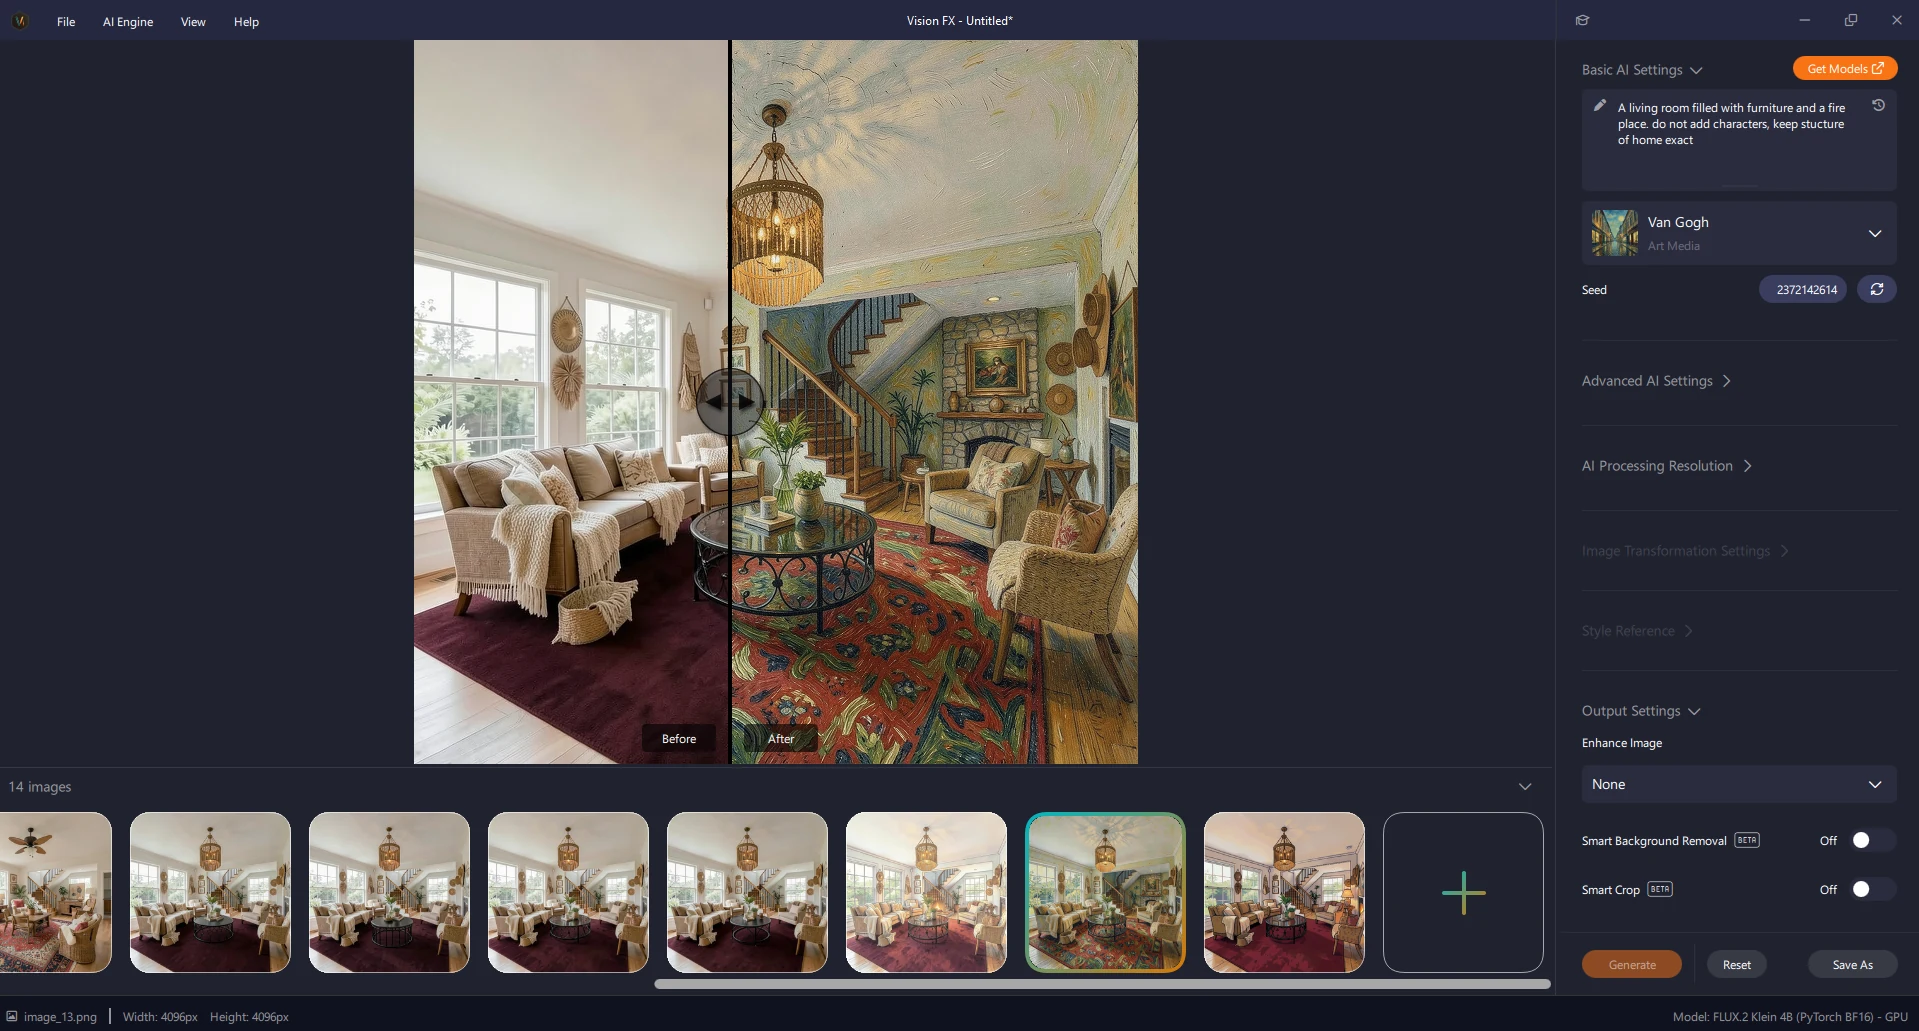
Vision FX offers two ways to steer this: natural-language prompting in the same prompt box, or its built-in style presets, a library of options covering styles from illustration and art media to graphic looks like pixel art. Presets are a fast way to get a specific, consistent look without having to describe it yourself. Here's the same furnished living room run through three different presets from a single prompt:
.webp)
Style presets currently include:
- Animated Feature
- CGI Animation
- 3D Cartoon
- Clay Animation
- Cartoon
- Caricature
- Storybook Illustration
- Anime
- Comic Book
- Vector Illustration
- Pixel Art
- Low Poly
- Watercolor
- Acrylic Painting
- Oil Painting
- Van Gogh
- Impressionist Painting
- Pencil Sketch
- Ink and Line Art
- Charcoal Sketch
- Fantasy Art
- Cyberpunk
- Post-Apocalyptic
A Simple Workflow for Branding and Product Photography
The two workflows combine well: bring an image in, edit it until the composition and details are right, save it, then bring that edited version back in and reimagine it into whatever final style you're after. Editing first gives you control over content. Reimagining second gives you control over style. Trying to do both in a single pass is harder to steer.
Try It Yourself
Editing and reimagining are the two core moves in Vision FX, and most real workflows, staging, branding, product photography, end up combining both. Explore the model hub, try a few style presets, and see what a simple prompt can do with your own images.