How to Get Started With Distinct AI: A Step-by-Step Walkthrough
Learn how to go from software installation to a finished, production-ready product design using Vector FX. A complete beginner's guide to choosing models, prompting, and exporting crisp SVGs.
Distinct AI makes it easy to start creating with local AI directly on your desktop. Render FX, Vector FX, and Vision FX all follow the same basic workflow, so once you understand how to use one, you’ll know your way around the others.
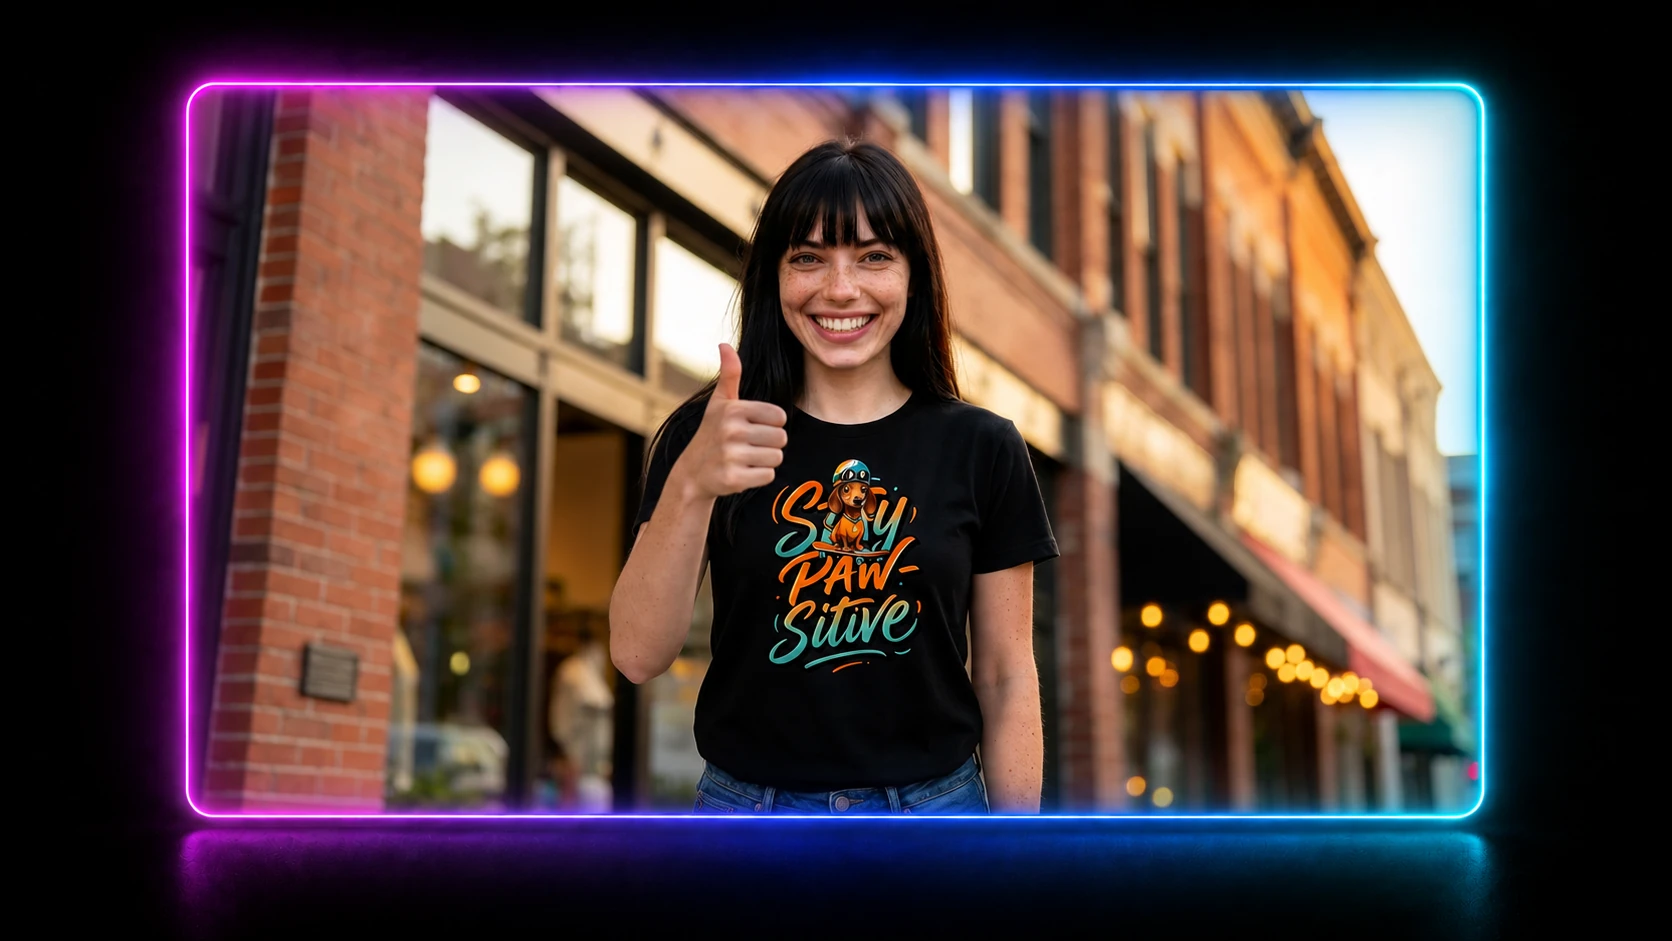
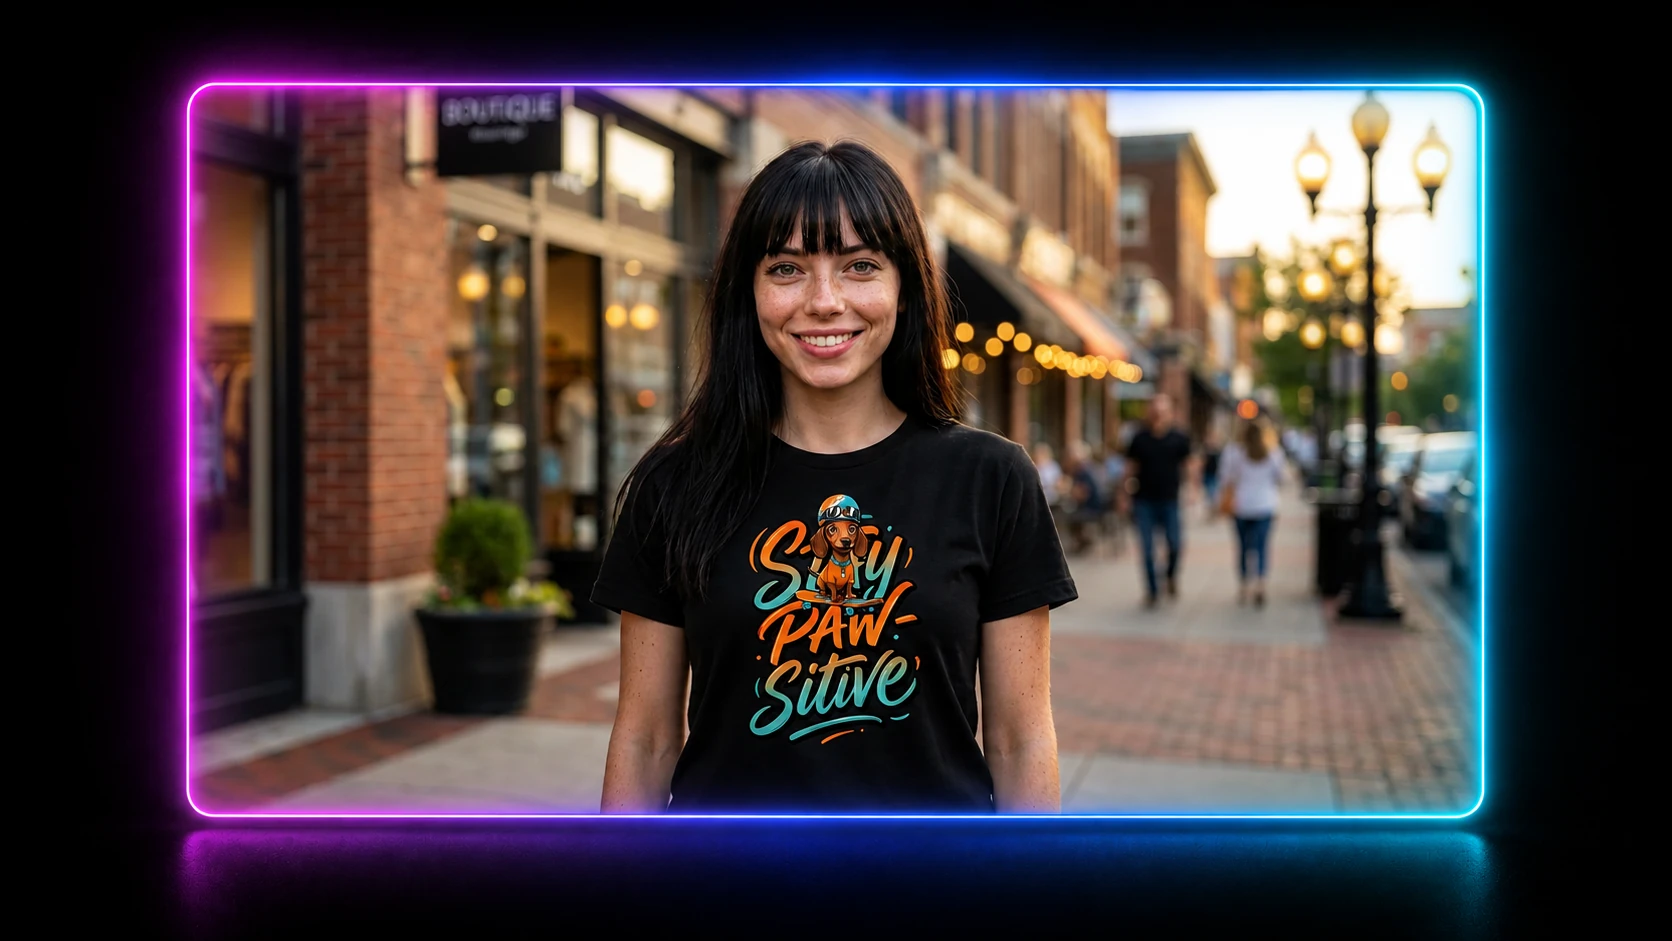
In this walkthrough, we’ll use Vector FX to show you how we went from installation and model setup to the finished T-shirt design worn by Raya below. We’ll generate the original artwork, refine it through prompting and presets, export the final vector, and bring it into an editing program to complete the design.
Install Vector FX
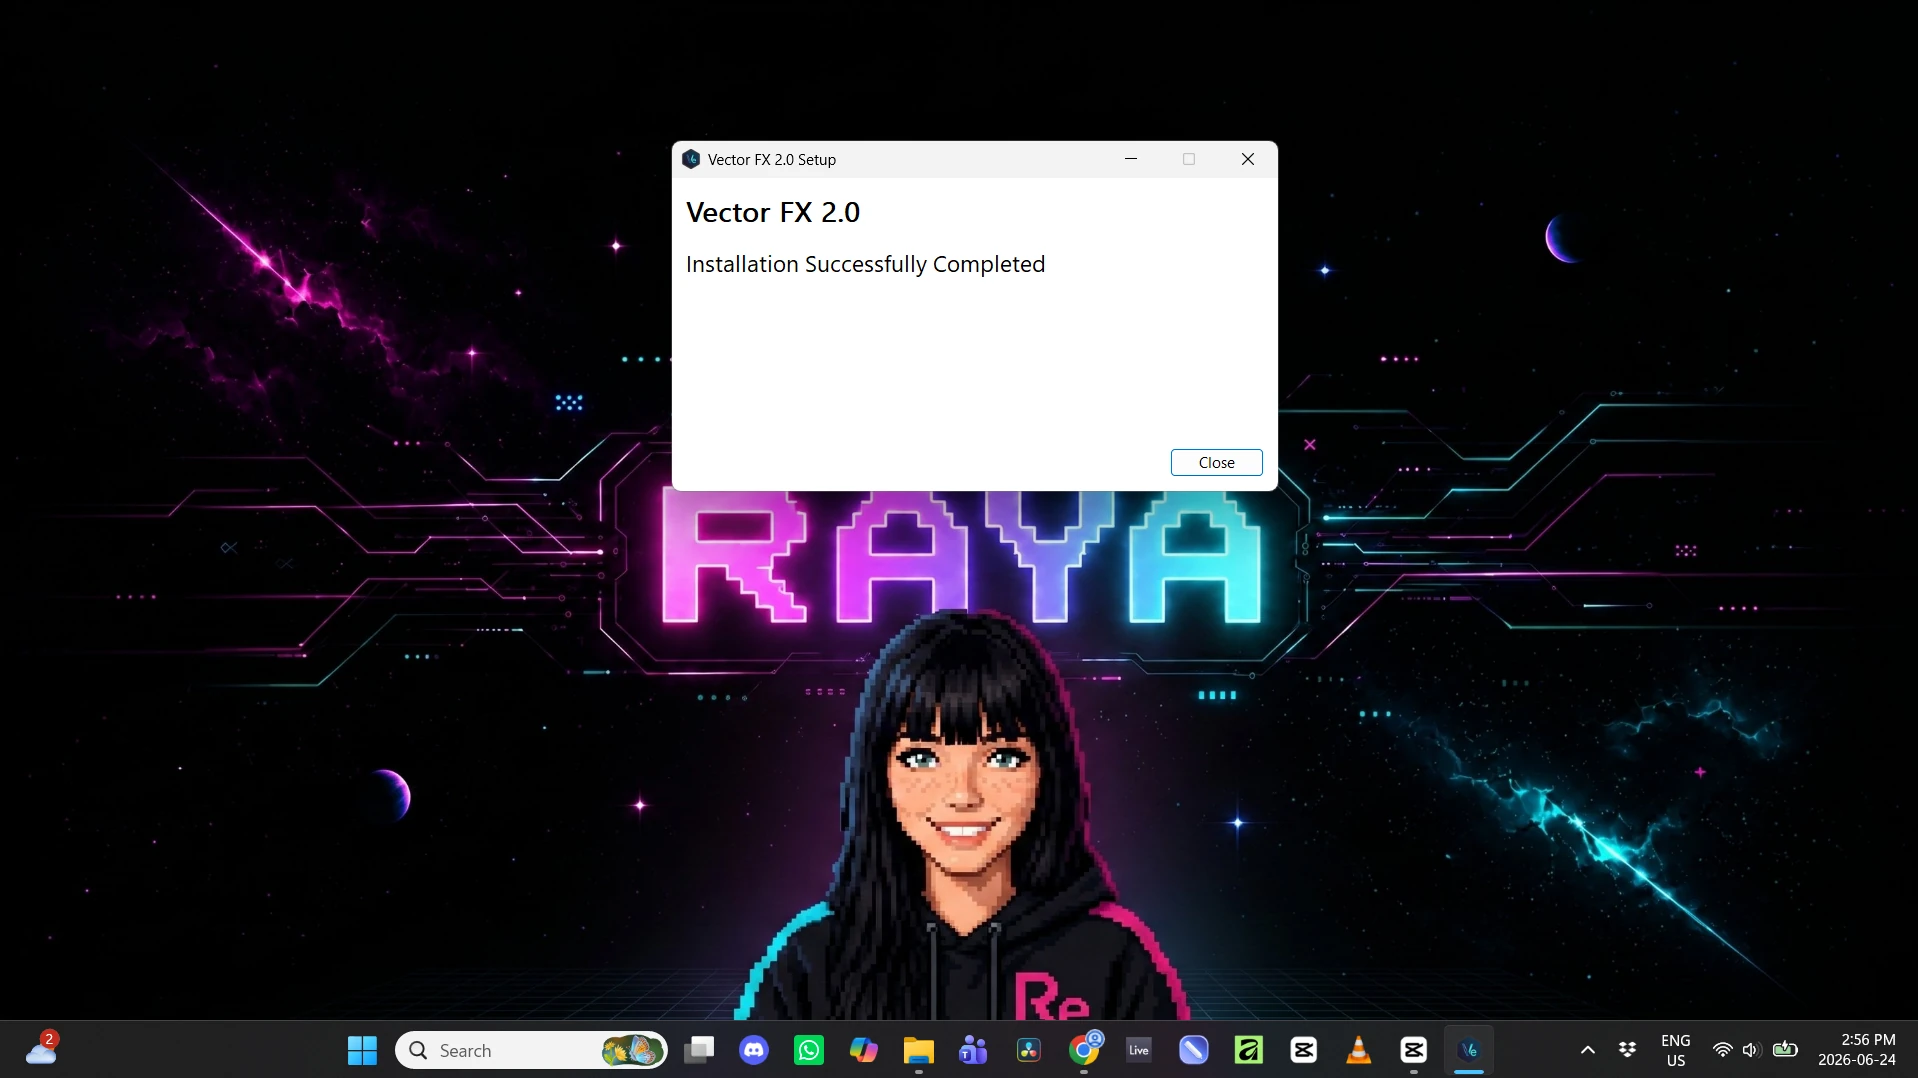
From the Distinct AI website, open the Products menu and select Vector FX 2.0. Purchase and download the app from the Vector FX product page, then open the installer and follow the on-screen instructions.
Once the installation is complete, click Close and launch Vector FX. The app may take a moment to initialize its local AI engine the first time it opens.
The same basic installation process applies to Render FX and Vision FX
Your First Move: Download a Model
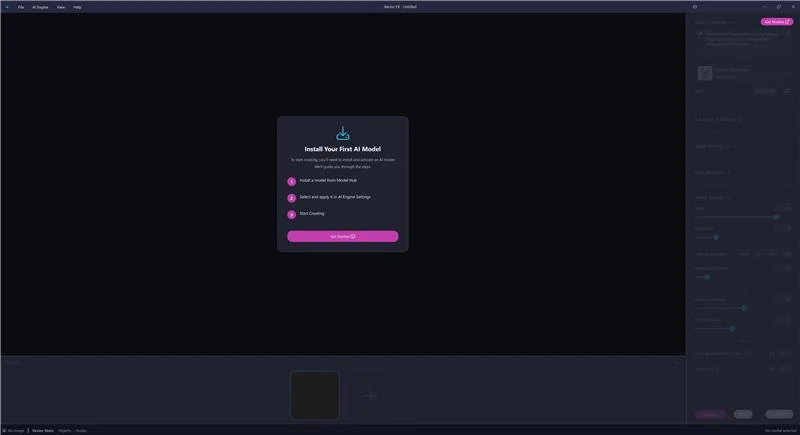
When Vector FX opens for the first time, you’ll arrive at its clean, simple interface. All of the controls will be greyed out because you’ll need to install a model before you can start generating.
Click Get Models in the top-right corner to open the Model Hub.
Choose a Model
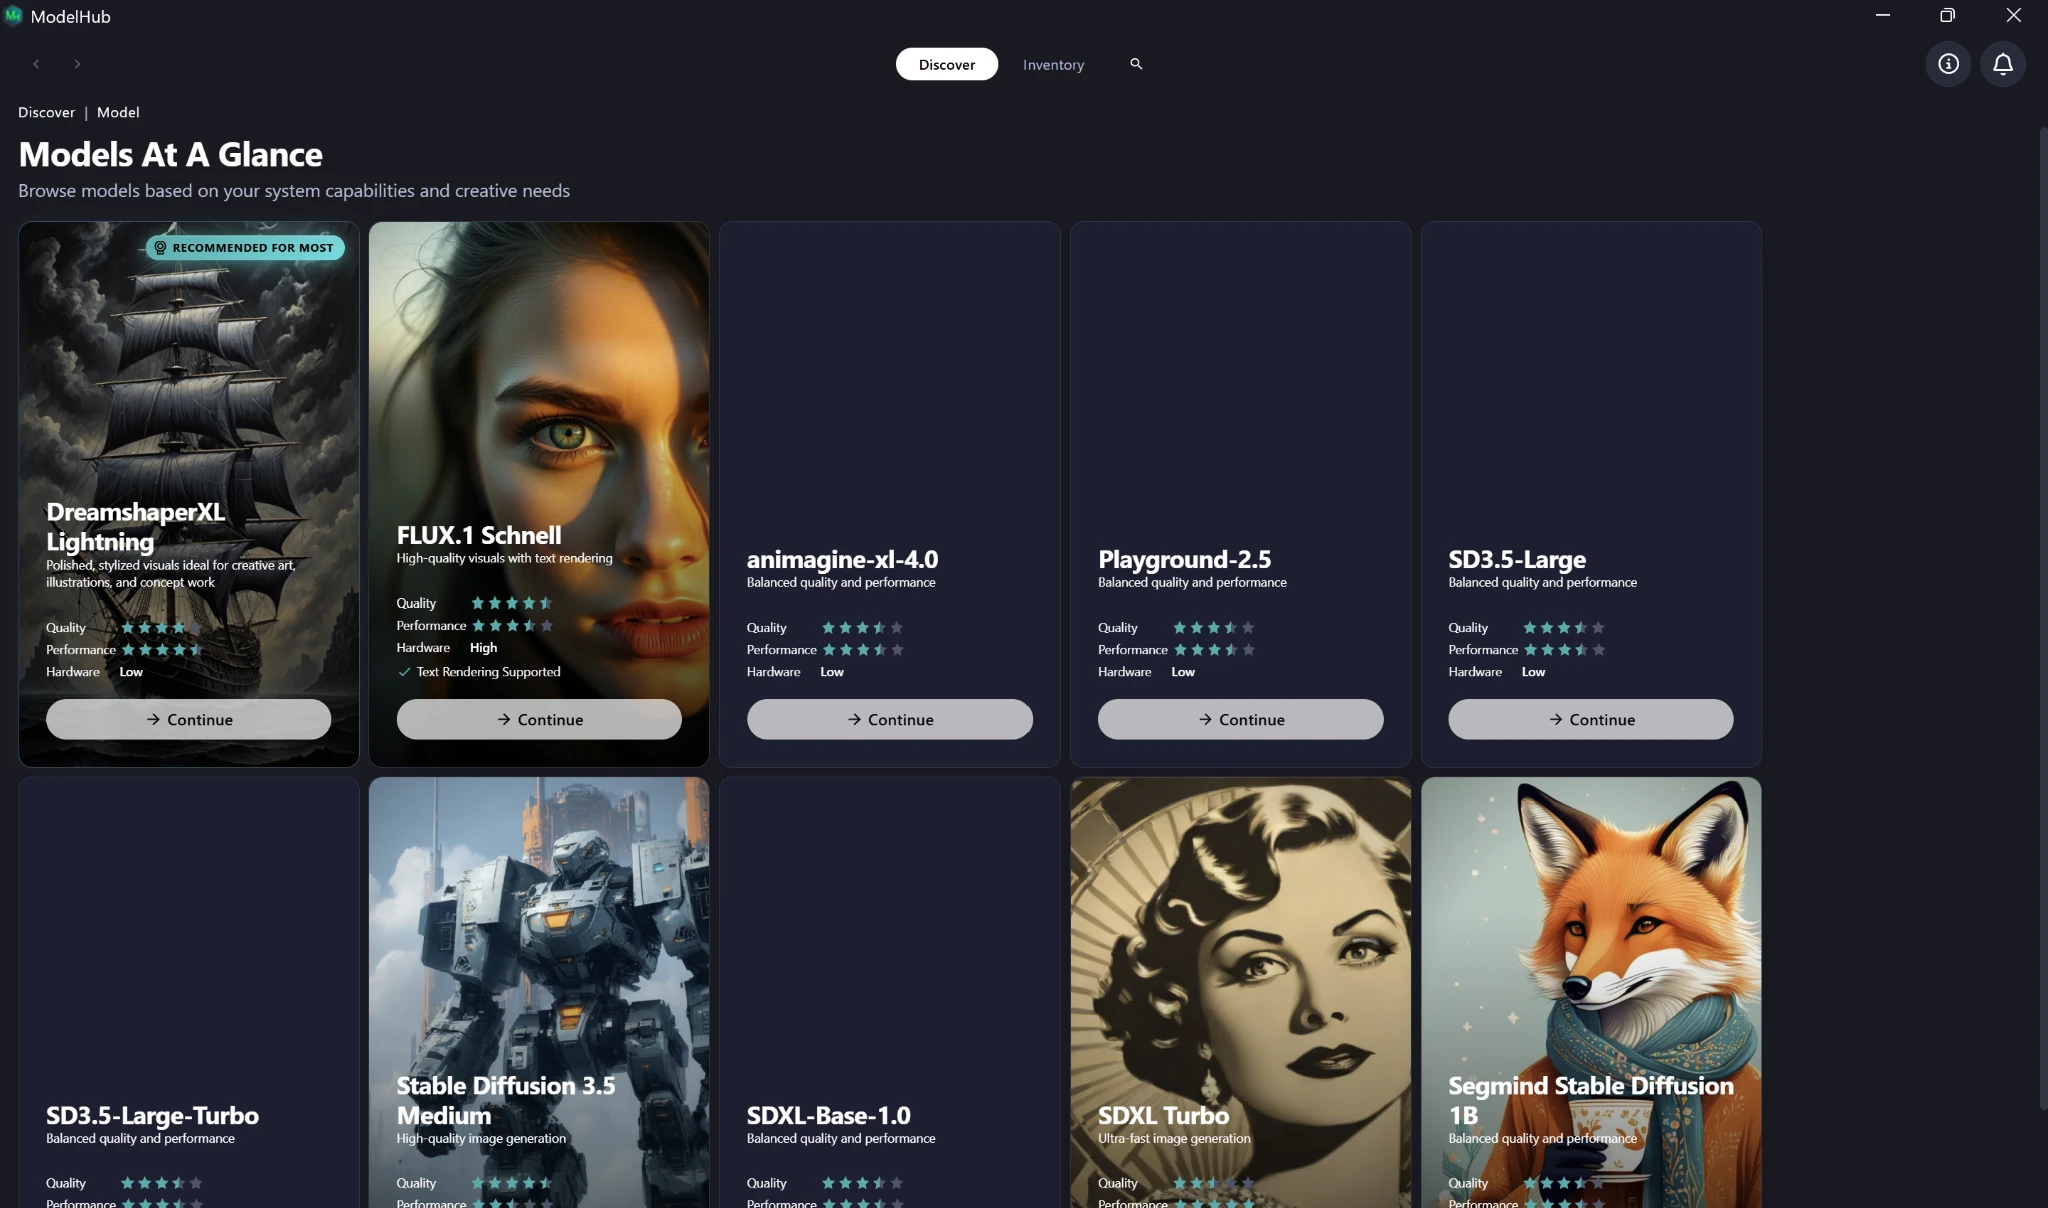
The Model Hub shows the models currently available to download, along with additional models that are coming soon. Each model card outlines what the model is best suited for stylistically, and the level of computer hardware it requires.
For this walkthrough, we’ll select DreamShaperXL Lightning. Click Continue on the model card to move to the download page.
Choose Your Hardware
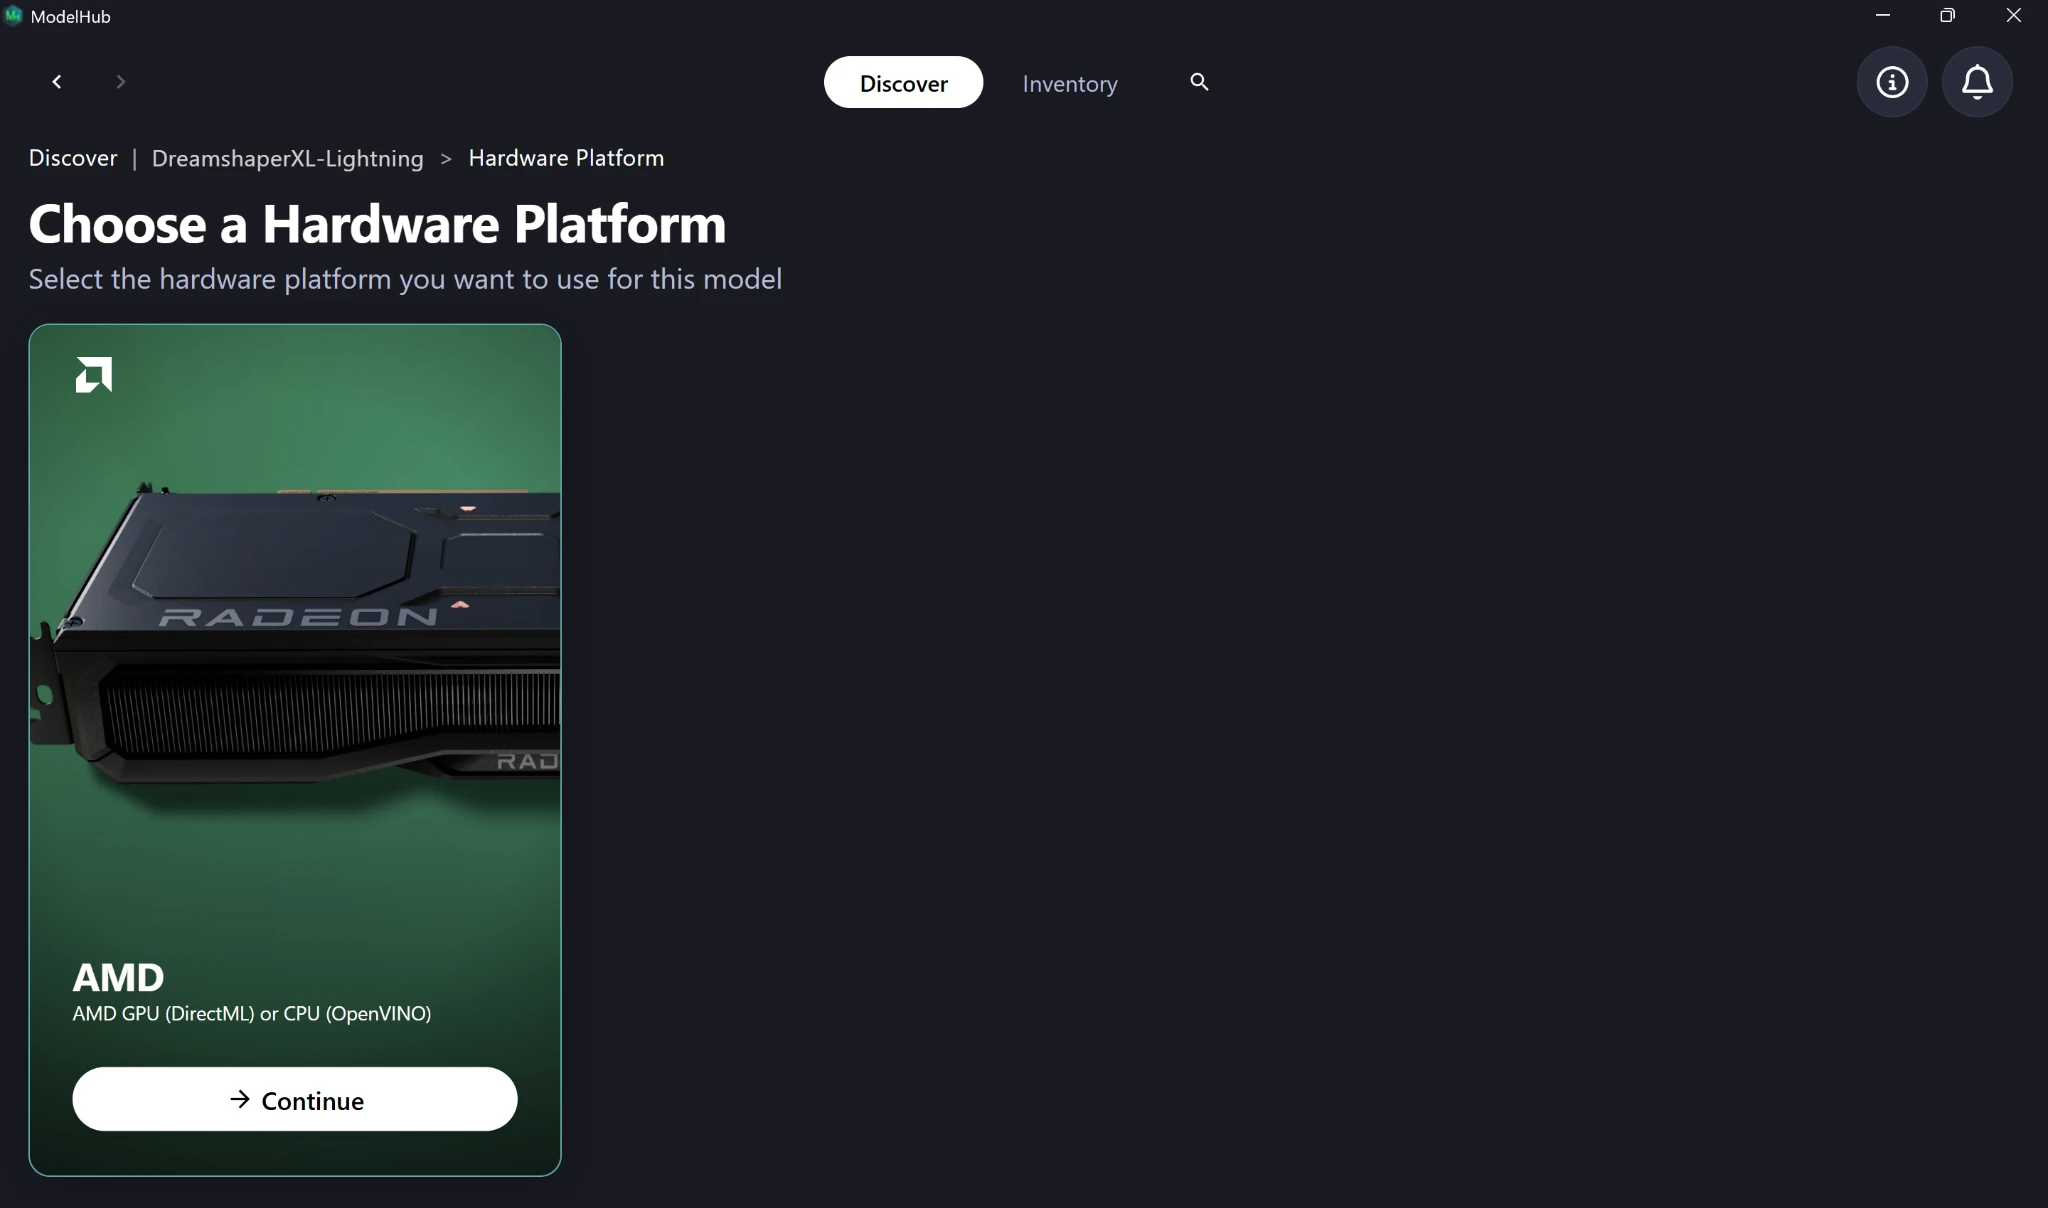
In Discover mode, Model Hub automatically detects your computer’s hardware and only displays the platform options that should be compatible with your system. Distinct AI apps can run on supported NVIDIA, Intel, and AMD hardware.
Choose Your Compute Device
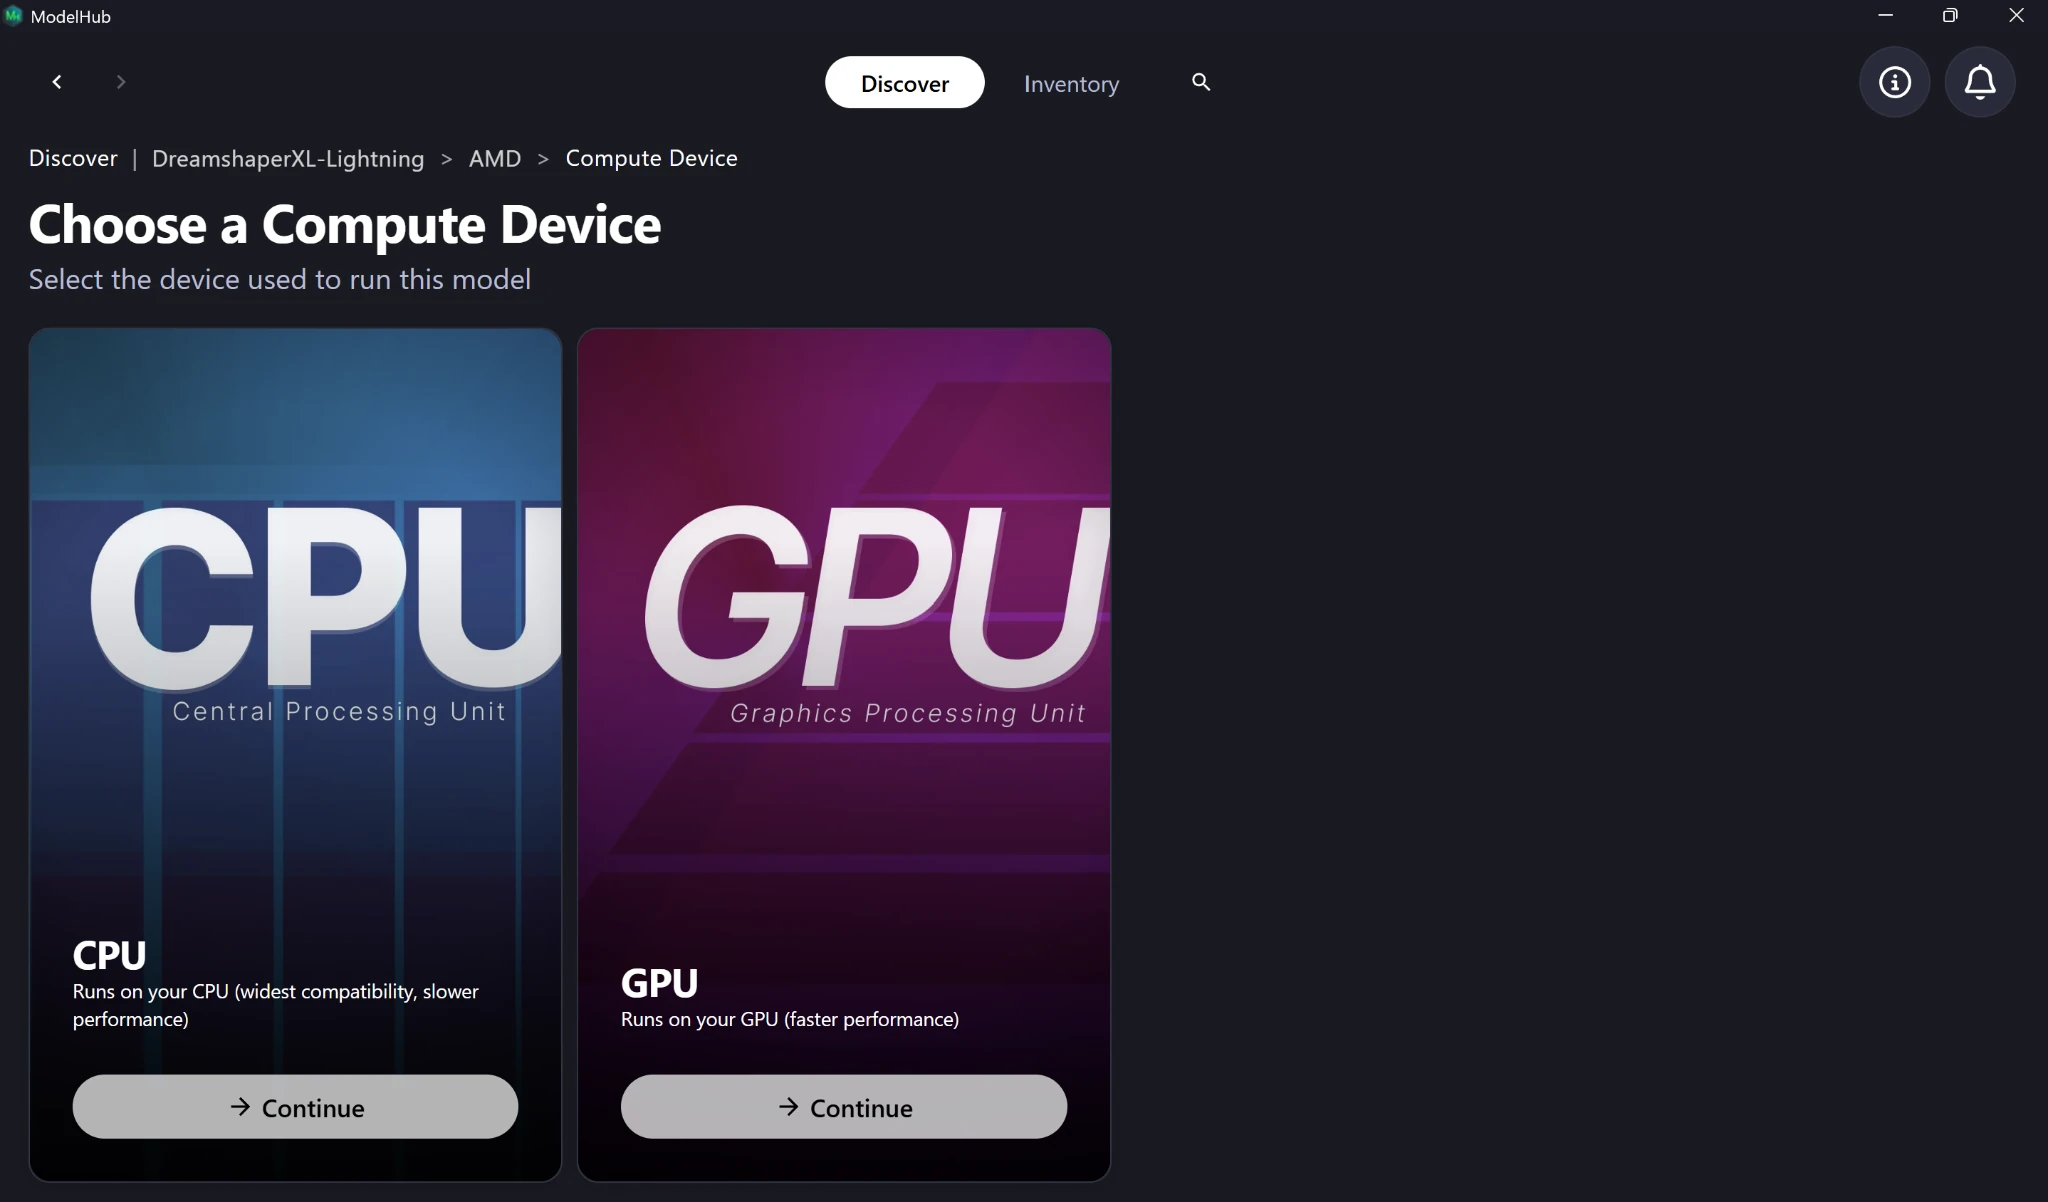
Next, choose whether to run the model on your CPU or GPU. A GPU generally offers faster performance, but the best option depends on your computer’s specifications. For this walkthrough, we’ll select CPU.
Choose a Model Variant
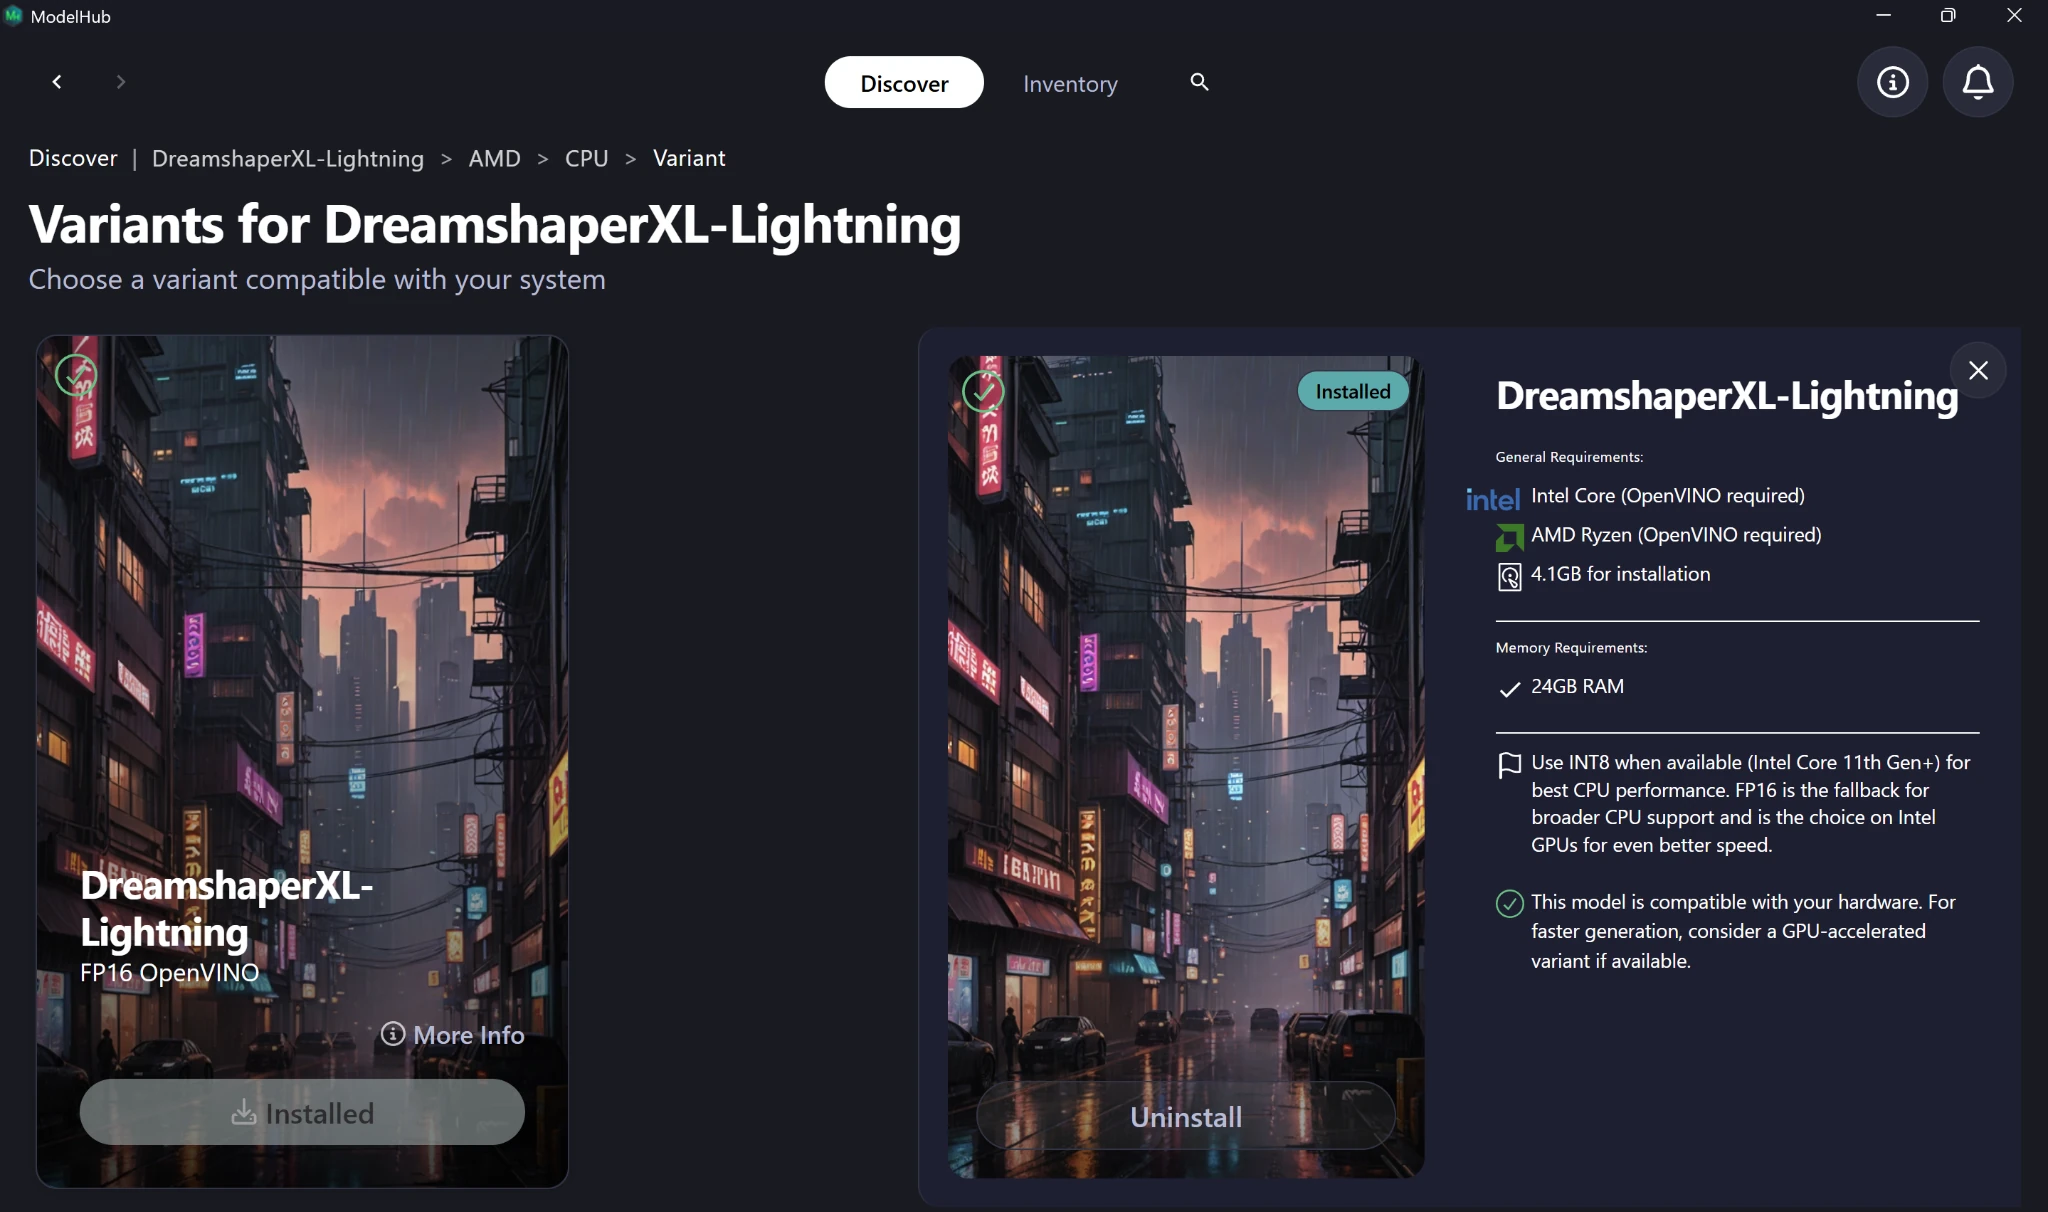
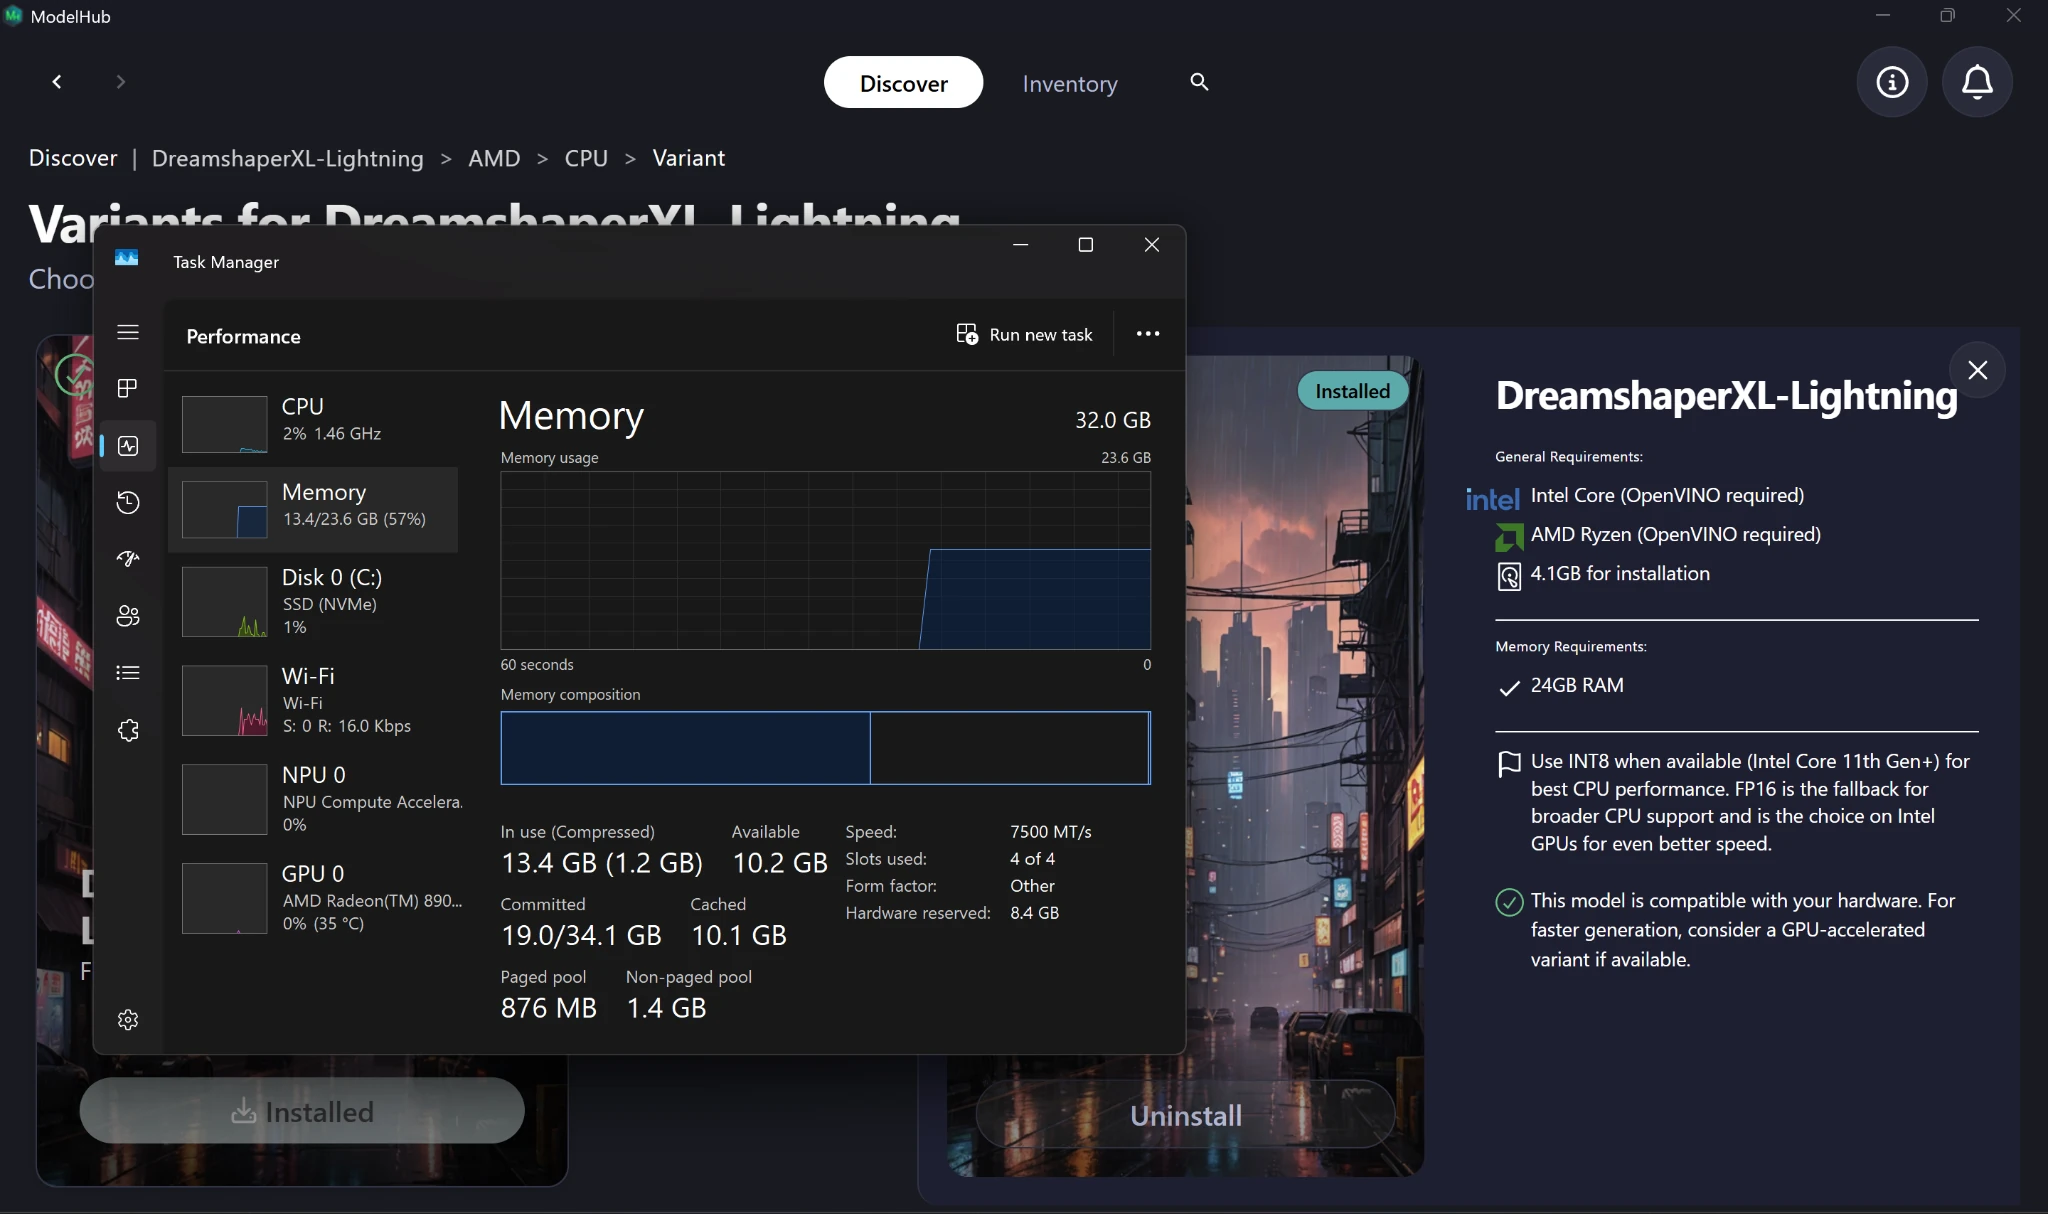
Depending on the model and your hardware, you may see more than one compatible variant. Each variant card lists its installation size, memory requirements, and any additional hardware recommendations.
A good idea is to compare those requirements with your computer specs. Press Ctrl + Shift + Esc to open Task Manager, then select Performance to check your memory, CPU, and GPU information.
You’ll also see a green checkmark on the variant card confirming that the model is compatible with your hardware.
Once you’ve confirmed compatibility, select the variant and continue with the installation.
Install the Model
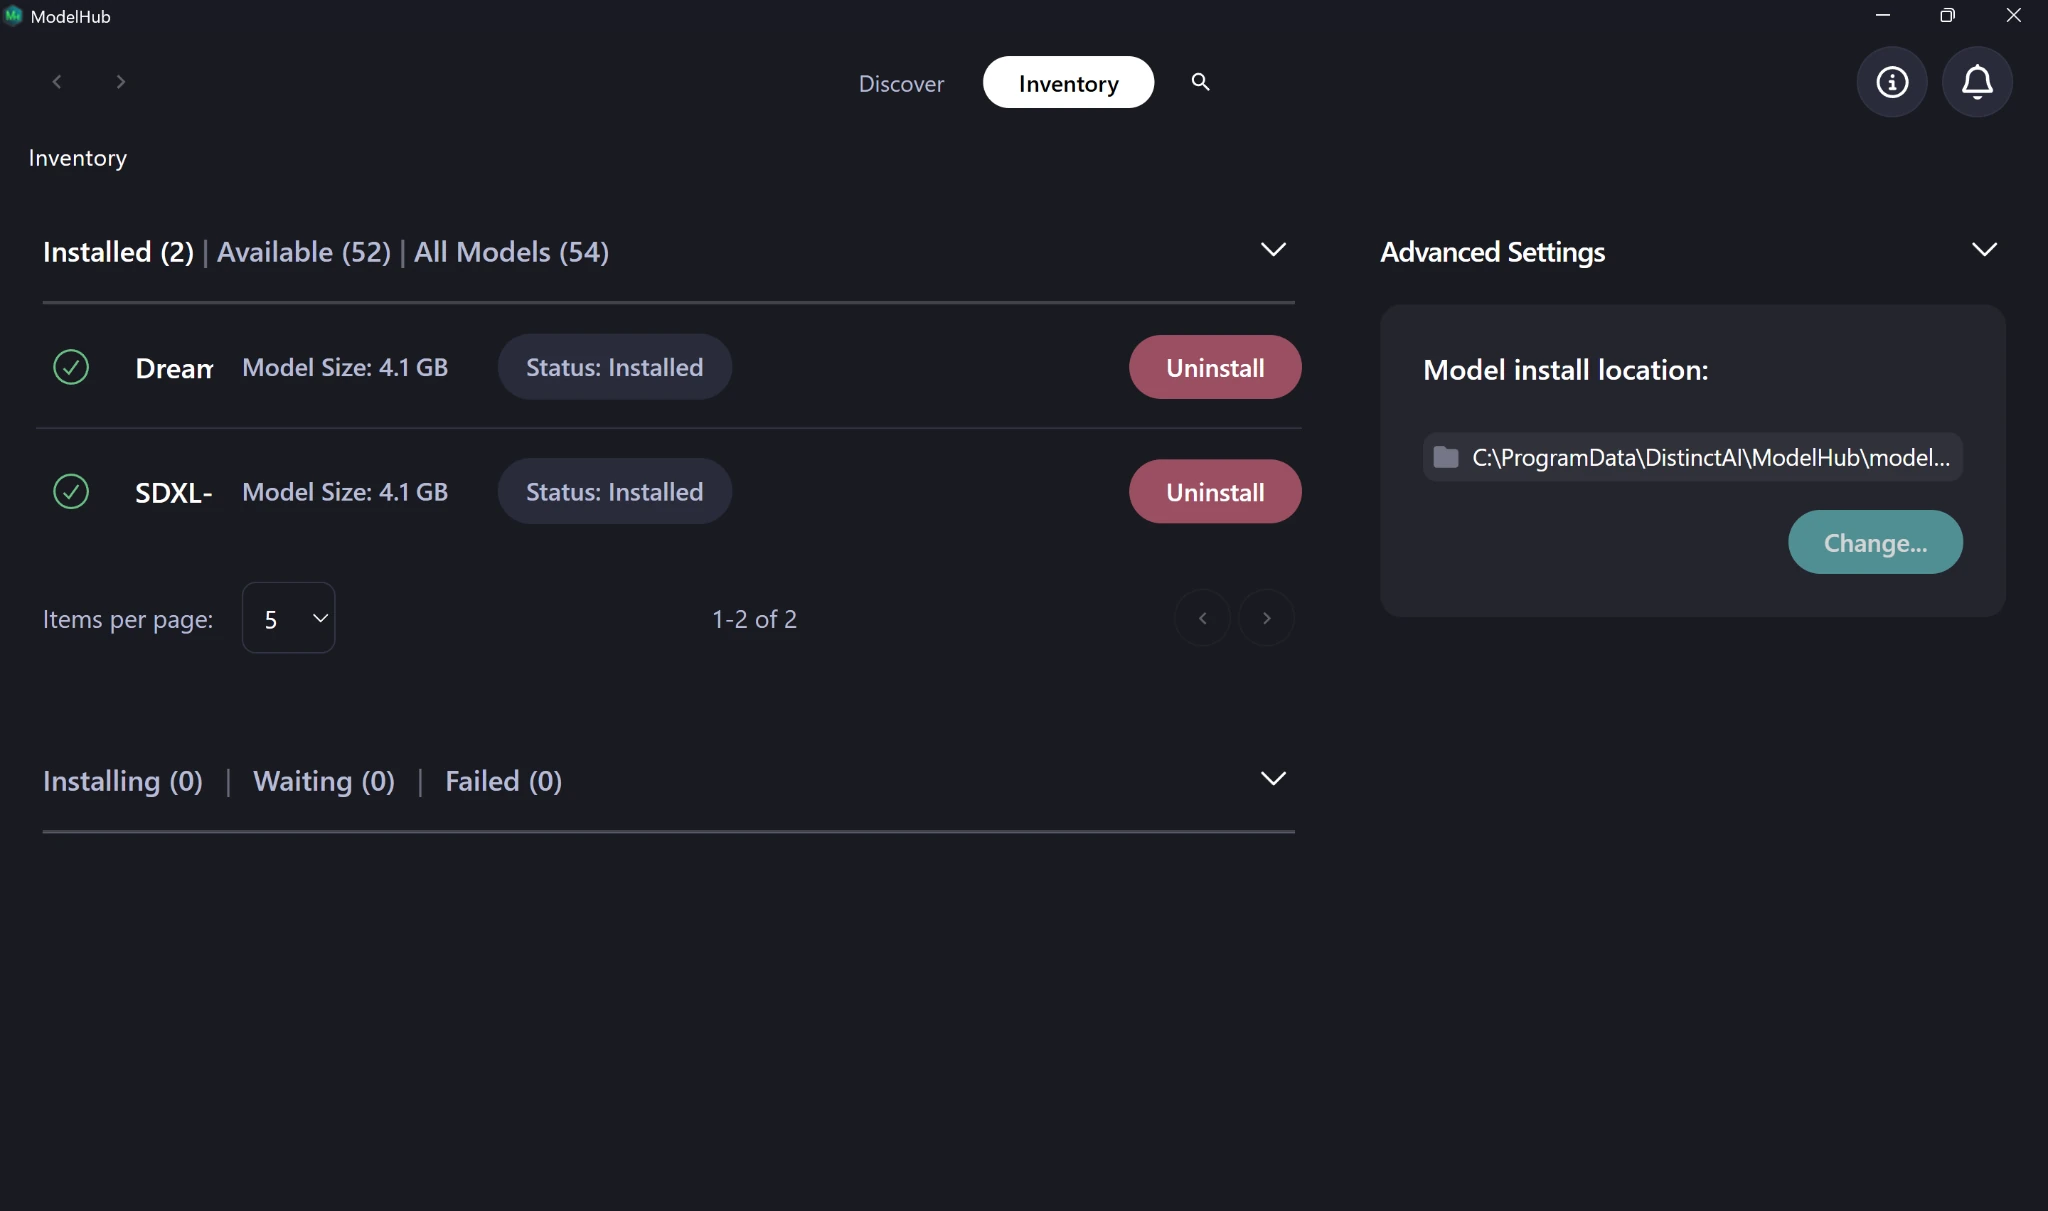
Once the installation begins, open the Inventory tab to track its progress and see the models you’ve already installed.
When the download is complete, you’ll see a message confirming that the model is installed and ready to load from Model Settings.
Confirm Your Model Settings
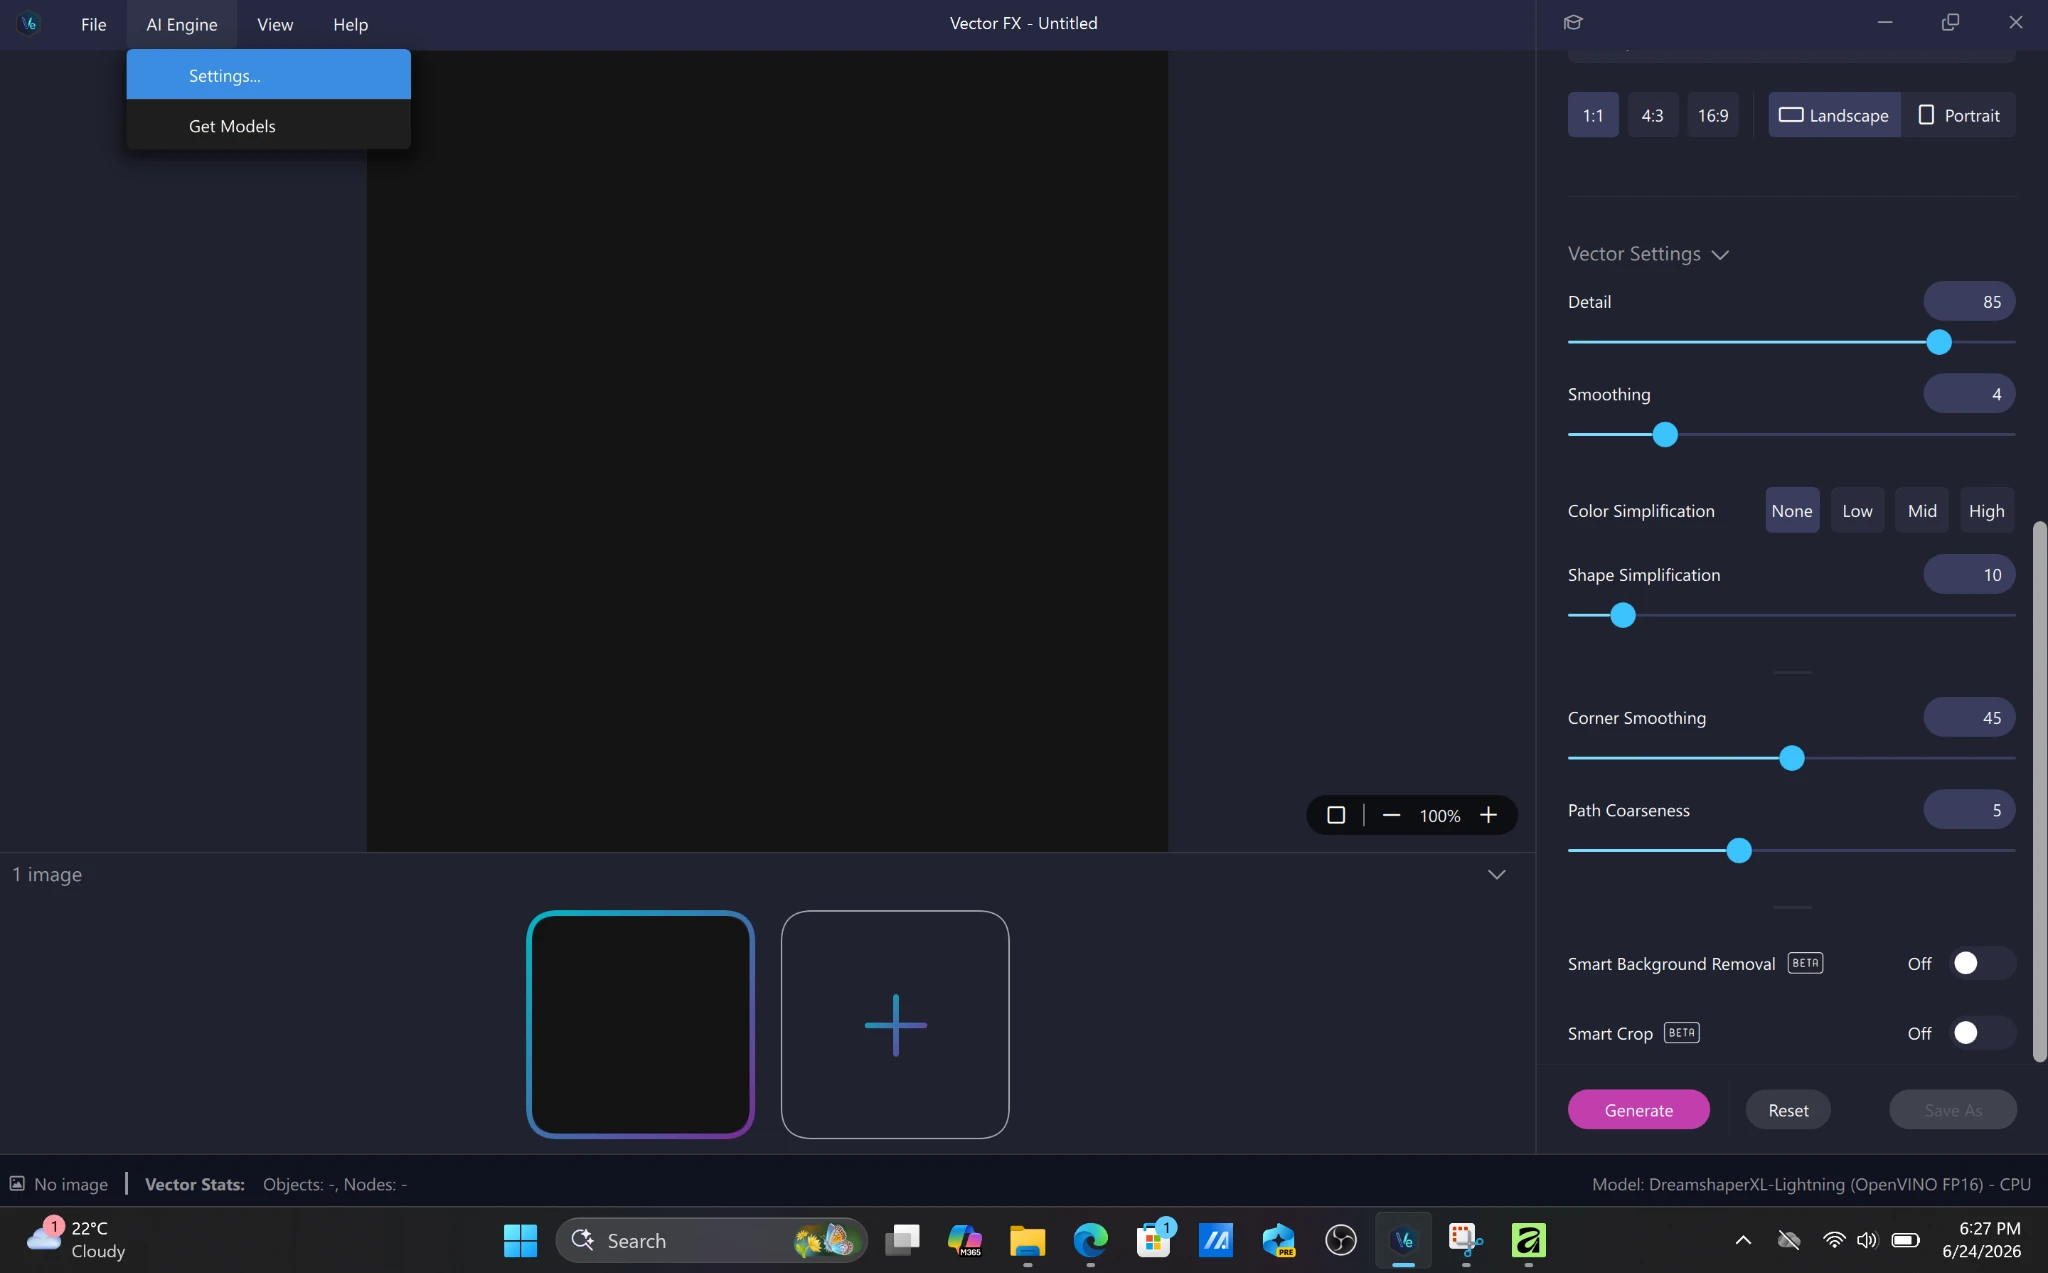
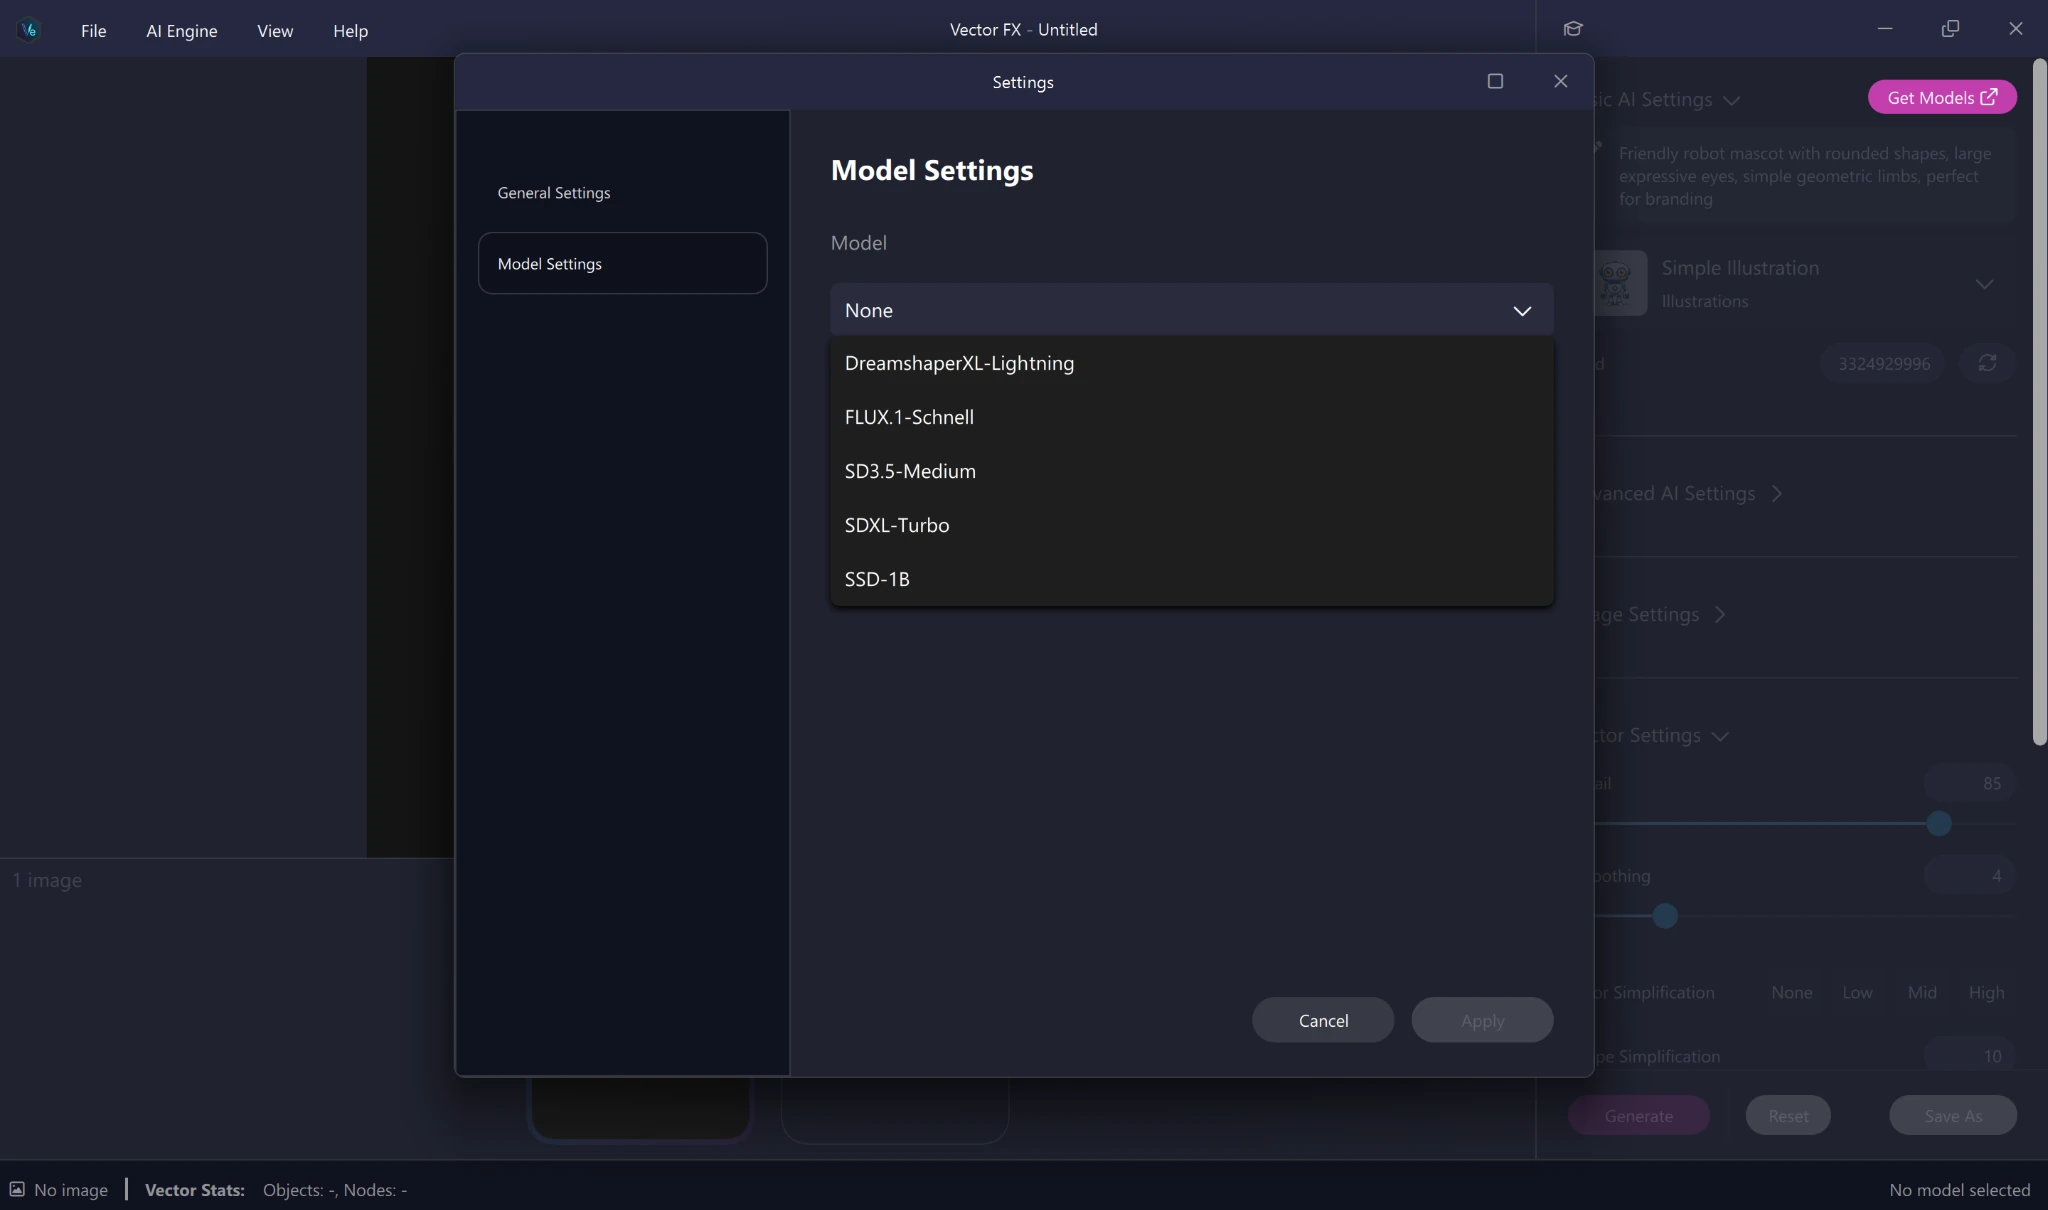
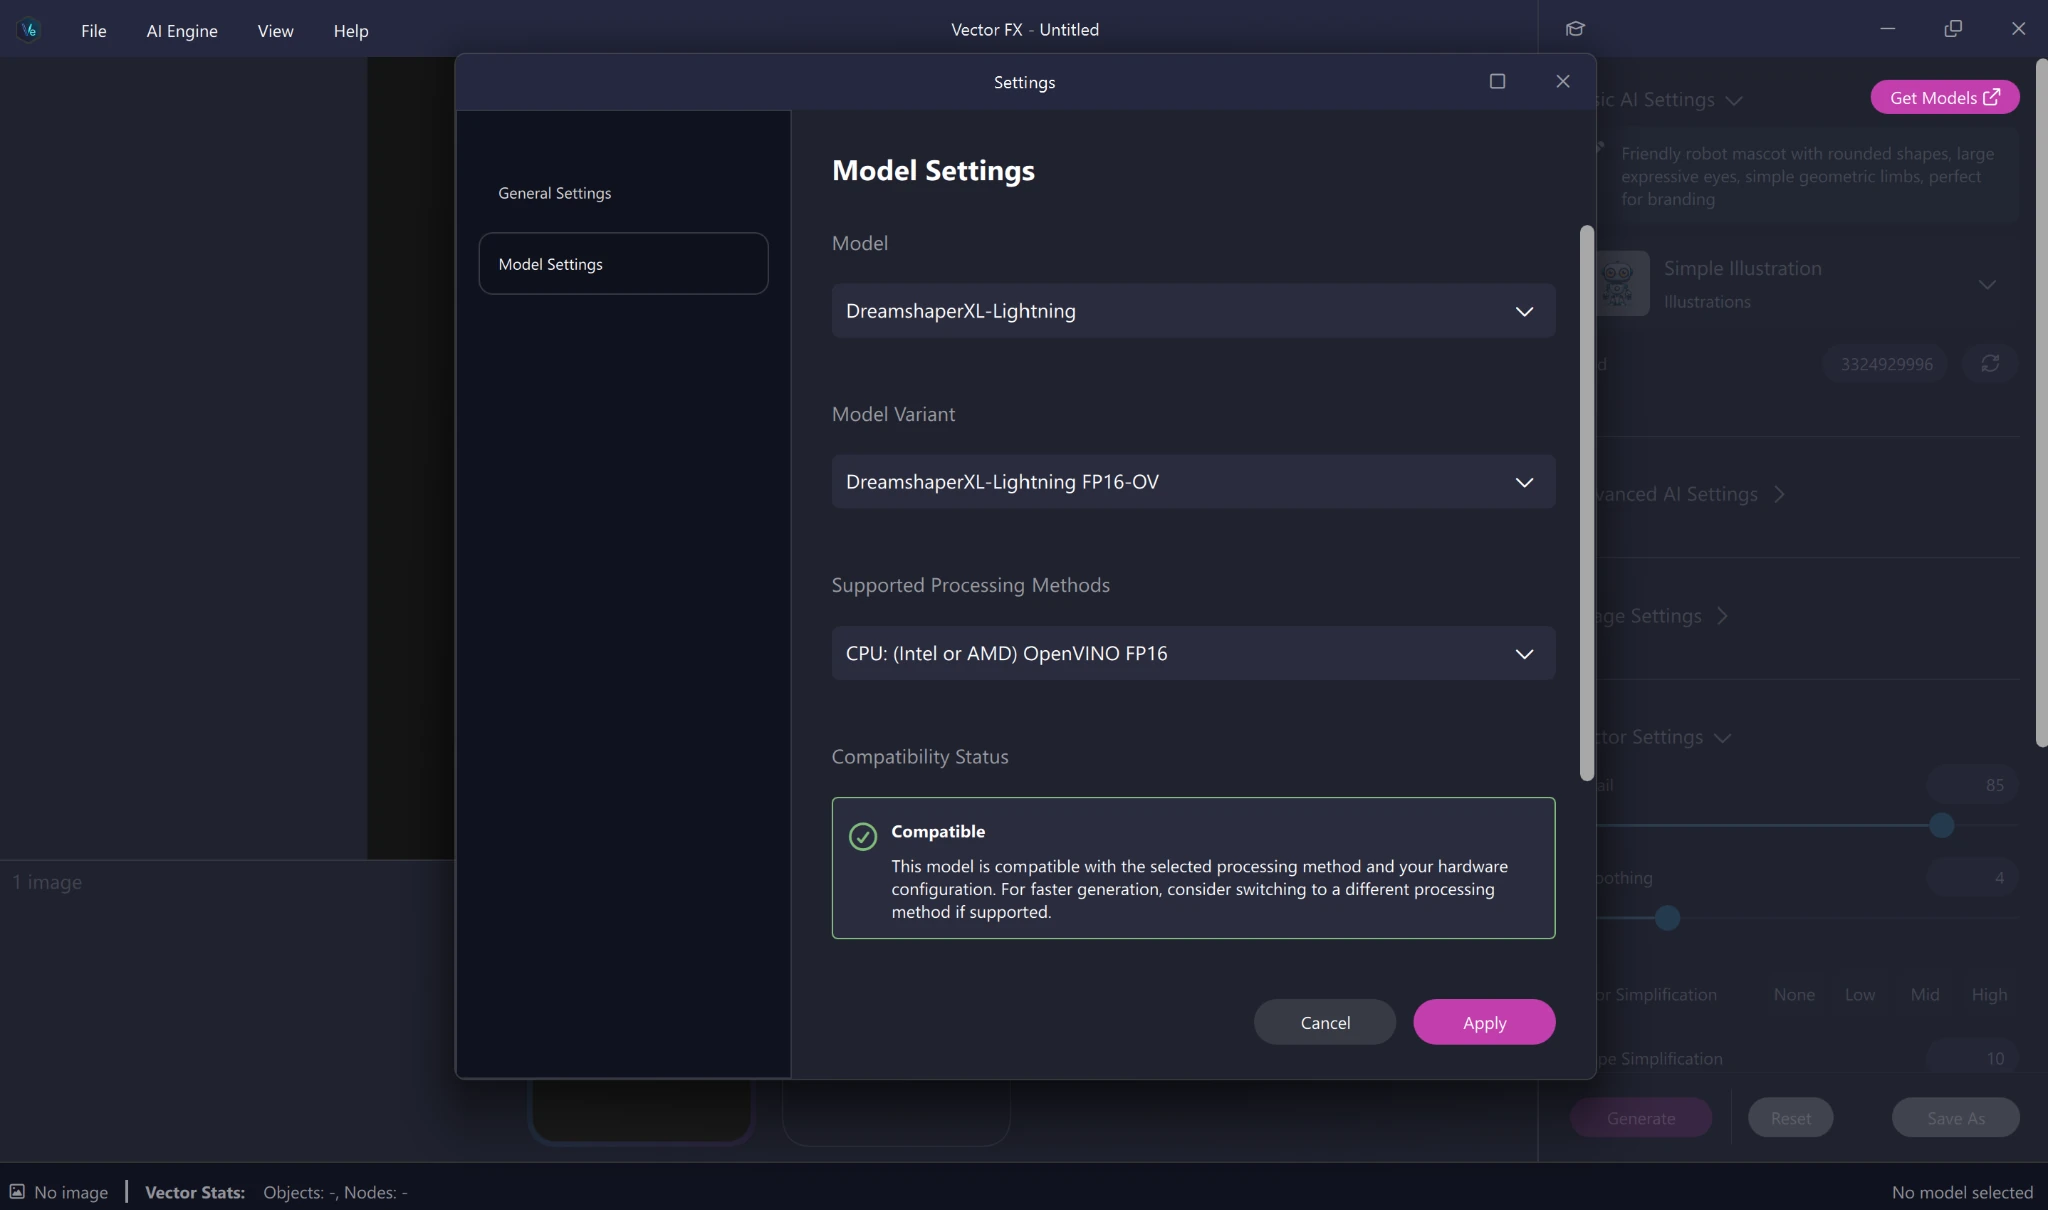
Once the model is installed and Vector FX restarts, open Settings and select Model Settings. From here, you can choose between the models you’ve installed and review the selected model variant and processing method.
Vector FX will also display a compatibility message confirming that the selected model works with your current hardware configuration. Once everything is confirmed, click Apply.
Enable Batch Mode
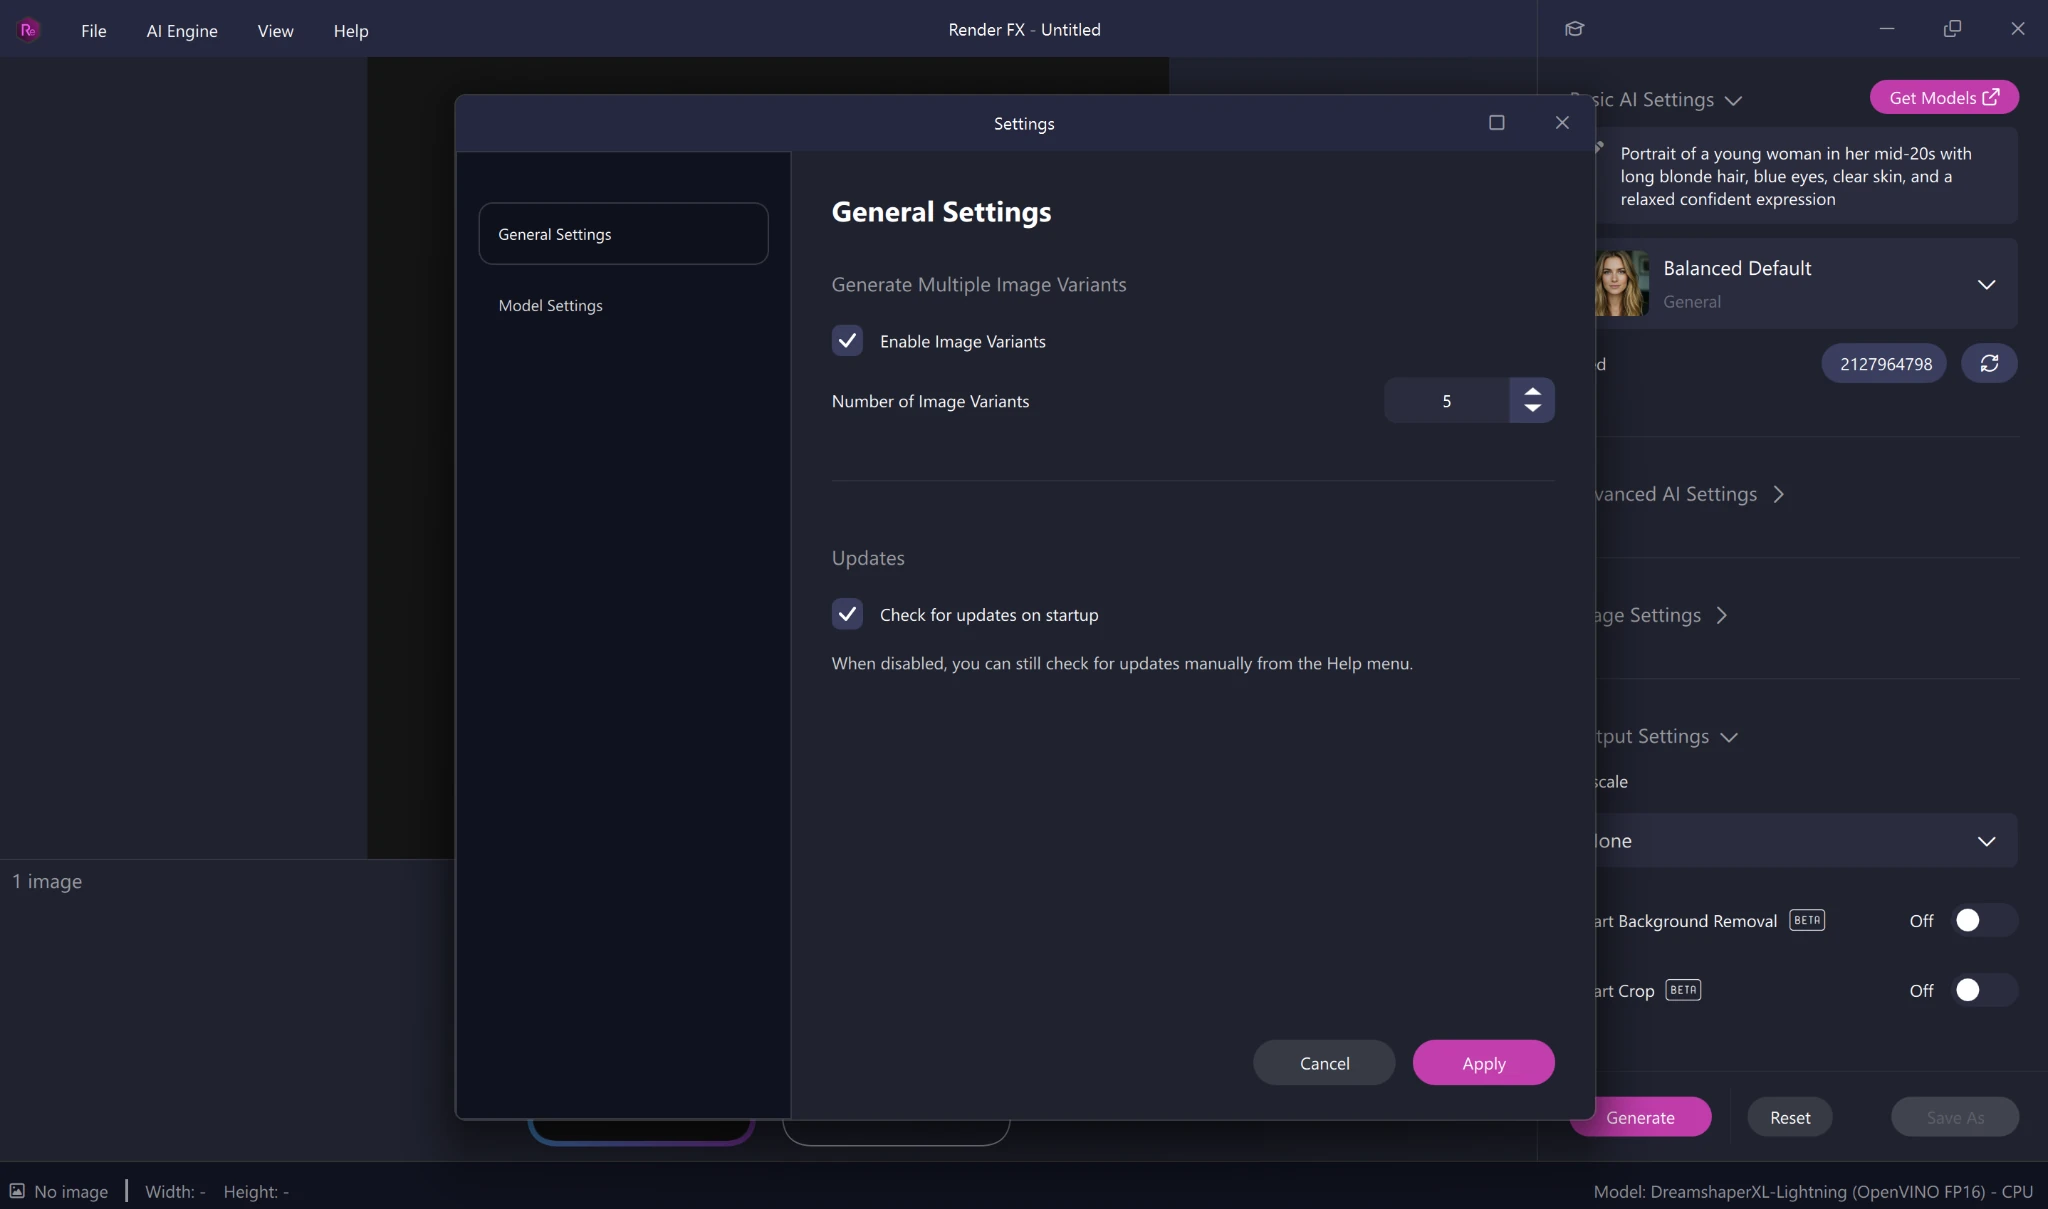
In Settings, open General Settings and enable Image Variants. This allows you to generate a batch of up to ten images at once instead of creating them one at a time.
This is another practical advantage of local AI. Because generation happens on your own computer, you can explore multiple variations and keep refining your prompt without worrying about credits.
Start Creating
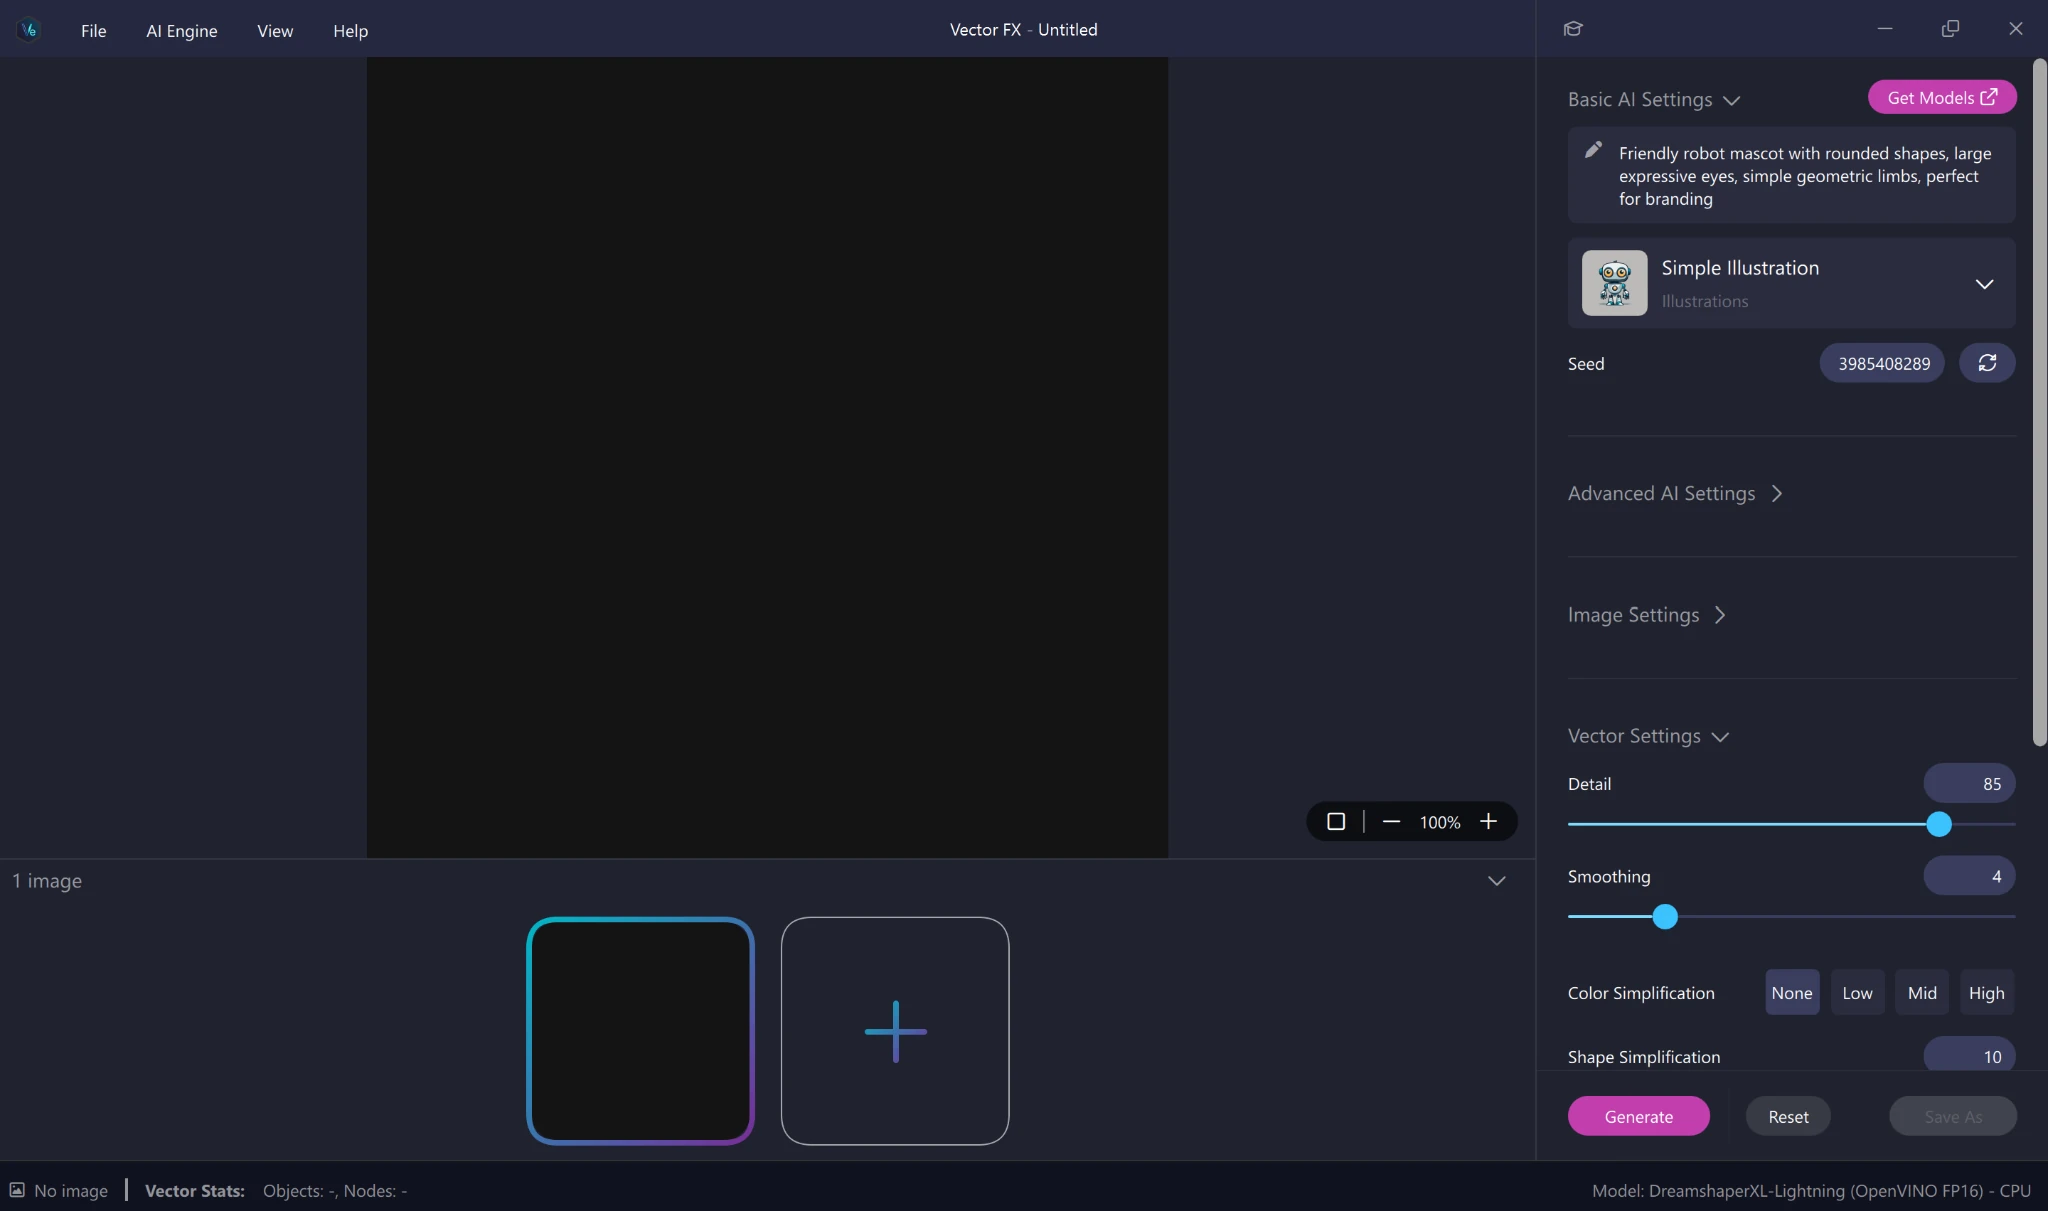
With your model installed and selected, return to the main interface. The controls are now active, and Vector FX is ready to generate.
From here, you can enter your first prompt, choose a preset and adjust the settings before clicking Generate.
Enter Your First Prompt
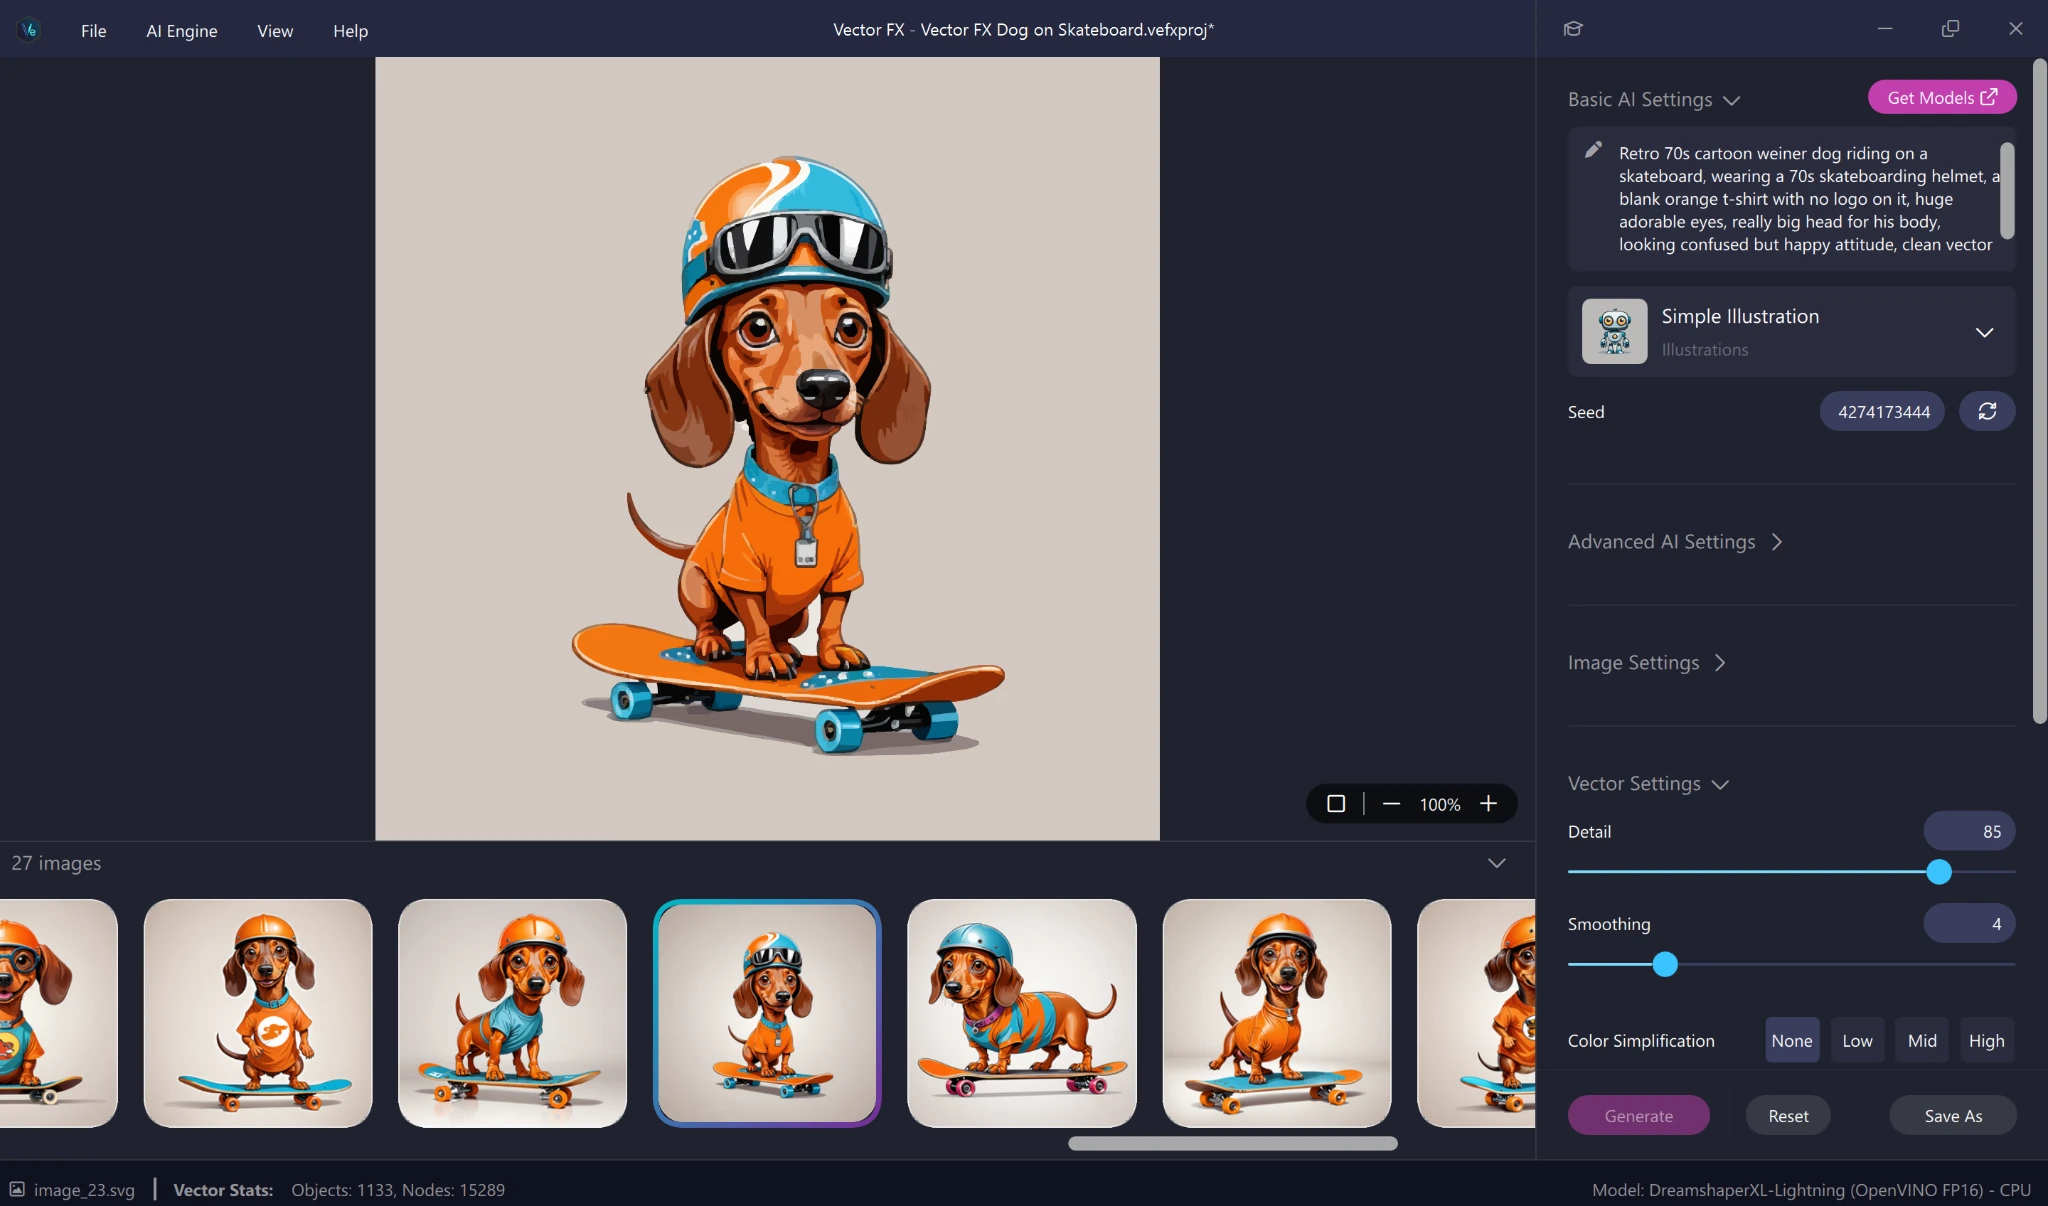
We’re creating a vector image for a T-shirt design, so we’ll begin by describing the idea in the prompt box at the top-right of the interface.
This gives Vector FX the subject, visual era, style, and intended format. From here, we’ll continue refining the prompt and adjusting the settings until the image gets closer to our vision.
To continue developing the idea, click the plus button beside the previous image to open a new document. From there, you can keep refining the prompt and generating fresh variations while preserving the earlier results for comparison.
Refine the Style With Presets
As we generate, we’ll keep adjusting the prompt and trying different presets to move the image closer to our vision.
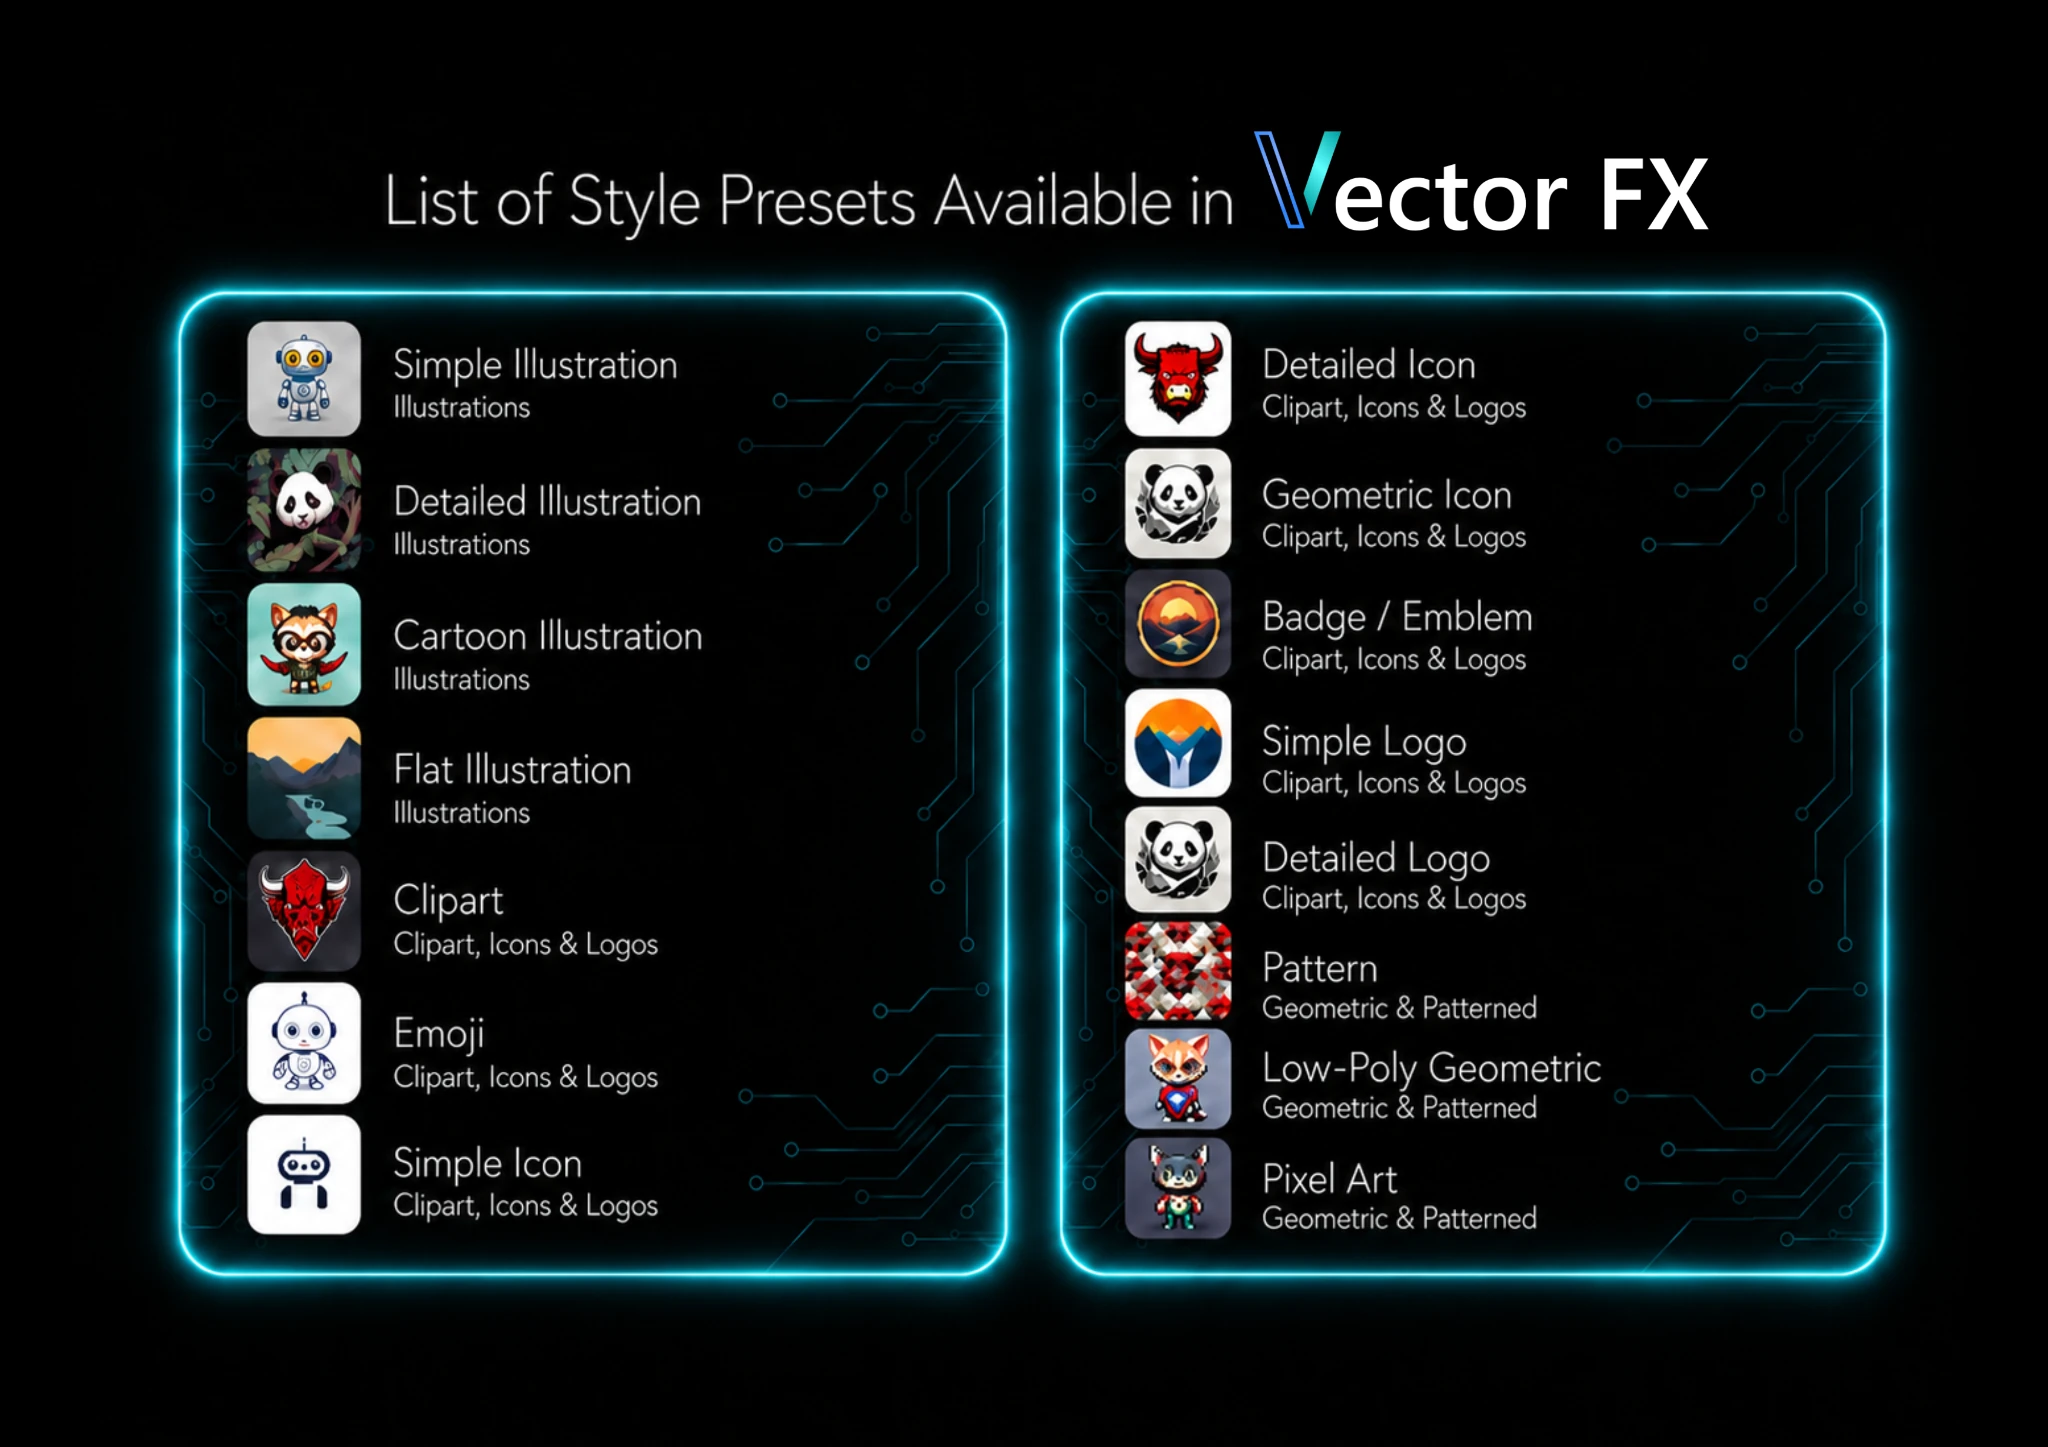
Vector FX includes a range of presets that help guide the visual style, from simple and detailed illustrations to clipart, logos, patterns, low-poly graphics, and pixel art. Each preset gives the model a different creative direction without requiring you to rewrite the entire prompt.
For this design, we’ll experiment with a few different presets and compare the results as we go.
Generate, Refine, and Iterate
This is where the local workflow becomes especially valuable. Because Vector FX runs on your device, you can keep generating, adjusting, and experimenting without spending credits every time you want to try a new direction.
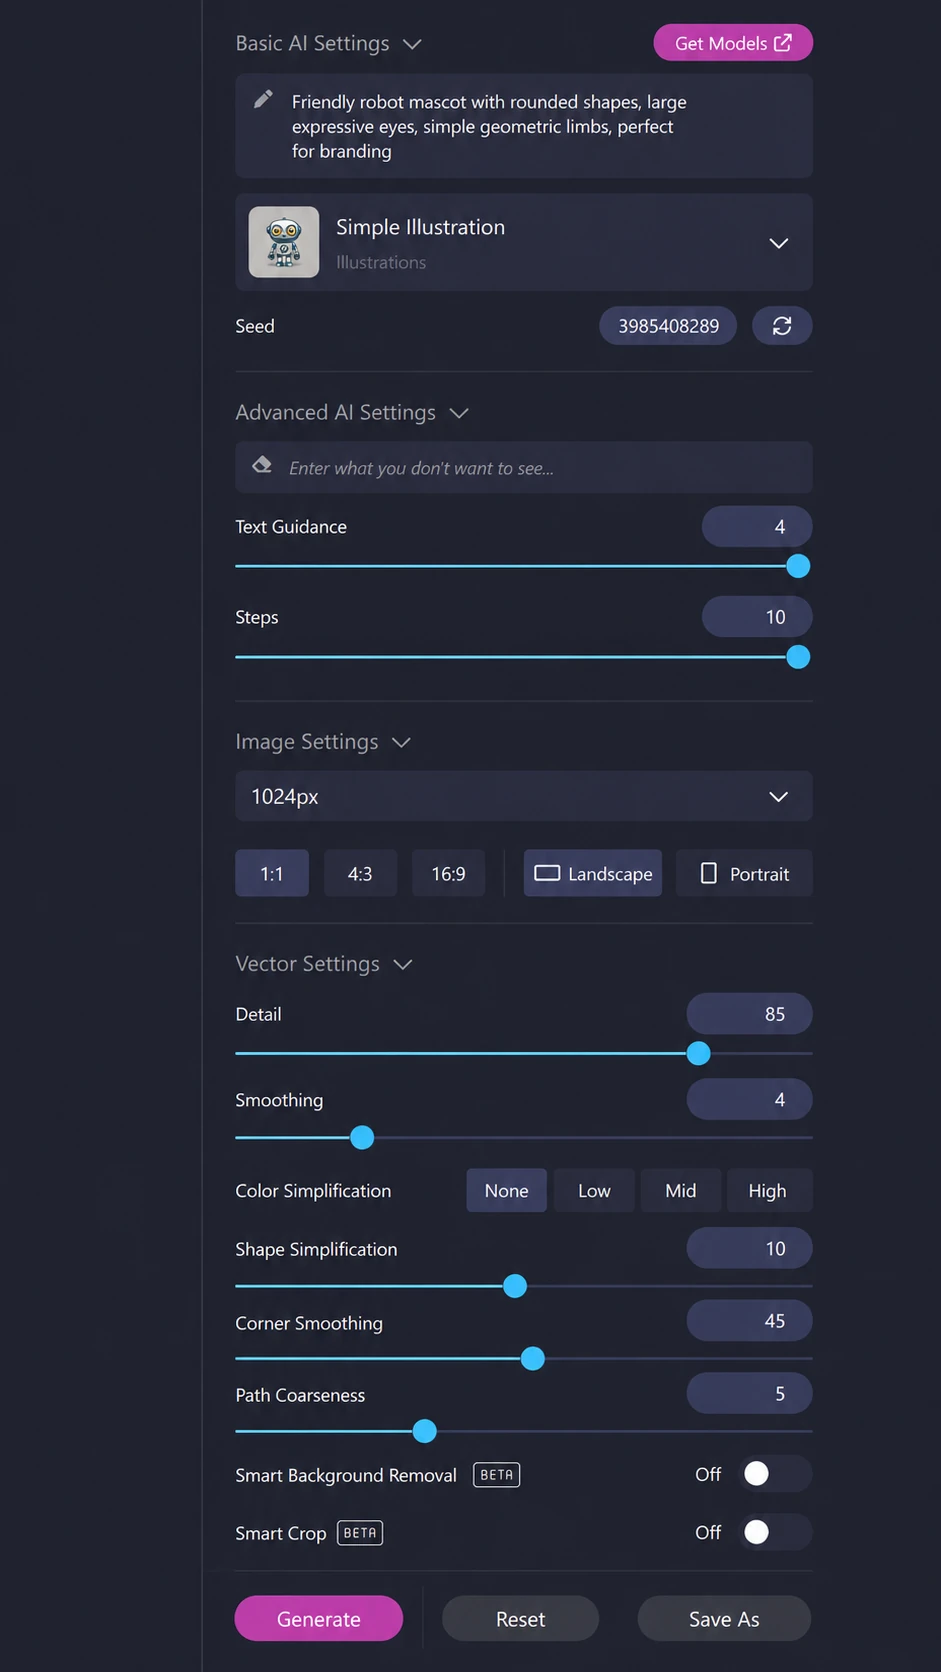
As you generate, the controls on the right side of the interface give you more ways to shape each result. Under Advanced AI Settings, you can enter a Negative Prompt for removing anything you don't want to appear in the image, adjust Text Guidance to control how closely the result follows your prompt, and change the number of Steps used during generation.
The Image Settings let you choose the output resolution, aspect ratio, and whether the image is landscape or portrait.
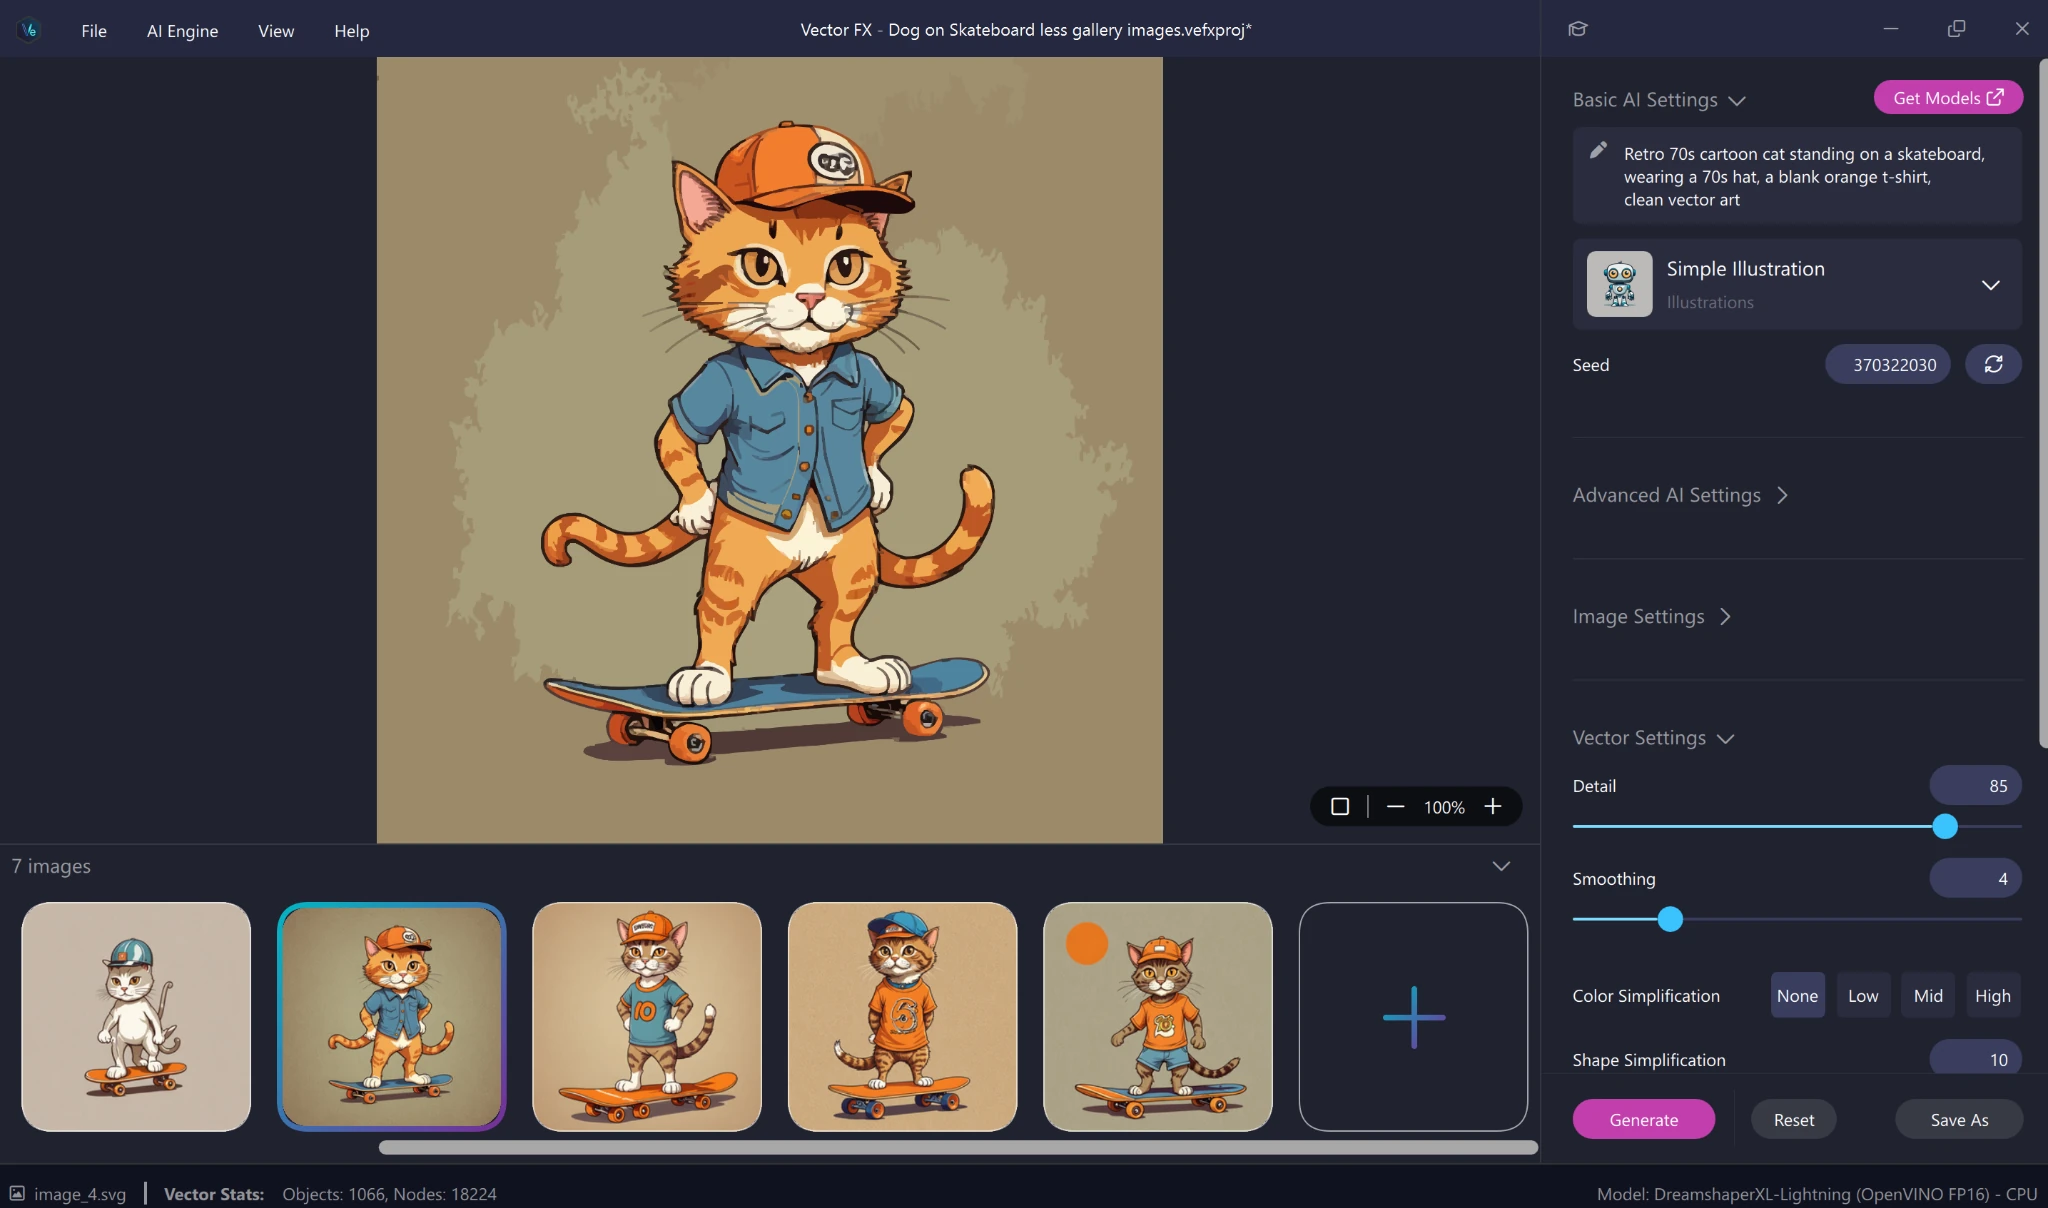
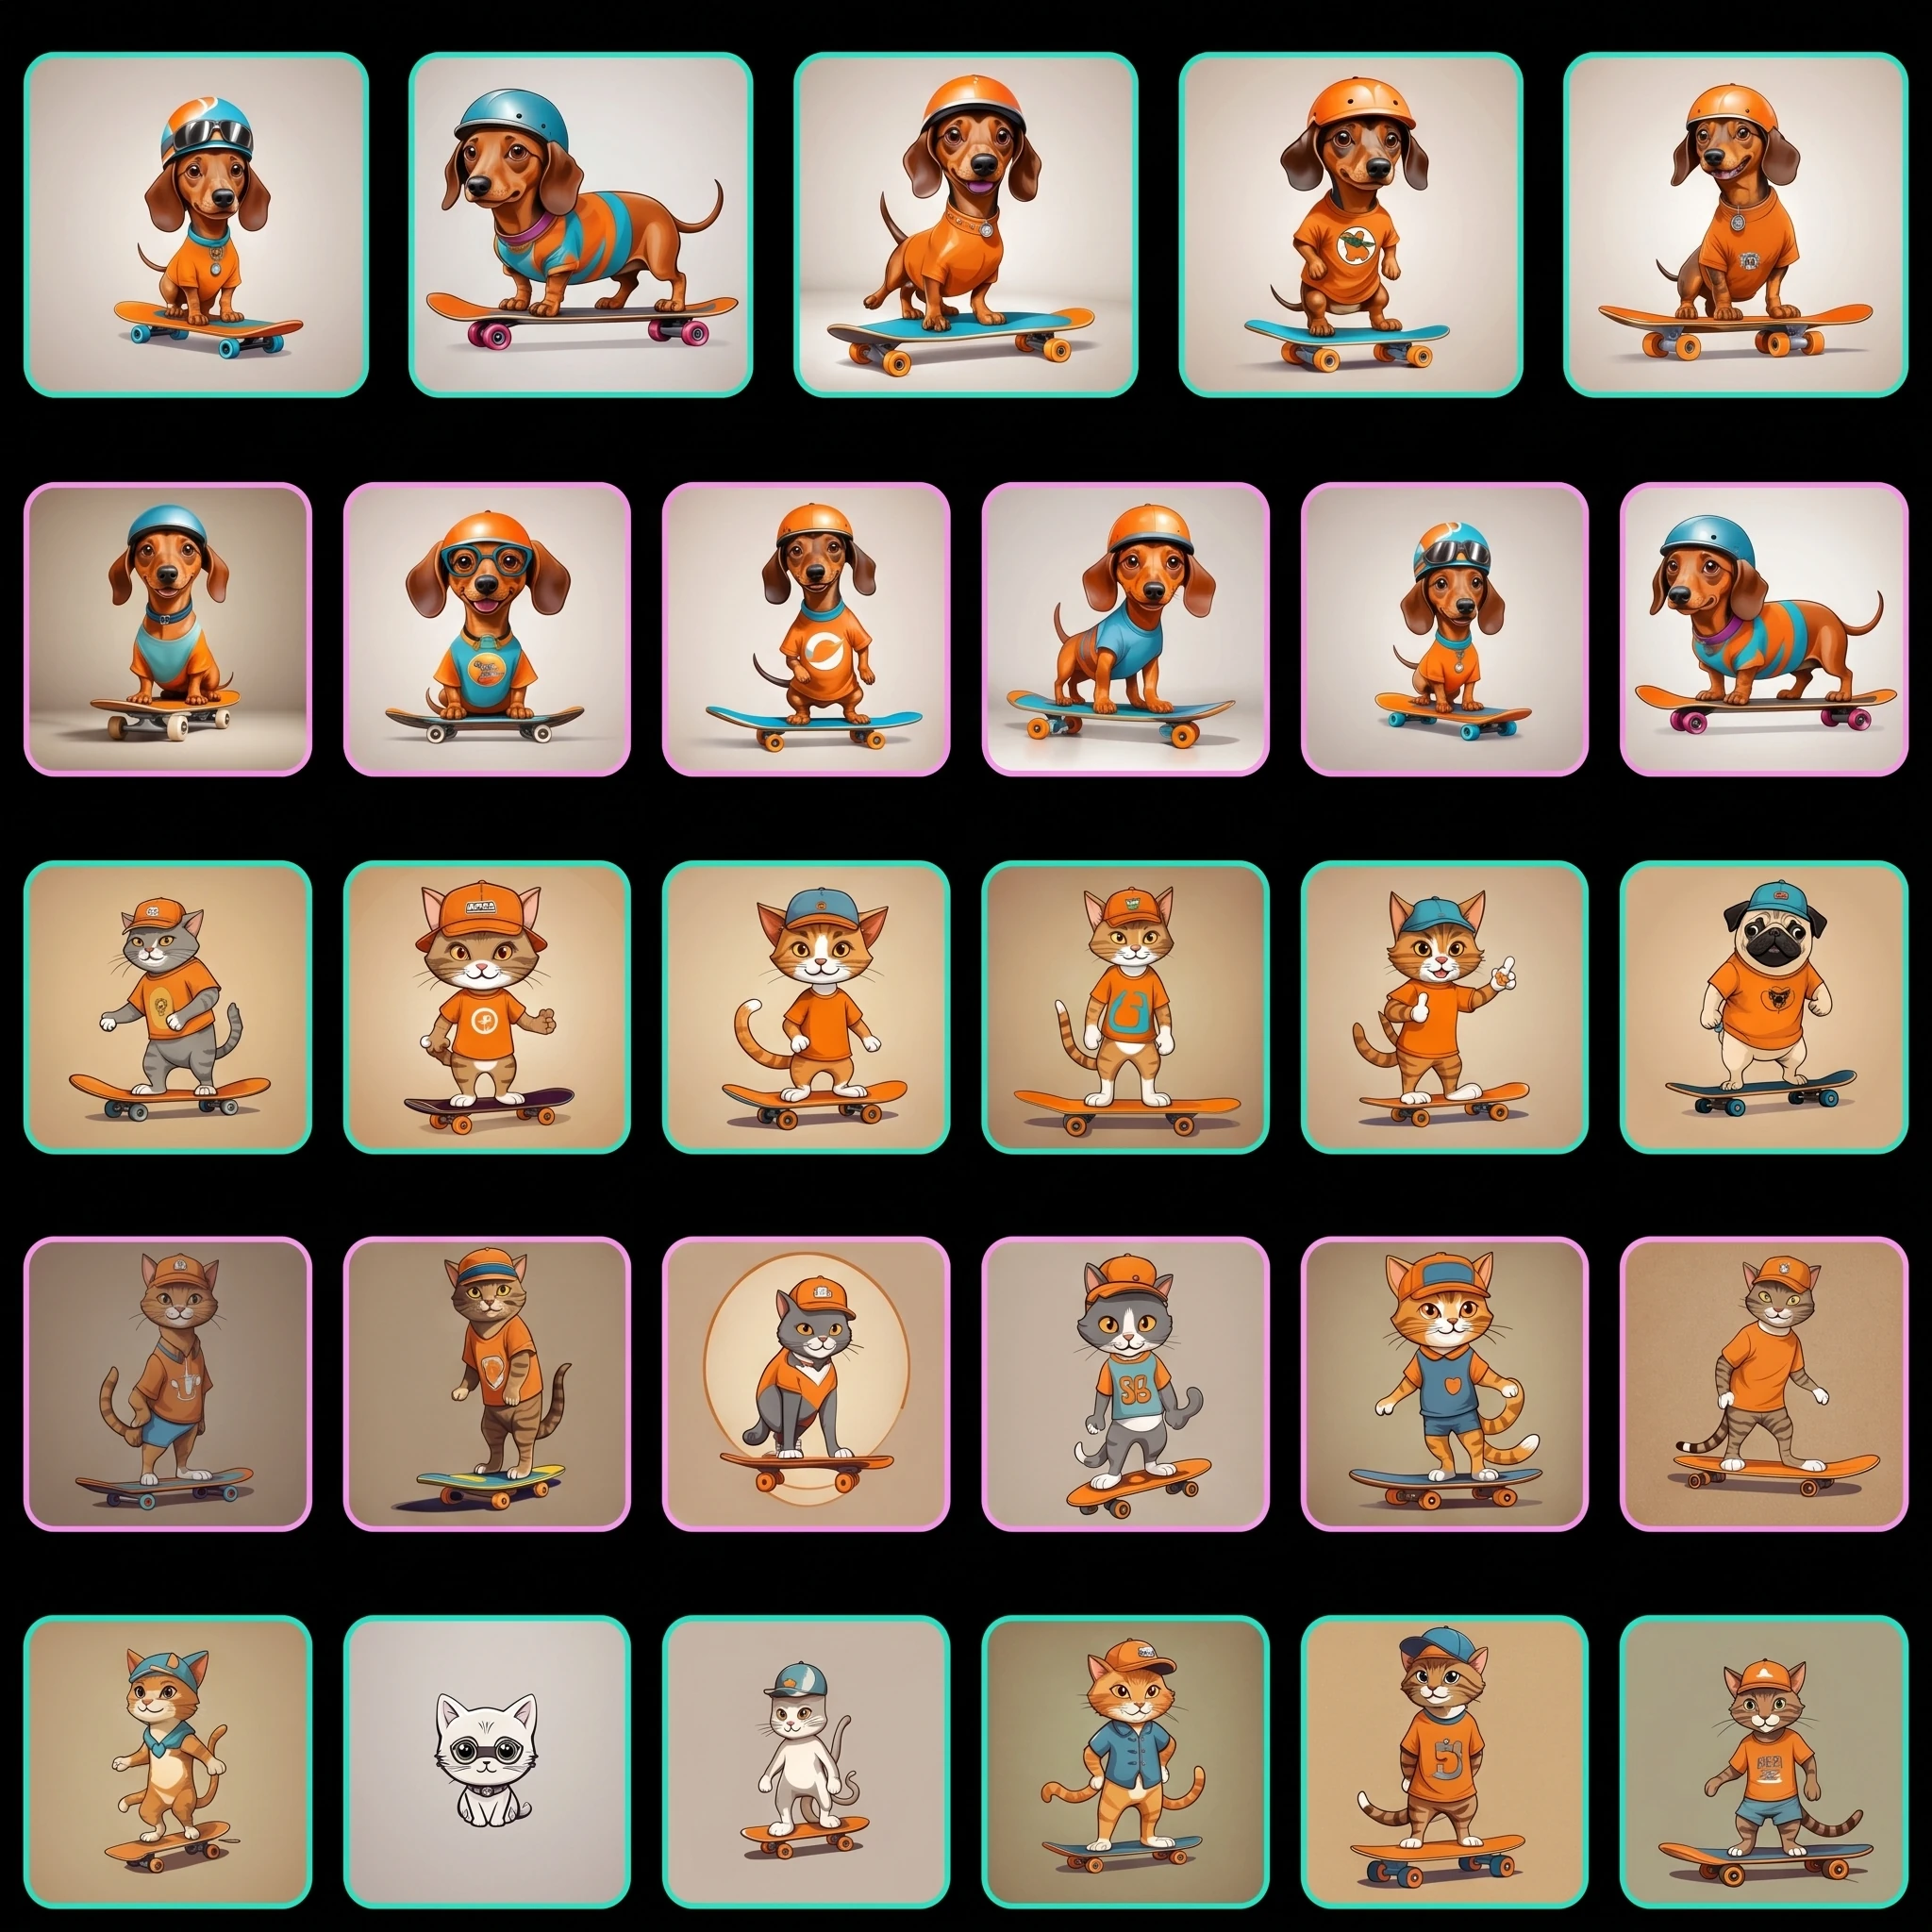
In search of the right T-shirt design, we generated almost 30 images. We started with a skateboarding cat, explored new ideas, kept tweaking the prompt and settings, shifted to a dog, and gradually dialed in the exact look we wanted. With Enable Image Variants turned on in General Settings, you can generate multiple images from the same prompt and settings at once, making it easier to compare different interpretations, spot a strong direction, and choose the design that best fits your idea.
The image sequence below shows that creative process from bottom to top. Each result helped guide the next one, and the entire exploration cost zero credits because everything was generated locally.
The Final Image
This is the final image we selected for the T-shirt design: a playful skateboarding dog with an oversized head, a huge helmet, and plenty of personality.
Fine-Tune the Image
Once you have an image you like, use the Vector Settings to adjust how the final artwork looks and how much visual complexity it contains.
Detail controls the amount of overall detail created in the result.
Smoothing controls the amount of small objects created in the result.
Color Simplification reduces the number of colors in the design.
Shape Simplification reduces the complexity of the vector shapes.
Corner Smoothing rounds sharper corners and edges.
Path Coarseness adjusts how precisely the vector paths follow the image.
Smart Background Removal removes the background automatically.
Smart Crop tightens the composition around the main subject.
You don’t need to adjust every setting. Make small changes based on how clean, detailed, or production-ready you want the final vector to be.
Export Your Vector
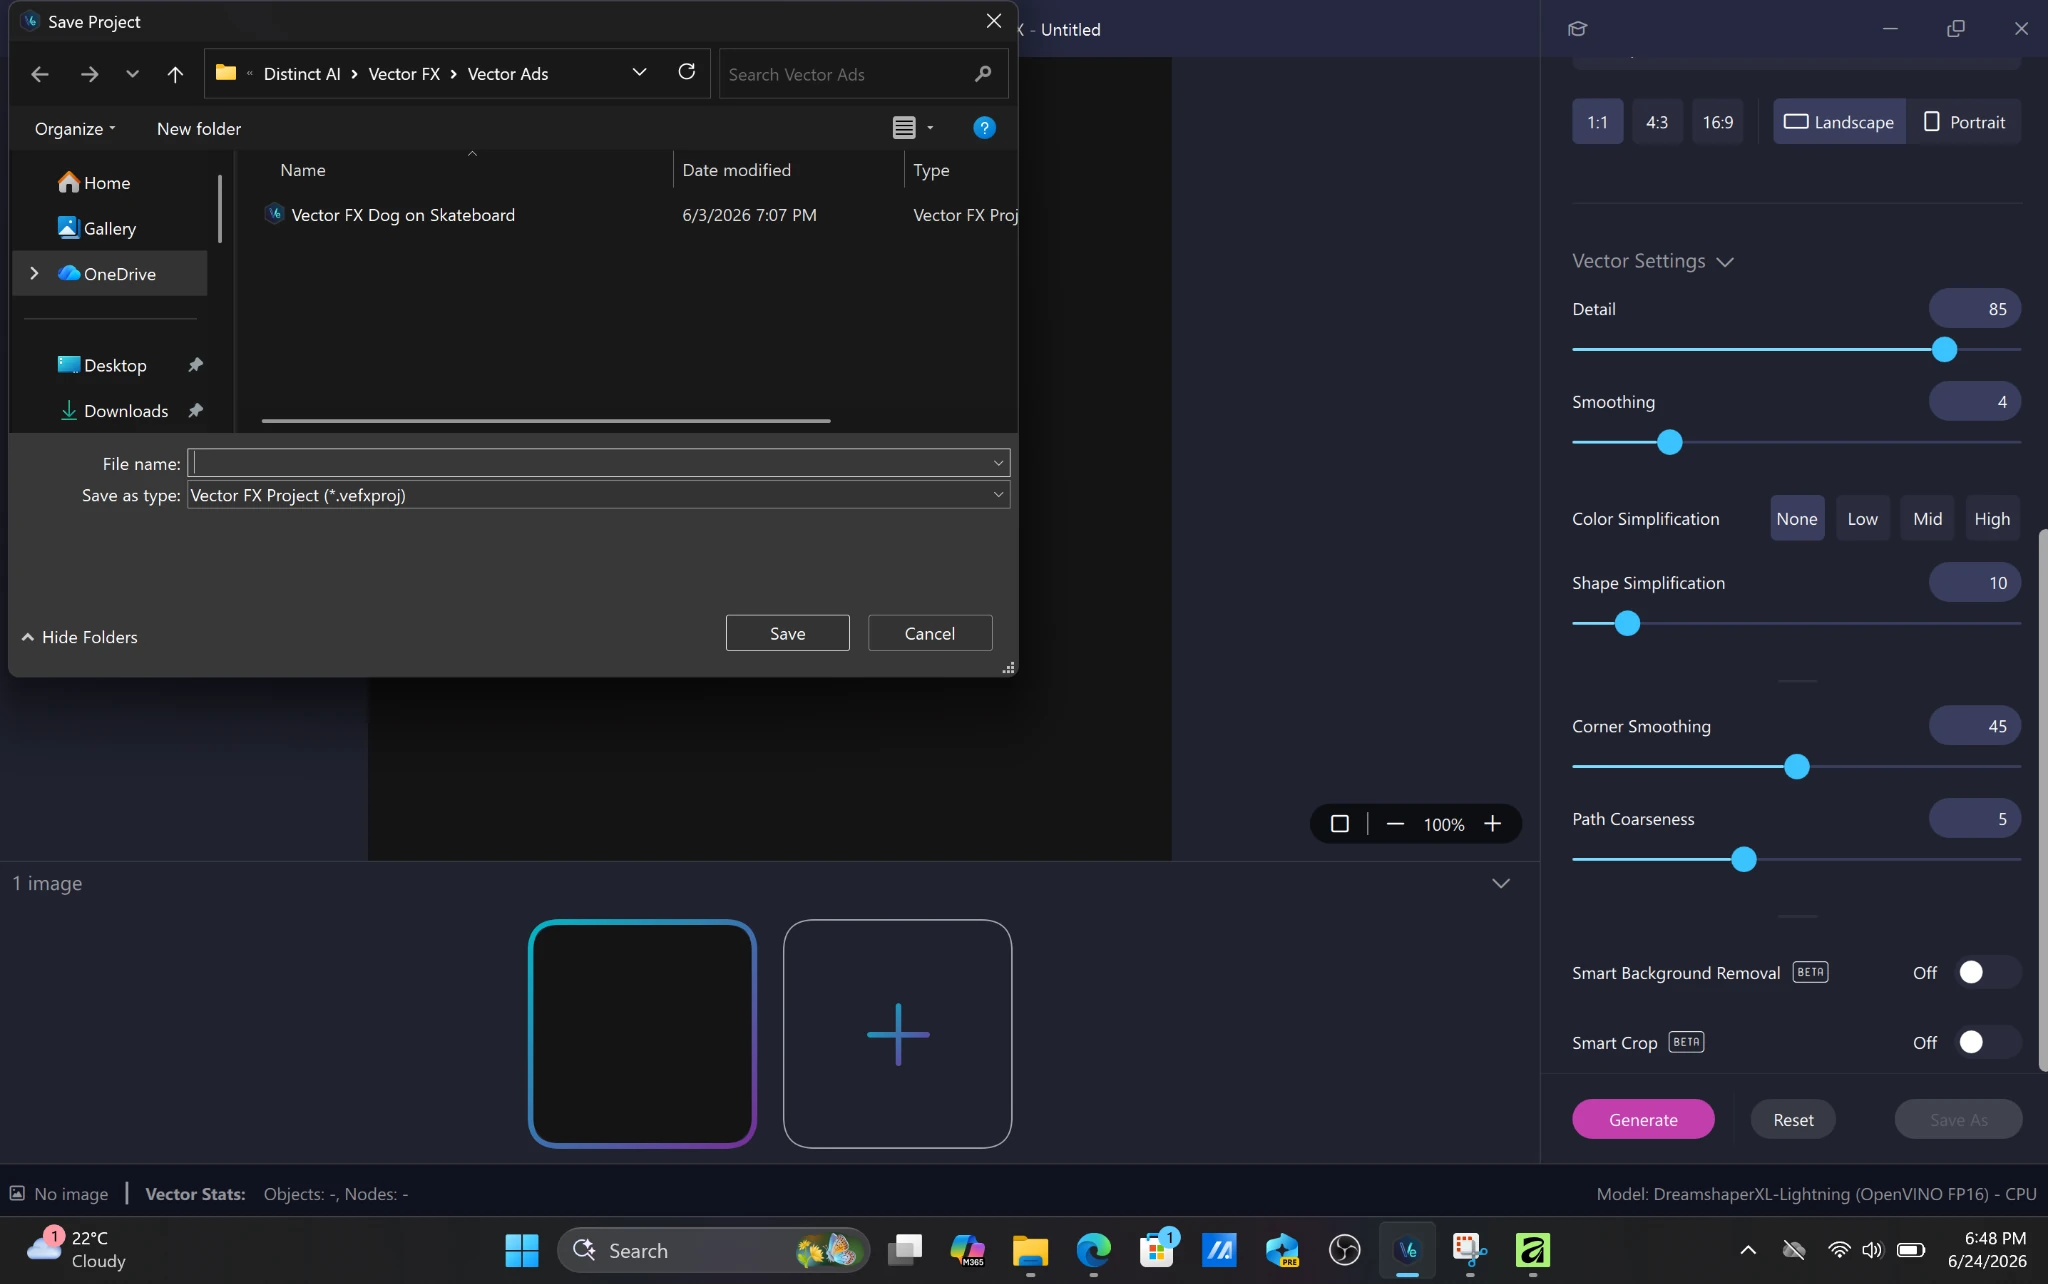
Once you’re happy with the final image, open the File menu and choose Save As.
Choose where you want to save the file, give it a clear name, and export it as an SVG vector file. This preserves the image as a scalable vector, ready to use in a T-shirt design or other production workflow.
Finish the T-Shirt Design
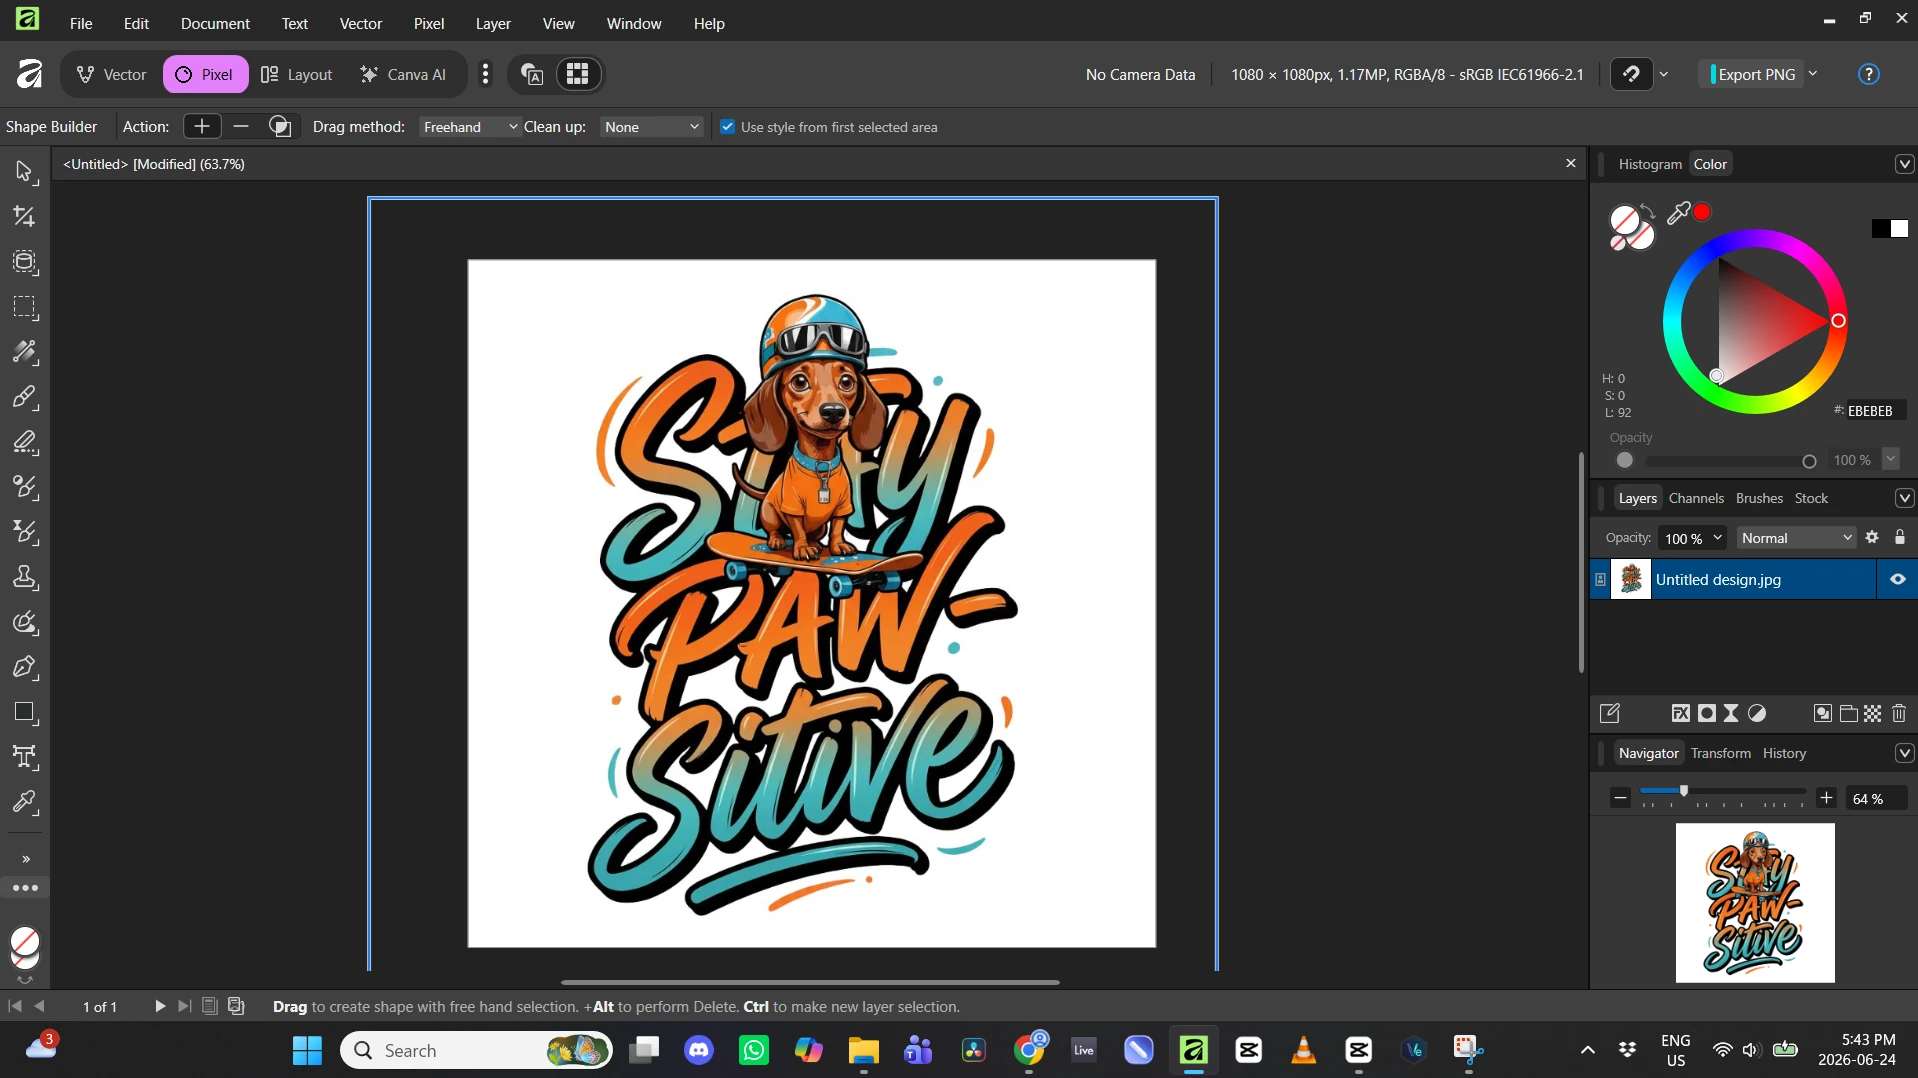
With the final dog image complete, we’ll bring it into an editing program to finish the design. In this example, we’re using Affinity to add the Stay Paw-sitive lettering and build the full T-shirt graphic around the character.
This final step lets us combine the vector artwork from Vector FX with custom typography and layout, turning the generated image into a finished, production-ready shirt design.
From First Prompt to Finished T-Shirt
At the beginning of this walkthrough, we showed you Raya wearing the finished Stay Paw-sitive T-shirt. Now we’ve seen everything it took to get there.
What started as a simple prompt became a complete creative process: installing the app, choosing a model, experimenting with presets, generating dozens of variations, refining the final image, exporting the vector, and completing the design in Affinity.
Thanks for following along. And as Raya would say: Go make something cool!