Vector FX is Distinct AI's image-to-vector tool: import a JPG or PNG, like a logo, a sketch, a photo, or any raster image, and it converts it into a clean, scalable SVG automatically, with no prompt and no wait. Here's the full process, from import to export, including how to use Vector FX's six vector-settings controls to fine-tune the result before you save.
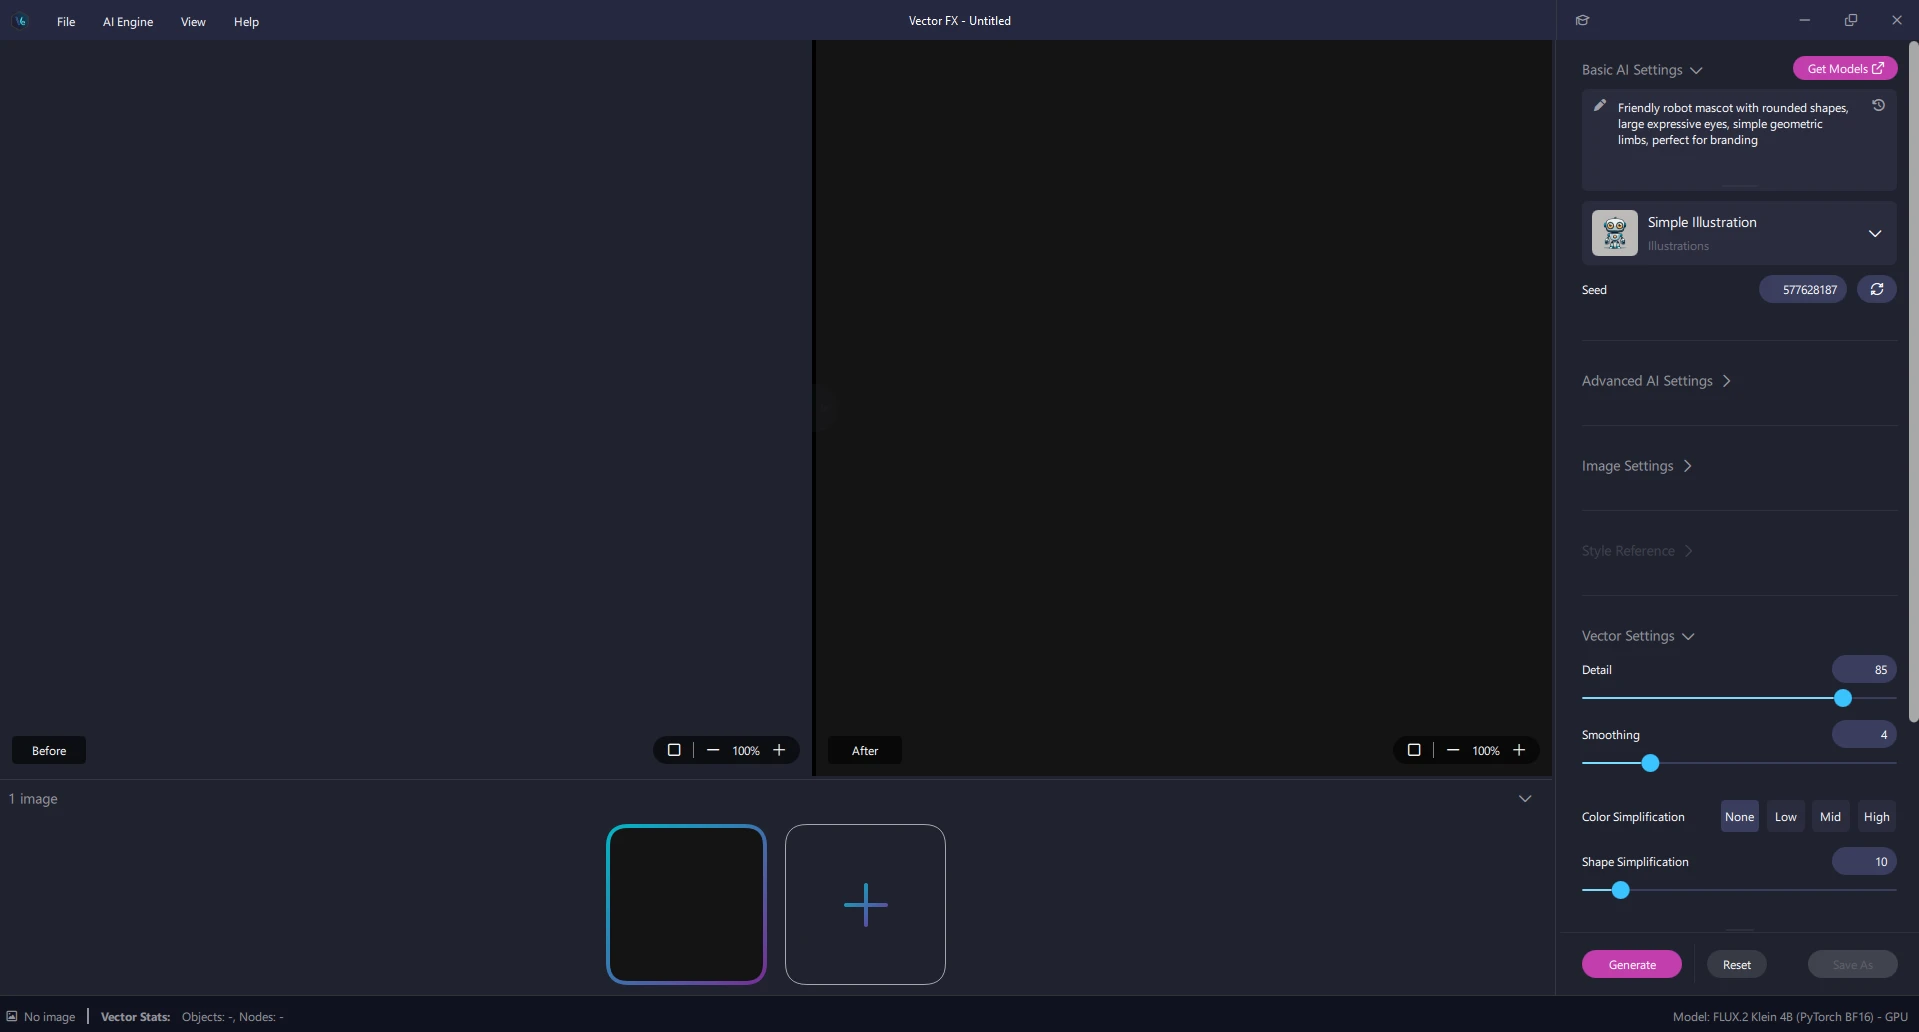
Step 1: Import Your Image
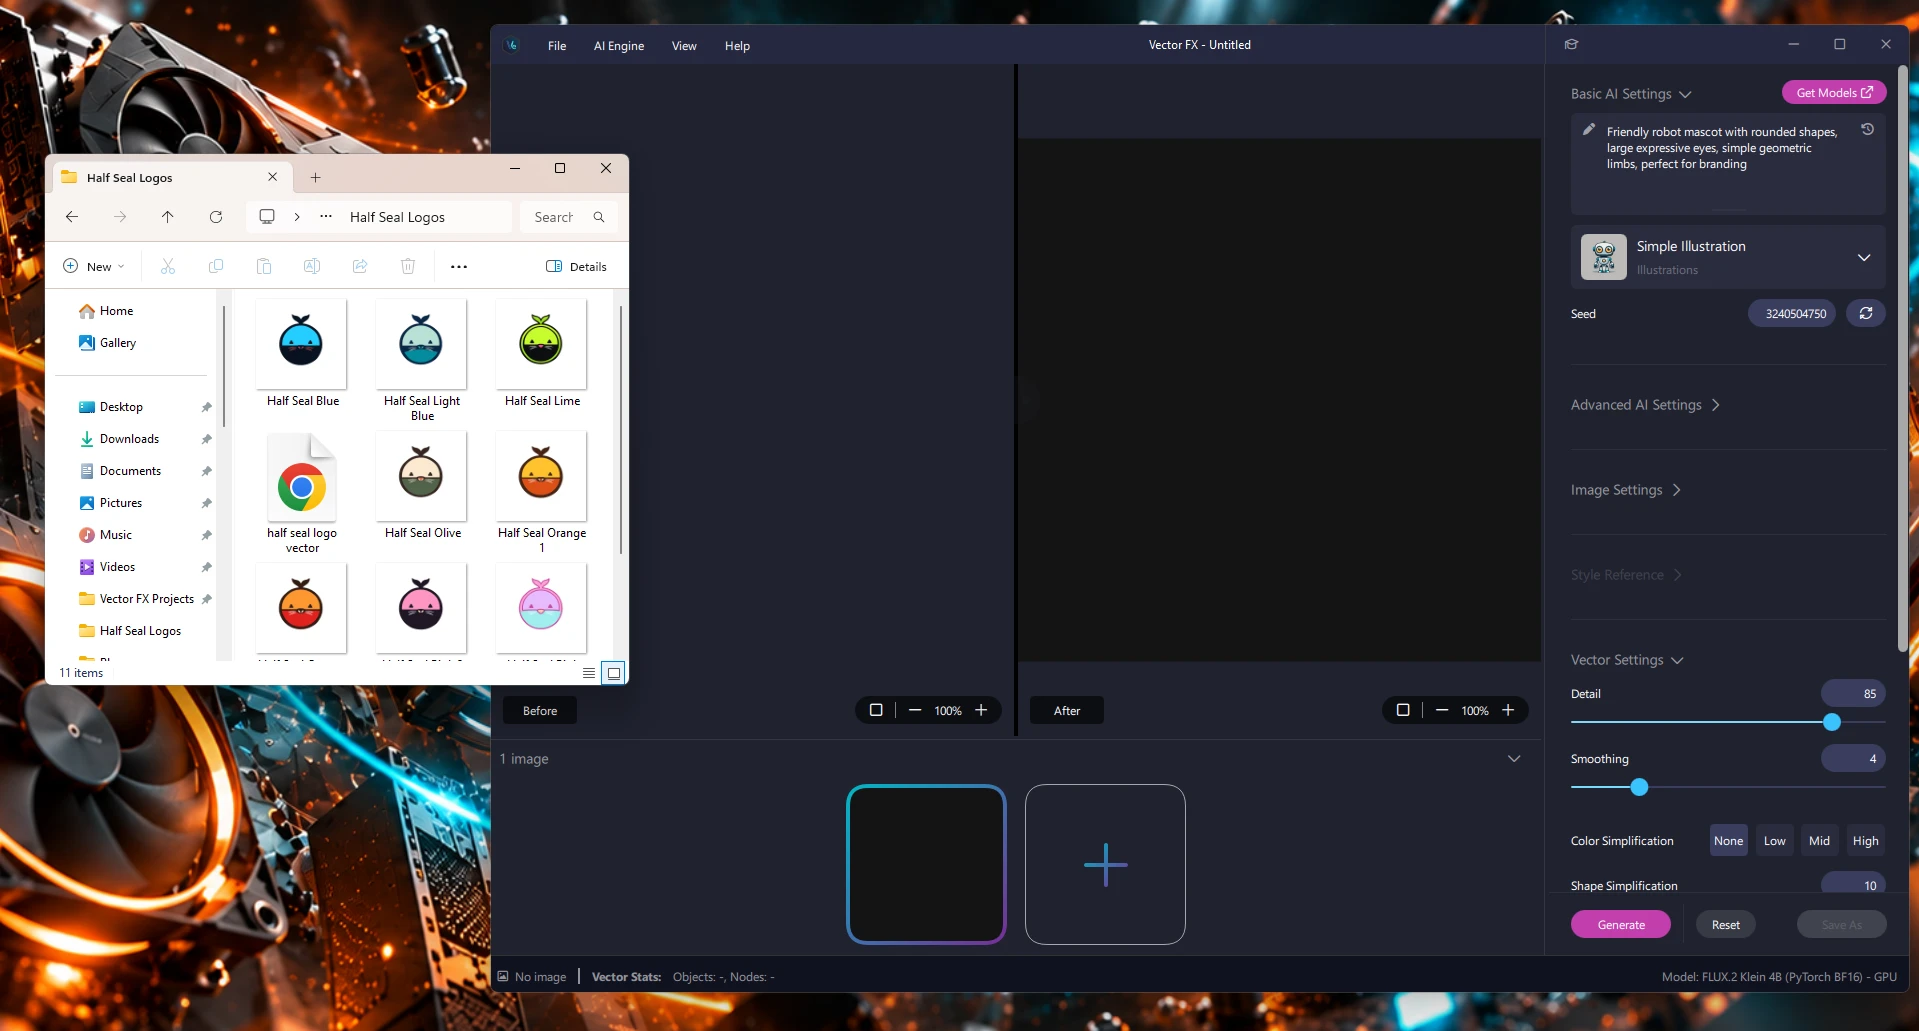
Go to File > Import Image and select the image you want to convert. Vector FX accepts JPG and PNG files — bring in a logo, a piece of artwork, or any image you want turned into a vector.
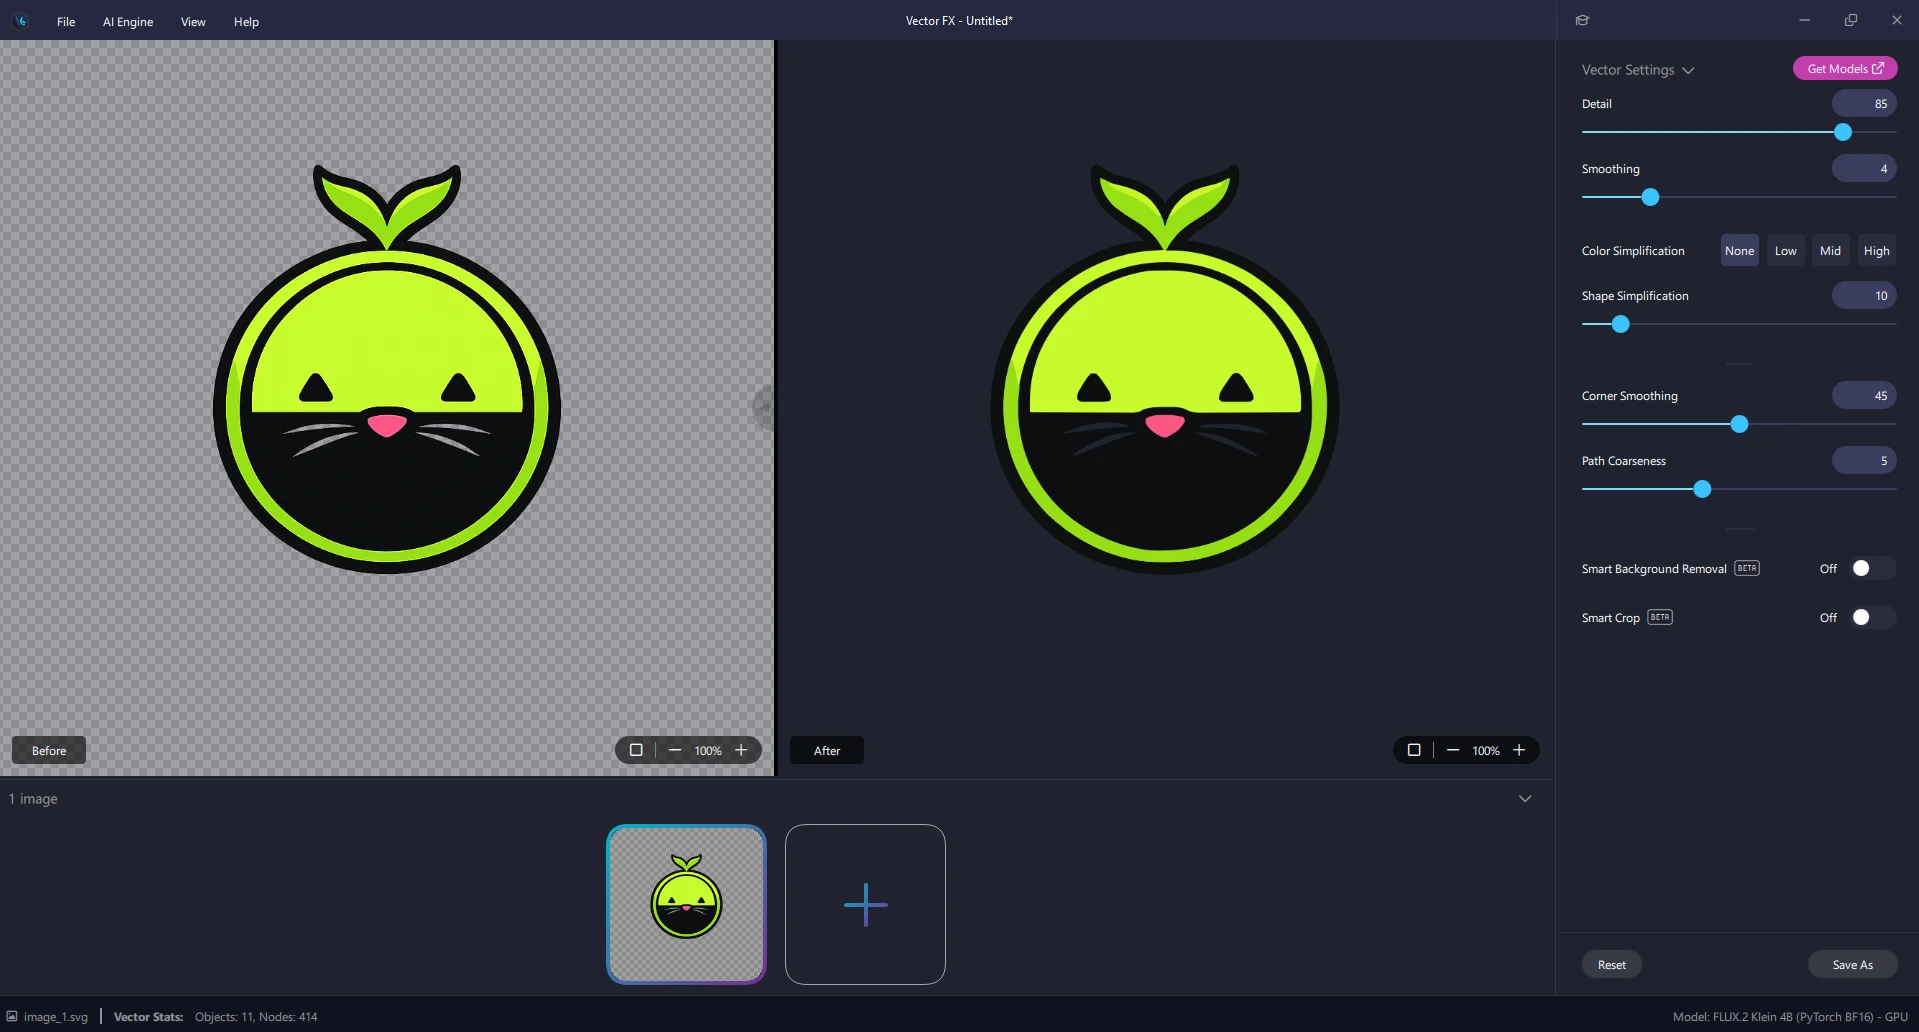
Step 2: Watch the Instant Conversion
As soon as the image is imported, Vector FX converts it to an SVG automatically — there's no Generate button involved in image-to-vector conversion (that button is there for Vector FX's separate text-to-vector generation). You'll see a side-by-side Before and After, and in the bottom-left corner of the app, Vector Stats shows the Objects and Nodes count for the result.
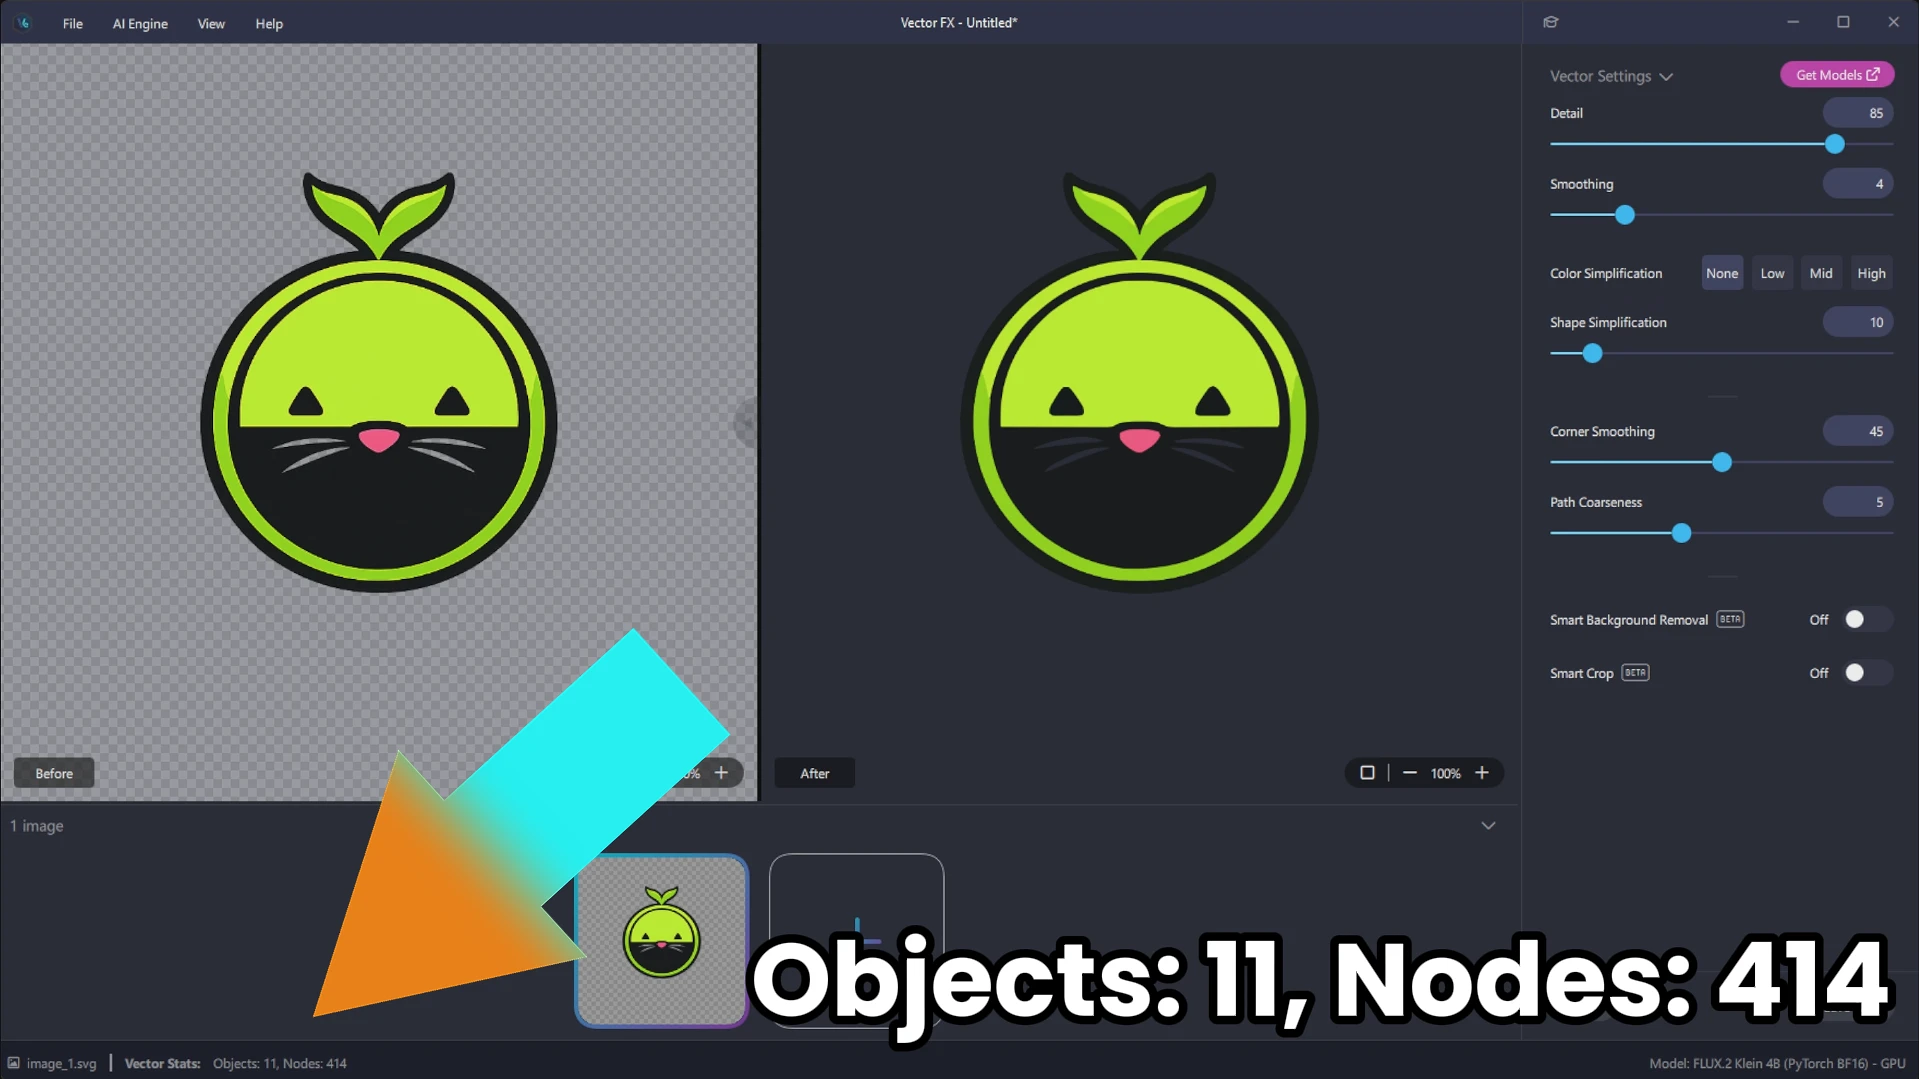
Zoom in, and the difference is obvious: the raster source gets pixelated the closer you zoom, while the vector result stays crisp at any zoom level.
Step 3: Refine with Vector Settings
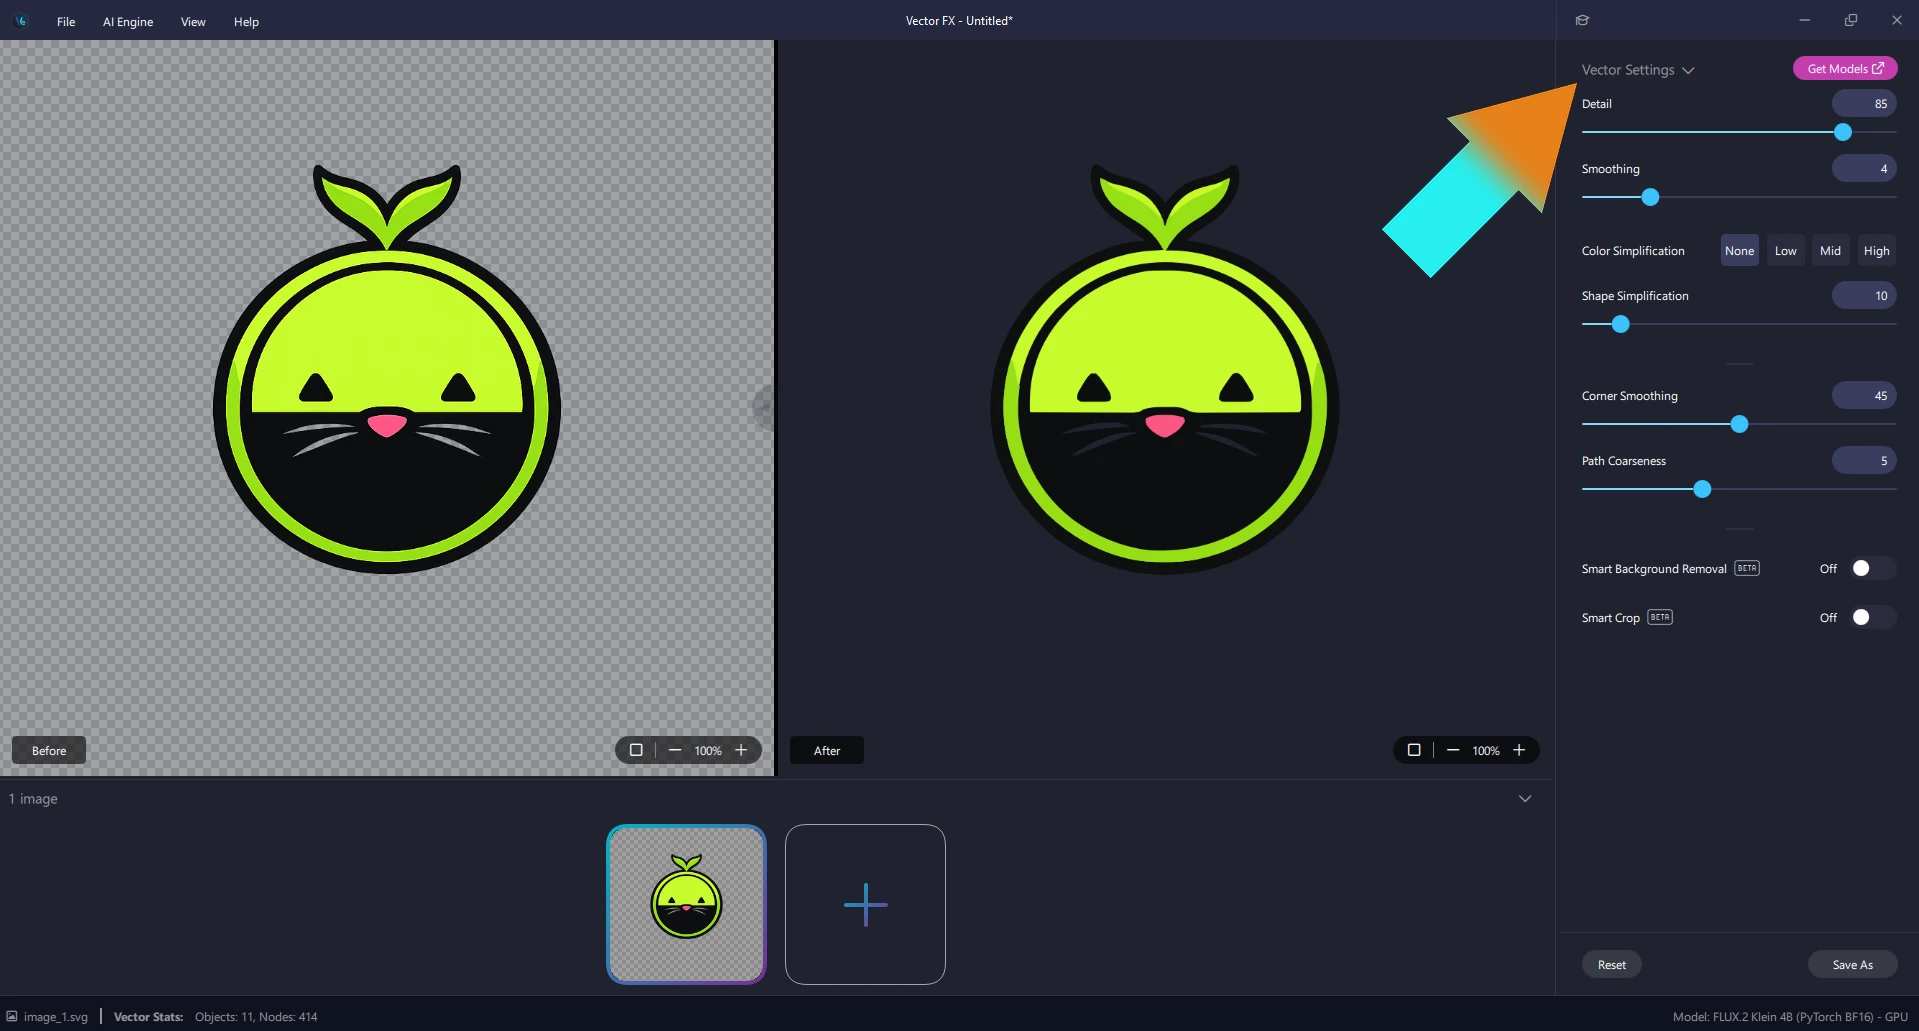
The Vector Settings panel gives you six controls to shape the result, and every one of them updates the vector in real time as you move it — no Generate click needed here either:
- Detail — how much fine detail the trace preserves.
- Smoothing — how much the traced paths are smoothed.
- Color Simplification — None / Low / Mid / High, collapsing similar colors into fewer flat shapes.
- Shape Simplification — reduces the overall complexity of the traced shapes.
- Corner Smoothing — rounds or sharpens corners in the vector paths.
- Path Coarseness — controls how coarse or fine the traced paths are.
Move any slider and the Vector Stats counter updates immediately, so you can watch the object and node count change as you refine the vector.
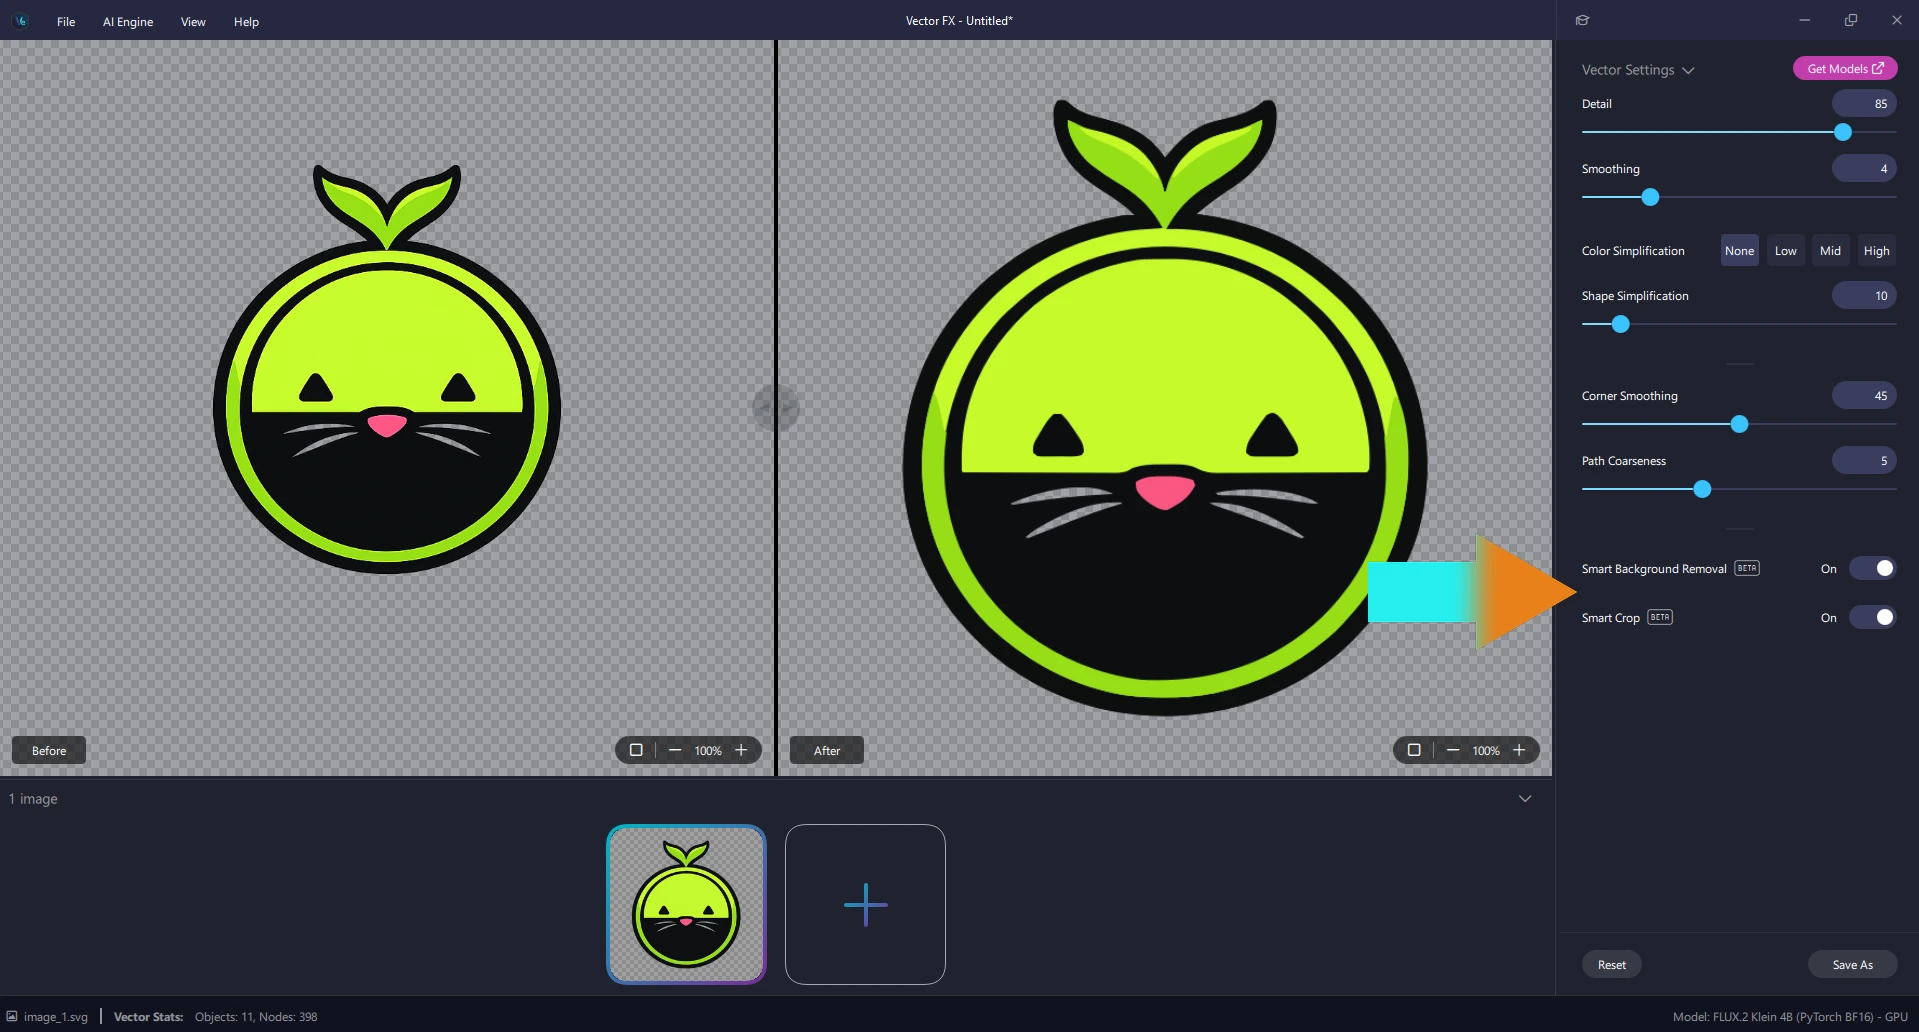
Step 4: Clean It Up with Smart Background Removal and Smart Crop
Two BETA toggles sit below the main sliders. Smart Background Removal strips the background out of the vector automatically, and Smart Crop trims the result down to the artwork itself. Turn both on to fully prep your image for export.
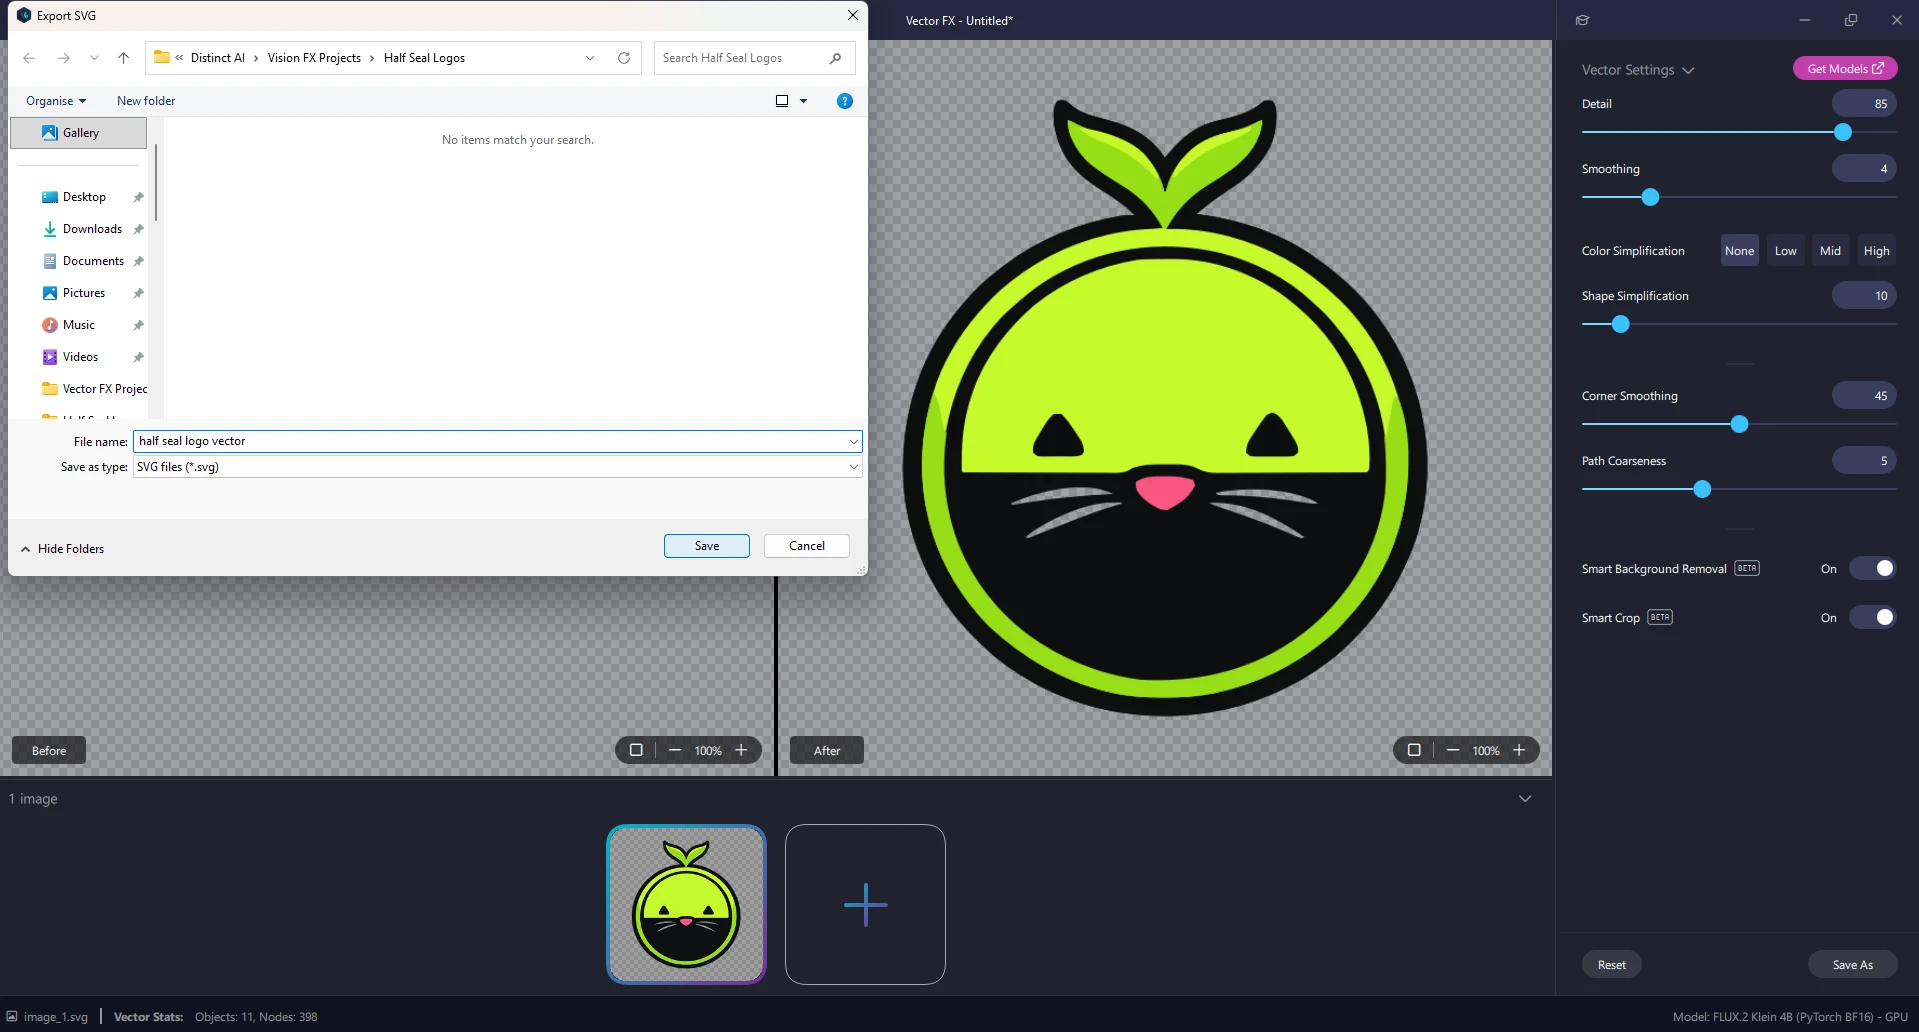
Step 5: Export Your SVG
Once you're happy with the result, export it as an SVG — ready to drop into CorelDRAW, Illustrator, Affinity Designer, or any other vector workflow.
Scale It to Any Size
Because the output is a true vector, there's no quality ceiling — the same file that works as a small logo mark scales up to a billboard without getting soft or pixelated. And because Vector FX runs locally, your files never leave your machine.
Try It Yourself
Vector FX turns any raster image into a clean, editable SVG in seconds, with full control over detail, shape, and node count along the way. Try it yourself and see what a few seconds of automatic vectorizing can do for your next logo or asset.
Learn how to
get started with the Distinct AI product line-up or explore the rich features built into each product.

